
Determining the ideal capacity for a wooden shoe cabinet depends on your household size, daily footwear habits, and available entryway space. For a single professional or a couple, a cabinet that holds 12 to 15 pairs is often sufficient, whereas a busy family may require a unit that accommodates 30 to 40 pairs. Choosing the right size is not just about counting your shoes; it requires balancing physical shoe dimensions against the structural limits of wood and the layout of your home.
A cabinet that is too small leads to cluttered entryways and damaged footwear, while an oversized unit can overwhelm a narrow hallway or restrict movement. By systematically auditing your collection and measuring your space, you can select a wooden cabinet that keeps your home organized and preserves your footwear.
Assessing Your Household's Total Shoe Collection
To establish an accurate capacity target, start with a physical audit of your household’s footwear. Gather all shoes currently in use, stored in bedroom closets, or left by the door to get an honest count of what needs to be accommodated. This process helps you identify which shoes require daily access and which can be stored elsewhere.
Products mentioned in this guide
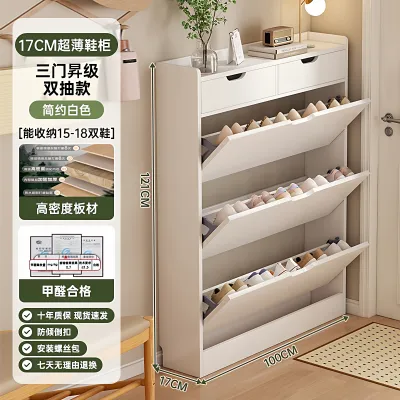
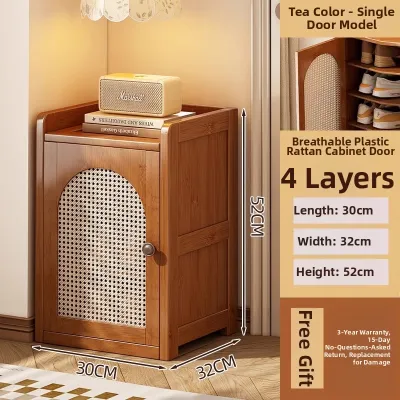
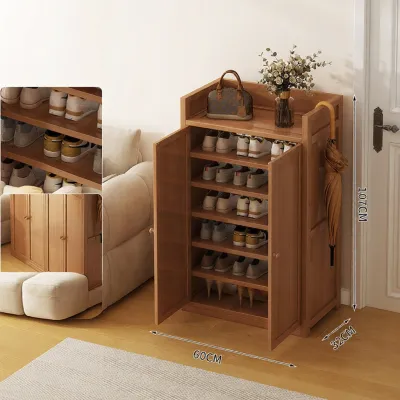
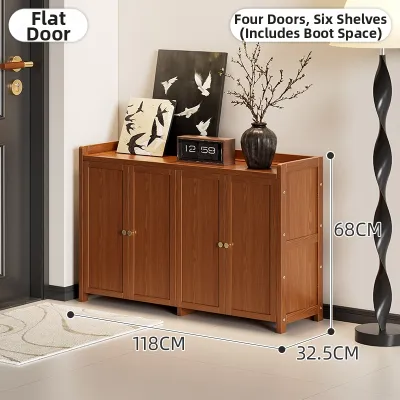
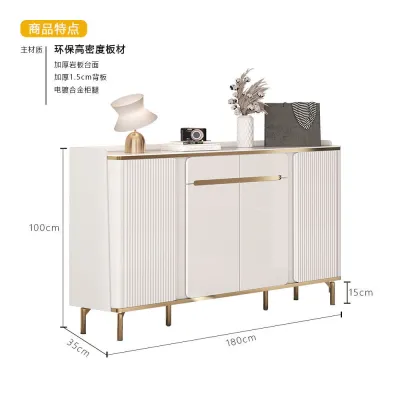
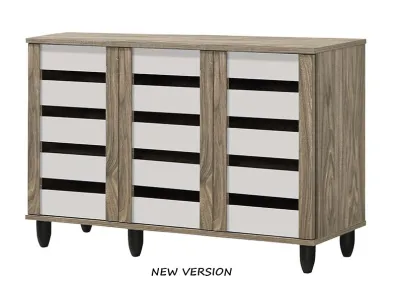
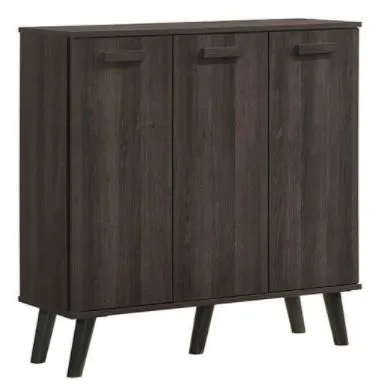
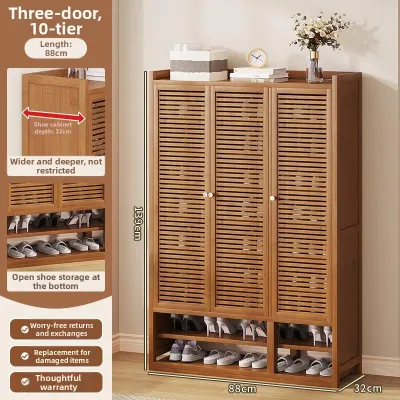
Prices are valid at publication and may change. Please refer to the product page for the latest price.
Categorize your footwear by type, as different styles require distinct vertical and horizontal space. Flat shoes like sandals, slippers, and loafers can be packed more tightly, while standard sneakers, high heels, and boots demand significantly more clearance. Grouping them by height ensures you do not underestimate the physical volume your collection occupies.
Account for seasonal rotations and guest slippers without overestimating your permanent storage needs. In tropical climates like Singapore, lightweight sandals and slippers dominate daily use, but formal wear and travel boots still require dedicated, less accessible storage. Designating a small portion of the cabinet for guest slippers prevents entryway clutter when hosting visitors.
Finally, factor in household growth or changing lifestyle habits to avoid outgrowing your cabinet too quickly. If you plan to expand your family or have growing children whose shoe sizes will increase, add a buffer of 15% to 20% to your current total count. This forward-planning prevents the need for a costly replacement or an additional storage unit in the near future.
Translating Shoe Counts into Cabinet Tiers and Dimensions
Once you have a total shoe count, you must convert that number into physical cabinet dimensions. Begin by measuring the height of your tallest everyday shoes to determine the necessary shelf clearance. Standard flat shelves often have a fixed height of 15 to 18 centimeters, which easily accommodates sneakers and flats but will pinch high heels or ankle boots.

Next, estimate the horizontal shelf space needed per pair. On average, a pair of men’s shoes requires about 22 to 25 centimeters of width, while women’s shoes require 20 to 22 centimeters. Always check the manufacturer’s internal width specifications rather than relying solely on external dimensions, as wooden panels can be 1.5 to 2.5 centimeters thick on each side, reducing the actual usable storage space.
Divide your total shoe count by the number of pairs that can fit on a single shelf to find the required number of tiers. For example, if a shelf is 75 centimeters wide, it can comfortably hold three pairs of standard adult shoes. If your target capacity is 18 pairs, you will need a cabinet with at least six tiers to store them without crowding.
Evaluate the spatial trade-offs between a tall, narrow cabinet and a low, wide console. A tall cabinet maximizes vertical space, making it ideal for tight entryways, but it can feel visually heavy and may require wall anchoring for safety. A low, wide console offers a convenient surface for keys or decor and keeps sightlines open, but it demands significant floor space.
Evaluating Entryway Space and Wooden Cabinet Constraints
Before purchasing a wooden shoe cabinet, map out its exact footprint in your entryway. Ensure there is at least 90 to 100 centimeters of clear walkway space in front of the cabinet so family members can pass comfortably even when the cabinet doors are fully open. A cramped entryway can create a bottleneck during busy morning routines.
Account for door swing paths and opening mechanisms. Traditional hinged doors require clear floor space to open, whereas sliding doors or tilting drawers are excellent space-saving alternatives for narrow corridors. Measure the clearance near front doors, room entrances, and adjacent walls to prevent any physical obstructions.
Consider the weight capacity and structural stability of the wooden unit. Solid wood and high-density engineered wood are sturdy but heavy materials. Ensure your floor is level, and check if the cabinet requires wall anchoring, which is highly recommended for tall units to prevent tipping, especially in homes with active pets or young children.
Address wood-specific environmental factors such as ventilation. Wood is a natural, porous material that absorbs moisture and odors. In humid climates, storing damp shoes in an airtight wooden cabinet can lead to warping, mold growth, and persistent smells. Look for designs with slatted doors, back ventilation holes, or open-back panels to promote continuous airflow.
Adapting and Maximizing Internal Storage Space
To make the most of your wooden shoe cabinet, opt for designs featuring adjustable or removable shelf pins. This flexibility allows you to customize the height of individual tiers, creating taller compartments for boots and shallower spaces for flat sandals, thereby maximizing every cubic centimeter of the interior.
Utilize space-saving organizers like double-decker shoe slots if the shelf depth and height permit. These accessories allow you to store one shoe directly above its partner, effectively doubling the capacity of a single shelf for low-profile footwear. This is an excellent way to boost capacity without buying a larger cabinet.
Establish a dedicated external drop zone or a small, open shoe rack near the entrance for wet, muddy, or heavily soiled shoes. Placing wet footwear directly onto wooden shelves can damage the finish, cause the wood to swell, and ruin the structural integrity of the joints over time. Allow shoes to dry completely before transferring them to the enclosed wooden cabinet.
Frequently Asked Questions (FAQ)
How do I prevent mold and odors in a closed wooden shoe cabinet?
To prevent mold and odors, ensure all footwear is completely dry and clean before placing it inside the cabinet. Choose a wooden cabinet with built-in ventilation features, such as louvers, slatted doors, or rear ventilation cutouts. Additionally, place moisture-absorbing packets, charcoal deodorizers, or cedar blocks on the shelves to absorb excess humidity and neutralize odors naturally.
Can I store heavy winter boots in a standard wooden shoe cabinet?
Yes, but you must verify the manufacturer’s specified weight limit per shelf to prevent sagging or joint failure. Place heavy boots on the bottom shelf of the cabinet to maintain a low center of gravity and improve overall stability. Ensure the vertical clearance is sufficient, or adjust the shelf pins to avoid folding or creasing the boot shafts, which can damage both the footwear and the wooden interior.

Community discussion
Share your experience or ask a question. Comments are reviewed before publication.