
Floating shelves offer a sleek, minimalist way to maximize vertical space in Singapore’s high-rise homes. However, a successful DIY installation in a Housing & Development Board (HDB) flat or a private condominium depends heavily on matching the shelf design to your specific wall construction. Because Singapore apartments feature a mix of dense structural concrete and hollow drywall partitions, the best shelf is one that aligns with your wall’s load-bearing capacity and your own DIY experience.
By understanding your wall type, selecting the appropriate mounting hardware, and choosing materials that withstand local humidity, you can achieve a secure, professional-looking installation. This guide breaks down the essential steps to evaluate your space, choose the right shelving system, and execute a safe DIY project.
Assessing Your Wall Structure and Load Limits
Before purchasing any shelving unit, you must identify the composition of the wall where you plan to mount it. HDB flats and condominiums typically utilize two main wall types: internal non-load-bearing partition walls and structural reinforced concrete walls. Structural walls and external walls are almost always solid, cast-in-situ concrete or precast panels. These walls offer exceptional load capacity but require heavy-duty rotary hammer drills to penetrate.
Products mentioned in this guide
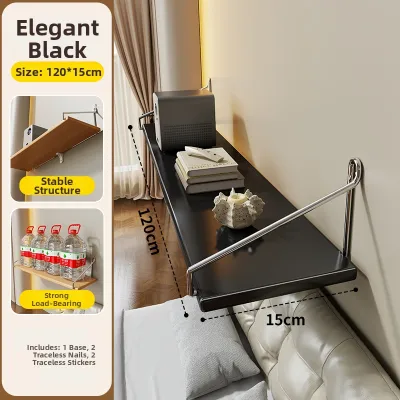
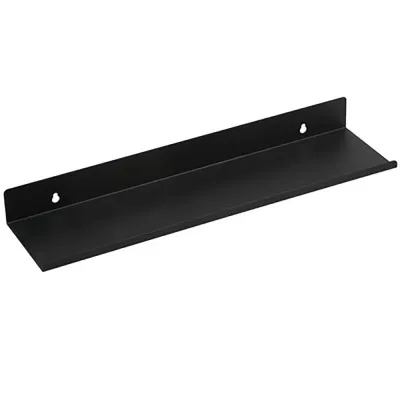

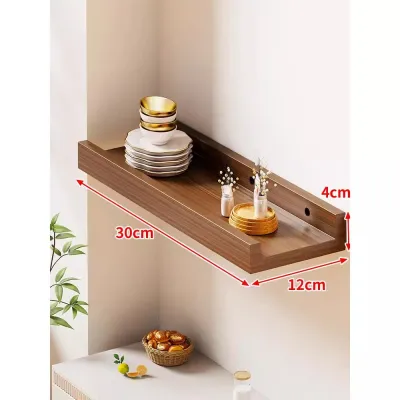
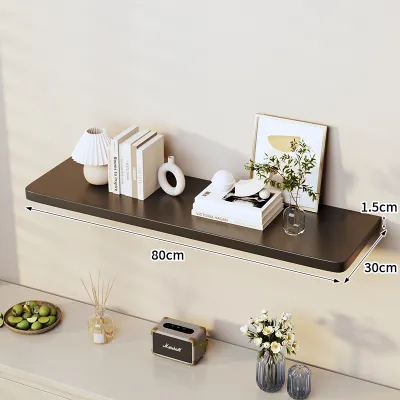
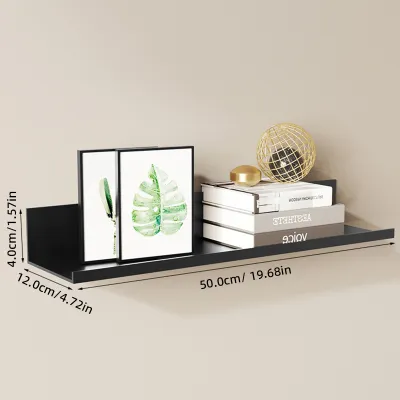
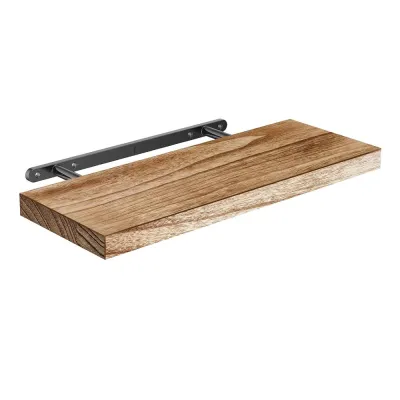
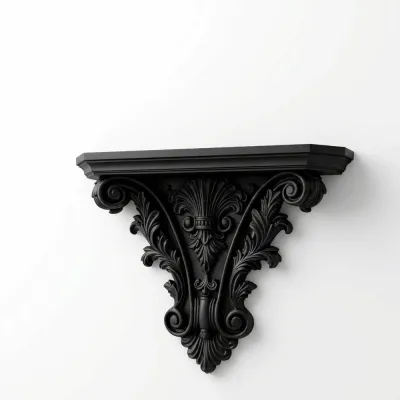
Prices are valid at publication and may change. Please refer to the product page for the latest price.
In contrast, newer HDB layouts and condo units frequently use drywall partitions—gypsum board over metal studs—to divide bedrooms or study areas. Drywall is incredibly easy to drill into, but it cannot support heavy cantilevered loads without specialized anchors or direct attachment to the internal metal studs. Hollow sand-lime blocks or lightweight concrete blocks are also common in older estates, requiring specific masonry plugs that expand inside the block cavities to grip the material.
Before drilling any hole, you must verify what lies behind the wall surface. Singapore homes route electrical conduits and water pipes through walls, often running vertically or horizontally from switches, sockets, and taps. Using a multi-scanner or stud finder with wire-detection capabilities is essential to map out safe drilling zones and avoid costly utility damage.
Always cross-reference the shelf manufacturer’s weight rating with your actual wall type. A shelf rated for 15kg on solid concrete might only safely support 5kg on a drywall partition when using standard plastic plugs. To prevent structural failure, calculate the combined weight of the shelf board itself and the items you plan to display before finalizing your purchase.
Choosing the Right Mounting System for DIY
The mounting hardware determines both the visual clean lines of your floating shelf and the difficulty of the installation process. Hidden rod brackets, which slide into pre-drilled holes in the rear of the shelf board, provide the classic floating look. However, they demand absolute precision; even a millimeter of drilling deviation can cause the rods to misalign, leaving the shelf crooked or unable to slide onto the bracket.

For a hidden rod system, the shelf board must meet a minimum thickness—typically at least 25mm to 40mm—to accommodate the internal support rods without splitting. If your DIY toolkit lacks a drill guide or a high-quality spirit level, achieving the perfect 90-degree drilling angle into the wall can be exceptionally challenging.
If you prefer a more forgiving installation, visible L-brackets or French cleat systems are excellent alternatives. French cleats use interlocking sloped wooden or metal brackets, with one half secured to the wall and the other to the shelf. This system distributes weight evenly across a wider surface area, makes leveling straightforward, and allows you to easily remove the shelf for cleaning or painting.
For spaces where drilling is entirely off-limits, such as rental properties or tiled splashbacks, you must look to non-invasive alternatives. Light-duty adhesive shelves or tension-based modular poles can provide vertical storage without damaging the wall. However, these systems are strictly for lightweight decorative items and should never be used for heavy books or kitchenware.
Matching Shelf Materials and Dimensions to Your Space
Singapore’s tropical climate, characterized by high relative humidity, heavily influences how shelf materials perform over time. Engineered wood cores like standard particleboard or low-density fiberboard are highly susceptible to moisture absorption, which leads to swelling, warping, and sagging. For long-term durability, opt for high-density fiberboard (HDF), marine-grade plywood, or solid hardwoods that have been thoroughly sealed with a polyurethane or water-resistant laminate finish.
The physical dimensions of the shelf board dictate its structural stability. As a rule of thumb, deeper shelves experience greater leverage forces, which increases the pull-out tension on your wall anchors. Keep shelf depths under 20cm to 25cm for general storage, and ensure the unsupported span between brackets does not exceed the manufacturer’s recommendations to prevent the center of the board from bowing.
Spatial planning is just as critical as structural integrity. Before purchasing your shelves, measure the surrounding clearance zones to ensure they will not obstruct door swings, window openings, or high-traffic walkways. In compact HDB corridors or condo dining areas, a protruding shelf at shoulder height can pose a significant safety hazard, so consider rounding the outer corners or mounting the shelves higher up the wall.
Navigating Rental and Ownership Constraints
Before embarking on any drilling project, review your tenancy agreement or condominium estate bylaws. Many rental contracts in Singapore contain strict clauses prohibiting structural alterations or drilling into walls, with penalties involving the forfeiture of your security deposit. If drilling is permitted, it is usually conditional on restoring the walls to their original state before handing back the keys.
Restoring a drilled wall requires careful preparation. When vacating a property, you must remove the wall anchors, clean out the debris, and fill the holes with a high-quality wall putty or joint compound. Once dry, sand the patched areas flush with the surrounding wall and apply a matching coat of paint—often requiring you to paint the entire wall section to avoid noticeable patch marks.
If the restoration work or landlord restrictions make permanent mounting impractical, transition to modular, freestanding, or floor-to-ceiling shelving units. Modern modular systems can be secured with minimal, easily patchable wall tethers to prevent tipping, offering a highly stable storage solution that you can easily pack up and move to your next home.
Pre-Installation Safety and Tool Checklist
A successful DIY installation relies on having the correct tools prepared before you make the first mark on your wall. For solid concrete walls, a standard cordless drill will struggle; you will need a rotary hammer drill paired with high-quality masonry drill bits. Ensure you have a reliable spirit level, a pencil for marking, a hammer, and wall anchors specifically rated for your wall type—such as heavy-duty toggle bolts for drywall or nylon expansion plugs for concrete.
Drilling into concrete or masonry generates a significant amount of fine, abrasive dust that can settle across your living space and irritate your respiratory system. Protect your home by laying down drop cloths or plastic sheeting beneath the work area, and use a dust-containment bag or have a helper hold a vacuum nozzle directly below the drill bit as you work.
Safety must always be your top priority during a DIY project. If your drill suddenly hits a hard obstruction that feels different from concrete, or if your wall scanner indicates a live wire or utility pipe, stop drilling immediately. Encountering structural rebar, unexpected hollow cavities, or plumbing lines are clear indicators that you should pause the project and consult a qualified professional handyman or contractor.
Frequently Asked Questions (FAQ)
Can I install floating shelves on tiled walls without cracking them?
Yes, but it requires specialized tools and extreme patience. Never use a hammer drill setting on ceramic or porcelain tiles, as the high-frequency impacts will instantly shatter the glaze. Instead, use a diamond-tipped or spear-point glass and tile drill bit at a slow, steady speed, keeping the bit cool by spraying it with water. Before drilling, tap the tile gently to listen for hollow sounds, which indicate a lack of adhesive backing that makes the tile highly prone to cracking under pressure.
How do I fix a floating shelf that is sagging or pulling away from the wall?
A sagging shelf is a serious safety hazard that indicates either overloaded hardware or wall degradation. Begin by removing all items from the shelf to relieve the tension, then inspect the brackets and wall anchors for signs of pulling loose. If the wall material around the anchor has crumbled, you must remove the shelf, patch the damaged wall, and reinstall the brackets using heavier-duty anchors or relocate the shelf to a fresh, undamaged section of the wall.

Community discussion
Share your experience or ask a question. Comments are reviewed before publication.