
Finding the right shoe storage for a narrow entryway can be a balancing act. In space-constrained homes, a standard shoe cabinet often protrudes too far, blocking walkways and disrupting the flow of your home. A slim shoe cabinet solves this issue by minimizing either its depth or its width, allowing it to fit snugly against entryway walls or inside tight niches.
To find the perfect fit, you must understand what qualifies as a slim profile and how to measure your specific entryway layout. This guide breaks down standard slim dimensions, details how to measure your space accurately, and highlights common installation pitfalls to avoid.
Defining a 'Slim' Shoe Cabinet: Dimensions and Storage Trade-offs
In the furniture industry, a shoe cabinet is generally classified as slim if it departs from the standard 30 cm to 35 cm depth. The most common slim design is the shallow-depth cabinet, which typically measures between 15 cm and 24 cm deep. These units utilize tipping bucket drawers where shoes are stored vertically or at an angle rather than flat on their soles.
Products mentioned in this guide
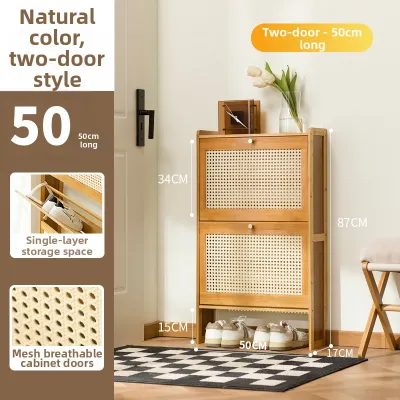
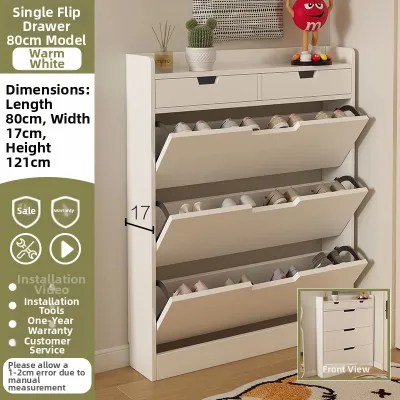
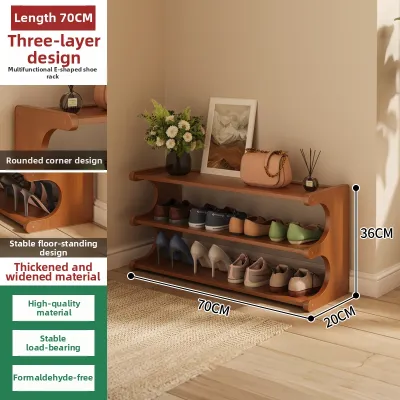
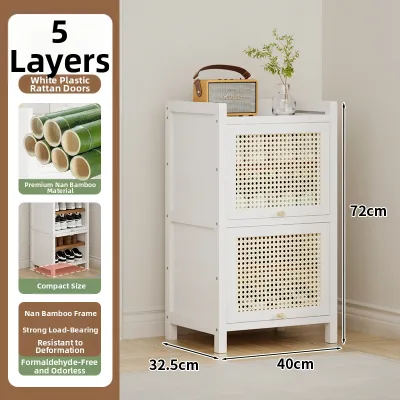
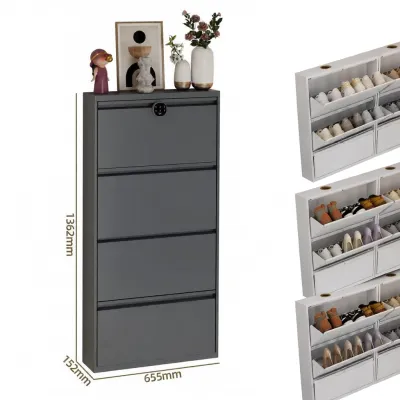
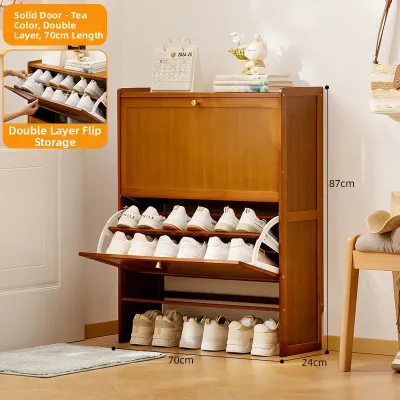
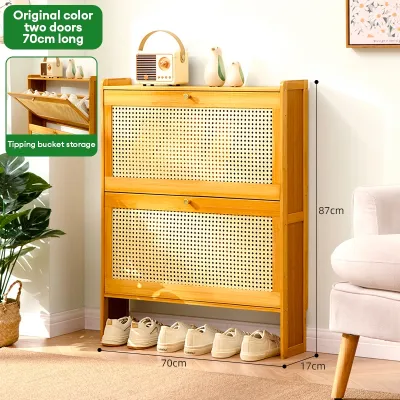
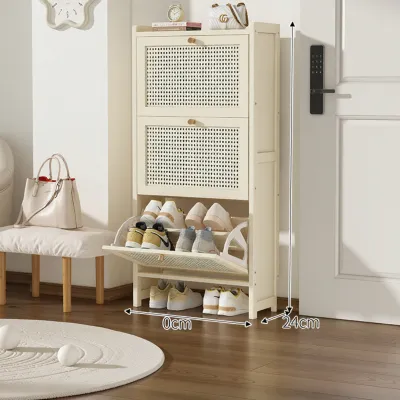
Prices are valid at publication and may change. Please refer to the product page for the latest price.
Another variation of the slim cabinet focuses on a narrow width rather than a shallow depth. These units are designed for tight corners or small wall segments, measuring between 40 cm and 60 cm wide while maintaining a standard depth of 30 cm to 32 cm. This style allows shoes to sit flat but limits the number of pairs you can store side-by-side per shelf.
Opting for an ultra-slim, shallow-depth cabinet comes with distinct storage trade-offs. Because shoes are stored at an angle, these cabinets have strict limits on shoe length and height. High-top sneakers, ankle boots, and high heels often do not fit in drawers shallower than 17 cm unless they are placed sideways, which significantly reduces the overall storage capacity.
Furthermore, the spacing between tiers in a tipping drawer is usually fixed. If you have a diverse footwear collection, you may find that bulky running shoes or thick-soled boots prevent the drawer from closing smoothly. Before purchasing, it is essential to verify the actual usable internal dimensions provided by the manufacturer rather than relying solely on the external product dimensions.
Step-by-Step Guide to Measuring Your Entryway or Hallway
Accurate measurements are critical to ensuring your new cabinet does not turn your entryway into a bottleneck. To begin, use a metal tape measure to record the maximum width, depth, and height of the designated wall space. Always measure at the exact height where the cabinet will stand, as walls are rarely perfectly square.

Next, account for the skirting boards along the base of your wall. Skirting boards can project 1 cm to 2 cm from the wall, preventing a flat-backed cabinet from sitting flush. If you do not account for this gap, the top of your cabinet will lean forward or stand further out into the hallway than expected. Look for cabinets with a baseboard cutout or add the skirting board thickness to your depth calculations.
Walkway clearance is another vital factor, especially in narrow corridors. For comfortable movement, a main hallway should maintain a clear walkway width of at least 90 cm to 100 cm. Measure the distance from the front of the proposed cabinet to the opposite wall to ensure you can carry groceries, move laundry baskets, or walk past without bumping into the furniture.
You must also map out the swing arcs of all nearby doors. Open your main entrance door, safety gates, and any adjacent closet or distribution board (DB) box doors to their maximum angles. Mark these paths on the floor to ensure the cabinet does not obstruct any door operations or block access to essential utility panels.
In Singapore, HDB flats and condominium units often feature specific structural layouts like recessed wall niches or long, narrow foyer corridors. If you plan to place your cabinet in a niche, measure the width at three different points (bottom, middle, and top) to account for any wall warping. Ensure there is a ventilation gap of at least 1 cm to 2 cm around the cabinet to prevent stagnant air and moisture buildup, which can lead to mold on your shoes.
Matching Cabinet Dimensions to Your Space and Shoe Collection
Once you have your entryway measurements, you need to cross-reference them with your household’s footwear needs. Start by calculating the usable internal width of the cabinet. The external width includes the thickness of the side panels, which can subtract 3 cm to 5 cm of actual storage space.
To estimate how many pairs of shoes will fit per shelf, measure the width of your widest shoes. On average, a pair of men’s shoes requires about 22 cm to 25 cm of horizontal space, while women’s shoes require 18 cm to 22 cm. Divide the internal shelf width by these averages to determine the capacity per row, keeping in mind that bulky sneakers will take up more space than flat sandals.
If your household collection includes a mix of formal heels, boots, and casual flats, look for a slim cabinet that offers adjustable or removable internal dividers. This flexibility allows you to customize the compartment heights, ensuring that taller shoes do not get crushed when the tipping drawer is closed.
Stability is a critical safety consideration for any slim furniture piece. Because shallow cabinets have a very narrow footprint and a high center of gravity, they are inherently prone to tipping forward when drawers are opened or when heavy shoes are placed on the upper shelves. You must plan to anchor the cabinet securely to the wall.
Before buying, check the wall material at the installation site. Solid concrete or brick walls require masonry wall plugs and sturdy screws, while drywall partitions require specialized hollow-wall anchors or alignment with timber studs. Never rely on adhesive strips or double-sided tape to secure a tall, narrow cabinet, as these methods cannot withstand the forward pull of a loaded drawer.
Common Measuring and Sizing Mistakes to Avoid
One of the most frequent mistakes is overlooking wall-mounted obstacles. Power outlets, light switches, fiber optic termination points, and intercom units are often located near the entryway. Placing a cabinet directly over these fixtures can block access to essential services or prevent the cabinet from sitting flat against the wall.
Another common oversight is forgetting to measure the delivery pathway. A slim cabinet might fit perfectly in your entryway, but it first has to get there. Measure the height and width of your building’s lift doors, the interior of the lift cabin, and any tight turns in the common corridors or stairwells to ensure the delivery team can safely transport the unit to your door.
Finally, avoid assuming that a product labeled “slim” or “space-saving” will automatically fit your space. There is no standardized definition for these terms in the furniture market. A cabinet marketed as slim might still be too deep for a narrow condo foyer or too wide for an HDB niche. Always rely on exact millimeter measurements rather than marketing descriptions to make your final decision.
Frequently Asked Questions (FAQ)
Can I place a slim shoe cabinet outside my HDB corridor?
In Singapore, placing furniture in common corridors is strictly regulated by the Singapore Civil Defence Force (SCDF) to ensure clear escape routes during emergencies. A minimum clear passage of 1.2 meters must be maintained along the corridor at all times. Placing a shoe cabinet, even an ultra-slim one, is generally not permitted if it reduces this clearance or blocks access to fire hydrants, dry risers, or escape paths. Always consult your local Town Council guidelines before placing any items outside your flat.
How do I prevent a tall, narrow shoe cabinet from tipping over?
To prevent a tall, narrow cabinet from tipping, you must secure it to the wall using the anti-tip hardware provided by the manufacturer. For concrete walls, drill holes and insert plastic wall plugs before driving in the screws. For drywall, use heavy-duty toggle bolts or anchor directly into the wall studs. Additionally, load the cabinet strategically by placing your heaviest shoes, such as boots and leather dress shoes, on the bottom shelves to keep the center of gravity as low as possible.

Community discussion
Share your experience or ask a question. Comments are reviewed before publication.