
Determining the right capacity for a wall mounted shoe rack requires balancing your household’s total footwear collection with the physical and structural limits of your available wall space. Rather than relying on generic tier counts, this guide helps you calculate the exact dimensions needed, verify installation safety, and select a configuration that securely accommodates your daily storage needs. By taking a systematic approach to measuring your footwear and assessing your wall structure, you can prevent common installation failures and ensure your entryway or closet remains organized and clutter-free.
Assessing Your Household Shoe Collection
To establish a realistic baseline capacity, begin by conducting a thorough audit of your household’s footwear. It is easy to underestimate the total number of shoes owned by a family, which often leads to purchasing an undersized storage unit. Start by gathering every pair currently in use and separating them into distinct categories based on how frequently they are worn.
Prioritize your daily and weekly footwear for the wall-mounted rack, as these pairs require the most convenient access. Seasonal items, formal shoes, and specialized sports gear can often be stored in secondary locations, such as under-bed boxes or high closet shelves. This separation ensures that your primary wall-mounted storage is reserved for the items that actually need to be at your fingertips every day.
Products mentioned in this guide
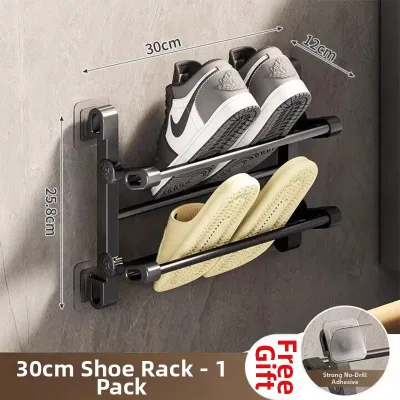
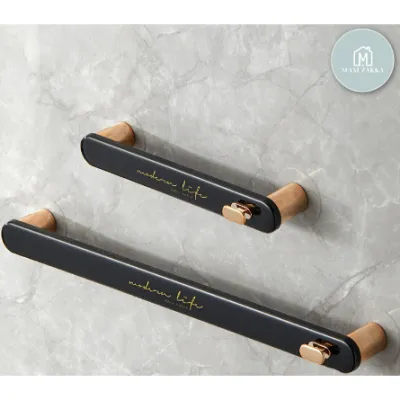
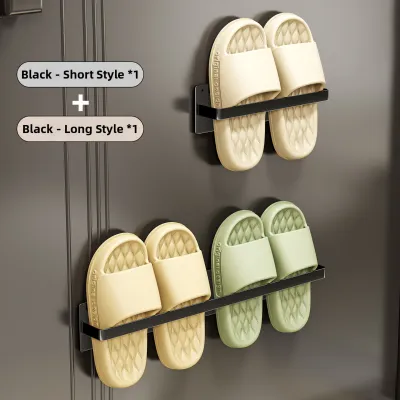
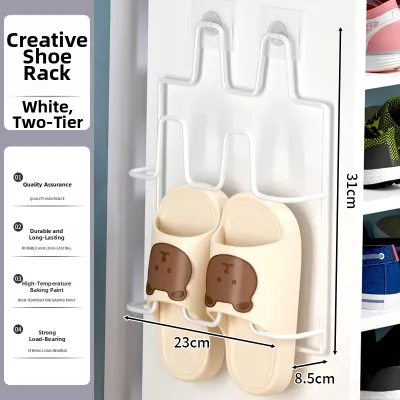
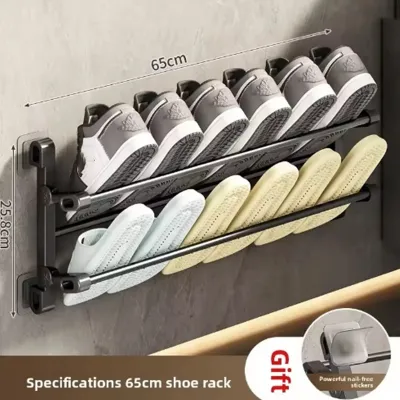
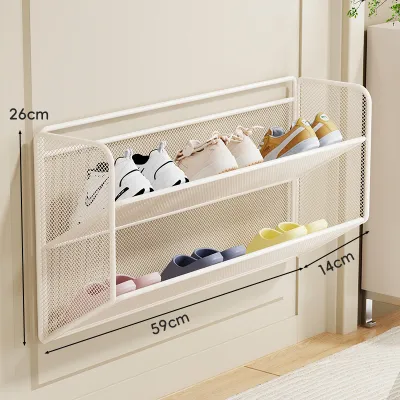
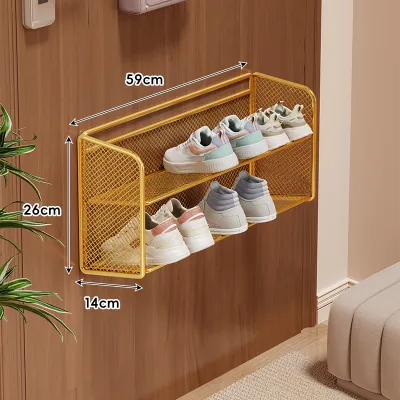
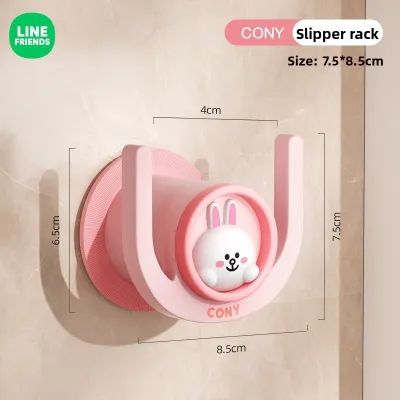
Prices are valid at publication and may change. Please refer to the product page for the latest price.
Next, categorize the selected shoes by their physical bulk and shape. Flats, sandals, and low-profile sneakers take up significantly less vertical and horizontal space than heavy work boots, high heels, or high-top trainers. Grouping your shoes by type allows you to see exactly how many high-clearance pairs you need to accommodate, which directly influences the vertical spacing and shelf depth you will require.
Finally, factor in potential collection growth or changes in your household size over the coming years. If you have growing children or a tendency to acquire new footwear regularly, selecting a rack that only meets your current exact count will quickly lead to overflow. Planning for a buffer of two to four extra pairs, or choosing a system that can be expanded later, is a practical way to future-proof your storage investment.
Calculating Required Rack Dimensions
Translating your shoe inventory into physical rack dimensions requires precise measurements rather than guesswork. To determine the minimum shelf depth, measure the longest shoe in your collection from the heel to the toe. Standard wall-mounted shoe racks often feature depths ranging from 30 to 35 centimeters, but exceptionally large sizes or bulky athletic shoes may overhang if the shelf is too shallow.

To calculate the horizontal width needed per tier, line up your typical daily shoes side-by-side as they would sit on a shelf. Measure the total width of this lineup, or calculate an average of 20 to 25 centimeters of horizontal space per adult pair, and 15 to 20 centimeters per child’s pair. For example, if you want to store four pairs of adult sneakers on a single tier, you will need a minimum continuous shelf width of 80 to 100 centimeters.
Vertical clearance is equally critical for preventing damage to your footwear and ensuring easy retrieval. Measure the height of your tallest daily shoes, such as ankle boots or high heels, and compare this to the vertical distance between the shelves of any rack you are considering. Many fixed-tier racks offer a standard clearance of 15 to 20 centimeters, which is suitable for flats and low-top shoes but insufficient for taller boots unless the top shelf is used.
Always compare your calculated dimensions directly against the manufacturer’s detailed specification sheets before purchasing. Look for the exact usable shelf width and depth rather than the overall external dimensions of the unit, as frame pieces and mounting brackets can sometimes reduce the actual storage area. This step ensures that your shoes will sit securely on the rack without awkward overlapping or hanging over the edges.
Evaluating Wall Space and Installation Limits
A wall-mounted shoe rack is only as reliable as the wall supporting it, making a thorough structural assessment essential before installation. Begin by measuring the designated wall zone with a tape measure, noting any potential obstructions such as baseboards, light switches, electrical outlets, or door swings. Ensure there is adequate clearance for household members to walk past the rack comfortably without bumping into protruding shoes.
Identifying your wall material is the most critical safety step in the planning process. In many modern homes, interior walls are constructed of drywall or plasterboard over timber studs, while older properties or structural walls may consist of solid masonry, brick, or concrete. Each of these materials requires specific mounting hardware; standard plastic wall plugs designed for masonry will not hold securely in drywall under the weight of multiple pairs of shoes.
To ensure a secure hold, locate the timber studs behind drywall using a stud finder and plan to anchor the main mounting brackets directly into these structural members. If the rack’s mounting points do not align with your studs, you must use heavy-duty hollow-wall anchors, such as toggle bolts, that are rated for the anticipated load. For solid masonry or concrete walls, use appropriate masonry anchors and a hammer drill to create precise pilot holes.
Always check the manufacturer’s stated weight capacity for both the individual tiers and the entire unit. A single pair of adult shoes can weigh anywhere from 0.5 to 1.5 kilograms, meaning a fully loaded twelve-pair rack can easily exert a continuous downward force of 12 to 18 kilograms on your wall anchors. If your wall structure is damaged, crumbling, or of unknown composition, stop the installation immediately and consult a qualified professional to assess the load-bearing capacity.
Selecting the Right Rack Configuration
Choosing the right configuration depends on whether your shoe collection is highly uniform or constantly changing. Fixed-tier wall-mounted racks feature welded or permanently fastened shelves that offer excellent stability and a clean, predictable aesthetic. These units are highly suitable for households with consistent shoe styles, such as a collection consisting primarily of flat dress shoes, low-profile sneakers, or sandals.
For households with a diverse mix of footwear, modular or adjustable-tier systems provide the necessary flexibility to adapt to different shoe heights. These systems typically utilize vertical wall standards with adjustable brackets, allowing you to reposition individual shelves higher or lower as needed. This adaptability is particularly useful for transitioning between summer sandals and winter boots without leaving empty, wasted vertical space.
Fold-down or floating shelf options are popular for narrow hallways and tight entryways due to their minimalist footprint. However, because these designs often rely on cantilevered support or moving hinges, they are subject to increased leverage and dynamic stress when shoes are placed on or removed from them. Only select these configurations if the manufacturer explicitly confirms they are structurally rated for the dynamic load of your specific footwear volume.
Regardless of the style you choose, prioritize units that feature robust joints, reinforced mounting plates, and durable finishes. For high-moisture environments or entryways exposed to wet weather, check the manufacturer’s care instructions to ensure the finish can withstand occasional dampness from wet soles. Inspecting the physical construction of the joints and brackets prior to assembly will give you a clear indication of the rack’s long-term stability.
Common Capacity and Sizing Mistakes to Avoid
One of the most frequent mistakes when installing a wall-mounted shoe rack is assuming that all wall materials can bear the same load. Using the basic hardware included in the product packaging without verifying its compatibility with your specific wall type often leads to loose anchors and sagging shelves. Always purchase high-quality, specialized anchors if the included hardware does not match your wall material.
Another common error is relying solely on the manufacturer’s advertised “pair capacity” without checking the physical dimensions. A rack advertised as holding twelve pairs may only achieve that capacity if the shoes are narrow flats or children’s sizes. Placing bulky running shoes or wide boots on the same rack will inevitably reduce the actual capacity, forcing you to overlap shoes or store fewer pairs than planned.
Finally, avoid the temptation to overcrowd the shelves or exceed the manufacturer’s maximum weight limits. Overloading a wall-mounted unit places excessive stress on the mounting brackets and wall anchors, which can lead to structural bowing, plaster damage, or the entire unit pulling out of the wall. Respecting the weight limits and maintaining a small gap between pairs ensures both the safety of your installation and the longevity of your walls.
Frequently Asked Questions (FAQ)
Can I install a wall mounted shoe rack on a hollow door?
Hollow-core doors generally lack the internal structural integrity and wood density required to support the dynamic weight of a loaded shoe rack. Attempting to mount a heavy storage unit directly onto a hollow door can cause the thin outer veneer to crack, warp, or pull away from the frame under tension. Before attempting any door-mounted installation, check the door manufacturer’s specifications and consult a professional to verify if the door is solid-core or rated for hanging loads.
How do I clean and maintain a wall mounted shoe rack to ensure longevity?
To preserve the structural integrity and appearance of your rack, perform regular dusting and wipe the surfaces with a slightly damp microfiber cloth according to the manufacturer’s material care instructions. Avoid using harsh chemical cleaners or abrasive pads, which can degrade protective finishes and expose the underlying material to moisture. Additionally, conduct periodic visual checks of the mounting hardware and wall anchors to ensure no loosening, rust, or wall stress cracks have developed over time.

Community discussion
Share your experience or ask a question. Comments are reviewed before publication.