
Selecting the right shoes rack capacity requires balancing the physical size of your footwear collection with the actual dimensions of your living space. A rack that is too small leads to cluttered entryways, while an oversized unit can obstruct daily foot traffic and make a room feel cramped. By systematically auditing your shoes, measuring your layout, and evaluating structural configurations, you can find a storage solution that keeps your home organized and your footwear protected.
Audit Your Shoe Collection to Determine Required Capacity
To find the ideal capacity, start by gathering every pair of shoes in your household. Group them into categories such as daily wear, seasonal items, and special occasion footwear. This categorization helps identify which shoes need to be immediately accessible at the entryway and which can be stored in secondary locations like closets or under-bed organizers.
Pay close attention to the physical dimensions of different shoe types. Standard flats, sandals, and low-profile sneakers take up minimal vertical and horizontal space. However, high-top sneakers, thick-soled running shoes, platform heels, and tall boots require significantly more clearance. Measuring the widest and tallest pairs in your collection ensures you do not underestimate the space each pair occupies.
Products mentioned in this guide
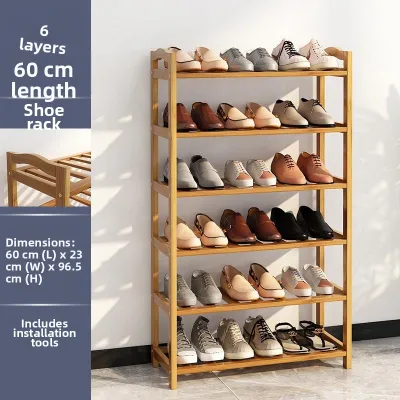
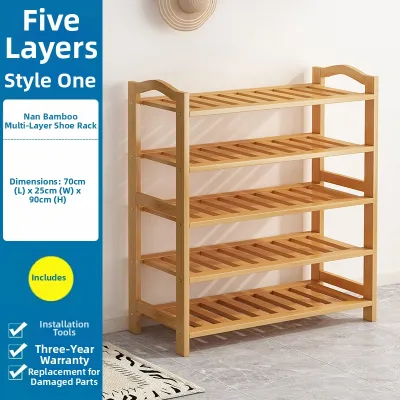
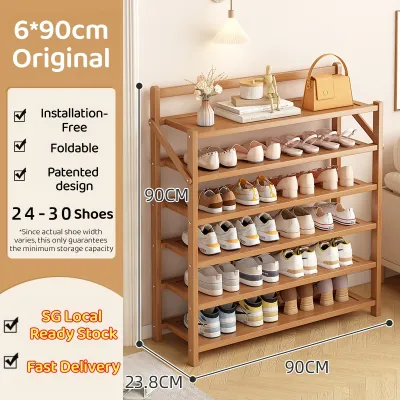
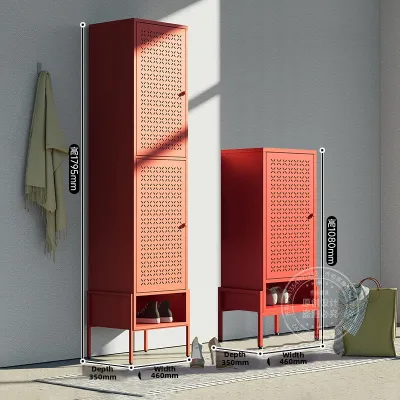
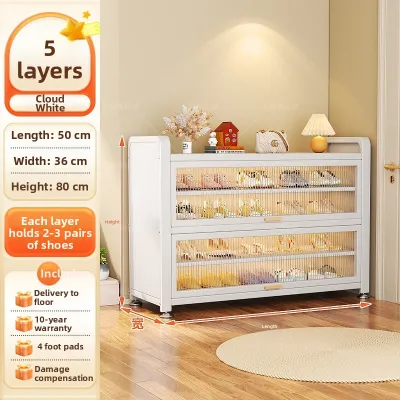
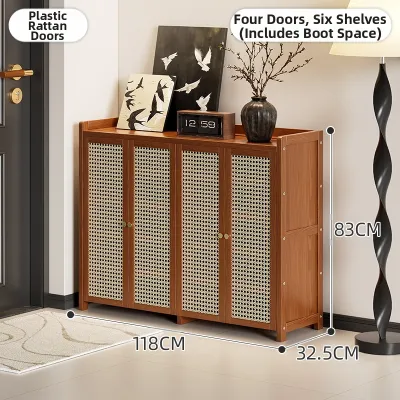
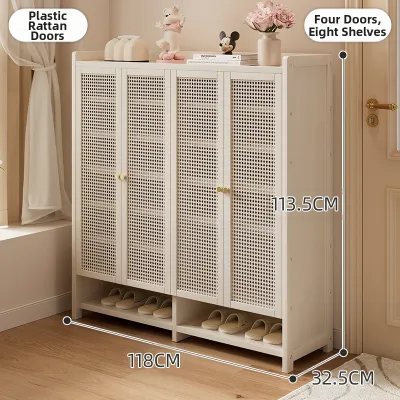
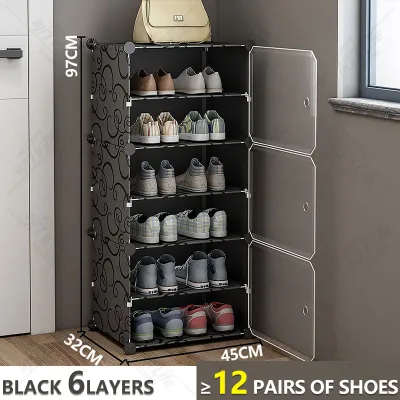
Prices are valid at publication and may change. Please refer to the product page for the latest price.
Anticipate future acquisitions when calculating your target capacity. If you or other household members frequently purchase new footwear, adding a buffer of twenty to thirty percent to your current pair count is a practical way to prevent your new shoes rack from overflowing within a few months.
Translate your final pair count into physical tiers or compartments. A standard shelf tier typically accommodates two to three pairs of flat shoes. If your collection consists mainly of bulky athletic shoes or wide boots, you must plan for fewer pairs per tier or opt for wider shelves to avoid squeezing and damaging the materials.
Measure Your Space and Check Clearance for Movement
Before purchasing any shoes rack, you must measure the designated installation area with high precision. Use a metal measuring tape to record the maximum width, depth, and height available. Do not rely on visual estimates, as even a few centimeters of discrepancy can prevent a furniture piece from fitting flush against the wall.

Take note of architectural obstacles that might restrict the placement of the rack. Baseboards often prevent furniture from sitting completely flat against a wall, which can affect the depth clearance. Door frames, light switches, electrical outlets, and wall moldings must also remain unobstructed and accessible after installation.
Consider the logistics of moving the shoes rack into your home. If you live in an apartment or multi-story house, measure the width and height of your entryway, stairwells, and lift doors. Pre-assembled or heavy wooden units can be difficult to maneuver through tight corners, so verifying these dimensions beforehand prevents delivery day complications.
Account for the dynamic space required during daily use. A shoes rack should not block the natural swing path of your front door or adjacent room doors. Furthermore, ensure there is enough clearance for you to comfortably bend down, open cabinet doors, or pull out drawers without bumping into opposite walls or other furniture pieces.
Match Rack Dimensions and Tier Configurations to Your Layout
The layout of your home largely dictates whether a vertical or horizontal shoes rack is more appropriate. For narrow hallways or compact entryways, a tall, vertical tower utilizes unused wall space while keeping the floor footprint minimal. Conversely, a wide, low-profile bench design works well in spacious foyers, offering the added benefit of a seating surface while putting on shoes.
Adjustable shelving is highly beneficial for households with diverse footwear styles. Racks with removable or repositionable pegs allow you to customize the height of individual tiers. This flexibility means you can allocate taller clearances for winter boots or high heels, and narrower clearances for sandals, thereby maximizing vertical storage efficiency.
Modular and expandable designs offer excellent adaptability for growing households. Some metal or plastic utility racks allow you to stack additional units vertically or extend them horizontally as your storage needs change. This eliminates the need to purchase an entirely new organizer when your collection expands.
If floor space is extremely limited, wall-mounted or over-the-door organizers are viable alternatives. However, these options require careful evaluation of structural integrity. Wall-mounted racks must be anchored securely to studs or appropriate wall anchors to support the weight of multiple pairs of shoes, while over-the-door models must not put excessive strain on door hinges.
Evaluate Stability, Materials, and Ventilation for Daily Use
Stability is a critical safety consideration, particularly for tall and narrow shoes rack models. As you load shoes onto the upper tiers, the center of gravity shifts upward, increasing the risk of the unit tipping over. Always check if the manufacturer provides wall-anchoring hardware, and ensure the rack is placed on a level surface.
The choice of material affects both the durability and maintenance of your storage unit. Metal racks with powder-coated finishes resist moisture and are easy to wipe clean, making them suitable for wet footwear. Engineered wood and solid wood offer a more polished, furniture-like appearance but require protective liners or water-resistant finishes to prevent warping from damp soles.
Plastic and resin options are lightweight, highly resistant to water, and generally budget-friendly, though they may lack the structural rigidity of metal or solid wood. When selecting plastic components, check the thickness and joint connections to ensure they will not sag under the weight of heavier boots or work shoes.
Ventilation is essential for maintaining footwear hygiene and preventing unpleasant odors. Open-tier designs, such as wire grids or slatted wooden shelves, allow maximum airflow around the shoes, helping damp footwear dry quickly. Enclosed cabinets provide a neat, dust-free environment but should feature ventilation holes or slatted doors to prevent moisture buildup.
Avoid Common Sizing and Capacity Planning Mistakes
A frequent mistake is planning storage capacity based solely on barefoot dimensions or standard shoe sizes. Footwear outer soles are always wider and longer than the feet that wear them. Bulky running shoes, heavy work boots, and shoes with flared heels require extra physical clearance, so always measure the actual outer dimensions of your largest shoes.
Many homeowners forget to account for shoebox storage when selecting a rack. If you prefer to keep special occasion or high-end shoes in their original boxes, you will need significantly deeper and taller shelves. Standard open racks are often too shallow to accommodate boxes without them protruding into the walkway.
Ignoring the physical mechanics of daily retrieval can lead to frustration. A rack that fits perfectly in a corner might become unusable if a nearby closet door blocks access to the shelves. Always simulate the motion of opening the rack’s doors or drawers while standing in front of it to ensure comfortable access.
Lastly, avoid purchasing units with entirely fixed-height tiers unless you only plan to store uniform flat shoes. Fixed clearances often result in wasted vertical space above low-profile shoes, while simultaneously forcing you to store taller boots sideways, which can crease and damage the upper materials over time.
Frequently Asked Questions (FAQ)
How many pairs of shoes fit on a standard tier?
A standard shelf tier measuring between 60 cm and 80 cm in width typically accommodates two to three pairs of adult flat shoes or standard sneakers. However, this capacity varies depending on the style and size of the footwear. Wide athletic shoes, heavy boots, or high-heeled shoes take up more horizontal space, which may reduce the capacity of a single tier to just two pairs. To get an accurate estimate, line up your most frequently worn shoes side-by-side on the floor and measure the total width they occupy.
Can I use a shoe rack outdoors or in a wet area?
Yes, but you must select materials specifically designed to withstand moisture and temperature fluctuations. Rust-proof metals like stainless steel or powder-coated aluminum, treated hardwoods, and high-density plastics are suitable for sheltered outdoor areas like balconies or covered porches. Avoid placing untreated engineered wood or non-UV-resistant plastics in direct sunlight or areas exposed to heavy rain, as moisture will cause warping and swelling, while solar exposure can degrade and discolor the materials.
Community discussion
Share your experience or ask a question. Comments are reviewed before publication.