
Choosing between an over-the-door hook and an adhesive door hanger for your rental flat depends on two primary factors: your door’s physical clearance and its surface material.
Select an over-the-door hook if your door frame has at least 2mm to 3mm of top clearance, a solid structure, and you need to hang heavier items like bags or wet towels without touching the door’s face. This option avoids surface contact entirely, making it highly rental-friendly.
Opt for an adhesive door hanger if your door fits tightly in its frame, has a delicate or painted finish, or if you want to position the hanger at a specific height. However, this requires a completely smooth, non-porous surface and careful removal to prevent peeling.
Products mentioned in this guide
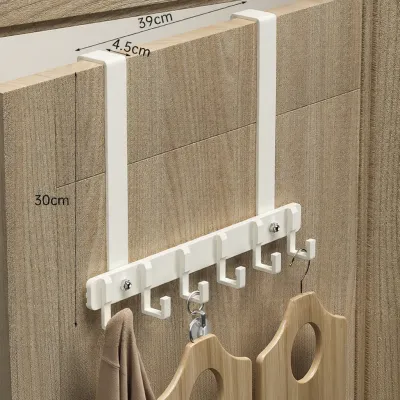
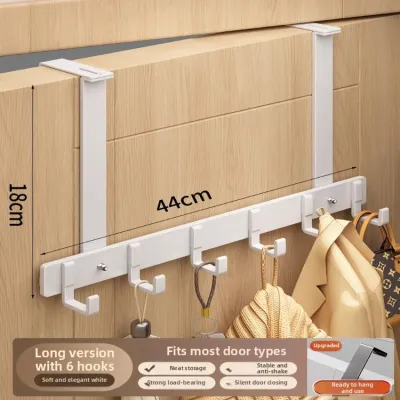

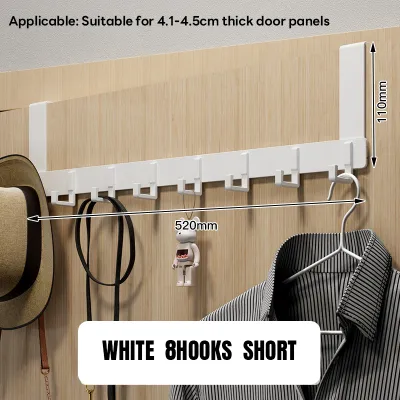
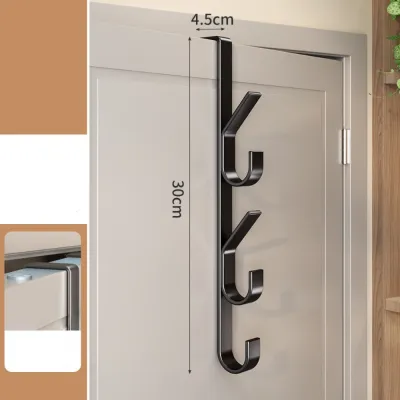
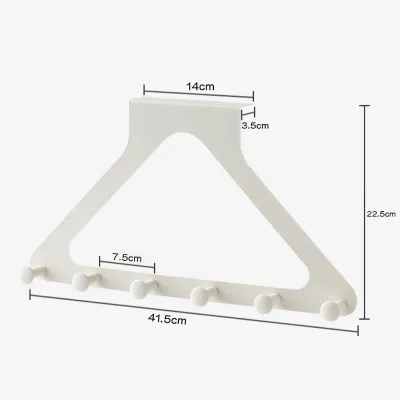
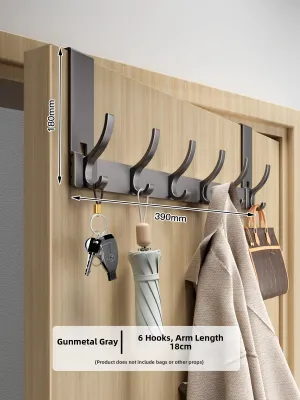
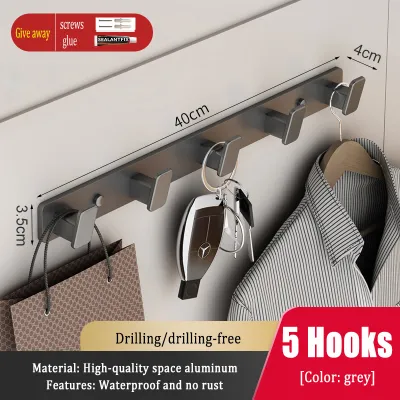
Prices are valid at publication and may change. Please refer to the product page for the latest price.
Always review your tenancy agreement and inspect the door material before buying any door hanger to protect your security deposit from damage claims.
Assessing Your Door and Rental Constraints
Before purchasing any door hanger, you must evaluate the physical characteristics of your doors and the specific rules of your tenancy. In Singapore, rental properties—whether HDB flats or private condominiums—feature a variety of door types. Main doors are typically heavy, solid wood or fire-rated structures, while bedroom doors are frequently lighter hollow-core wood or laminate. Bathroom doors are often made of PVC, aluminum, or glass. Each of these materials interacts differently with mounting hardware.
Solid wood doors can handle heavier loads but are susceptible to surface scratches. Hollow-core doors have thin outer veneers that can warp or puncture under concentrated weight, and their painted or laminated finishes can peel easily under adhesive tension. Metal and glass doors are highly compatible with specific adhesives but cannot tolerate scratching or drilling. Identifying your door’s material is the first step in narrowing down your options.
Next, you must measure the physical clearance around the door. Open and close the door while observing the gap between the top edge of the door and the frame. You can test this clearance by placing a thin piece of cardboard or a coin on top of the door and closing it. If the door scrapes or jams, an over-the-door bracket will not fit and will likely cause structural damage to the frame or hinges.
Finally, review your tenancy agreement clauses regarding wall and door modifications. Most standard agreements require the tenant to return the property in its original condition, prohibiting drilling or permanent alterations. Even minor paint peeling or adhesive residue on a bedroom door can lead to landlords demanding professional repainting or door replacement, which can be deducted from your security deposit.
Over-the-Door Hooks: Mechanism, Pros, and Limitations
Over-the-door hooks operate on a simple gravity and friction-based mounting mechanism. The bracket curves over the top edge of the door, allowing the weight of the hung items to pull downward and transfer the load to the top of the door frame. This design requires absolutely no tools, screws, or adhesives, making it an incredibly convenient option for quick organization.

However, this mechanism relies entirely on adequate top clearance. If the bracket is too thick for the gap between the door and the frame, closing the door forces the metal or plastic against the frame. This can lead to deep gouges, paint chipping, or a door that refuses to latch properly. Over time, forcing a tight door closed over a bracket can also misalign the door hinges.
Weight capacity for over-the-door hooks is generally higher than adhesive options, but it is still limited by the bracket’s material and the door’s structural integrity. A heavy-duty steel bracket on a solid wood door can support substantial weight, but the same bracket on a thin hollow-core door might cause the door to sag. Always check the manufacturer’s packaging for the rated weight limit of the specific door hanger.
Another critical limitation is the risk of friction damage. As the door is opened and closed throughout the day, the bracket shifts slightly. This constant micro-movement can wear away paint, varnish, or laminate, leaving bare wood or metal exposed. To prevent this, look for brackets that include protective foam or felt padding on the interior surfaces.
Adhesive Door Hangers: Mechanism, Pros, and Limitations
Adhesive door hangers rely on pressure-sensitive adhesives to bond with the door’s surface. This mechanism allows for highly flexible placement, as you can mount the hanger at any height on the door face rather than being restricted to the very top. This is particularly useful for children’s rooms or for hanging specific accessories at eye level.
For these hangers to function correctly, the adhesive requires a completely smooth, clean, and non-porous surface to achieve a secure bond. Textured wood grain, matte paint, and porous surfaces do not allow the adhesive to make full contact, which significantly reduces its holding power. Proper surface preparation is critical to prevent the hanger from falling.
Weight limits for adhesive hangers are strictly defined by the manufacturer and are typically lower than those of metal over-the-door hooks. Exceeding these limits, or hanging items before the adhesive has fully cured, can cause the hanger to fail suddenly. This risks damaging both the door surface and the items that fall.
Removal is the most high-risk phase of using adhesive hangers in a rental flat. When applied to painted hollow-core doors or low-quality laminates, the adhesive bond can sometimes be stronger than the paint’s bond to the wood. During removal, the adhesive can pull the paint or veneer right off the door. Additionally, the high humidity levels in Singapore can cause certain adhesives to degrade, leaving a sticky, stubborn residue that is difficult to clean without damaging the finish.
Comparing Over-the-Door and Adhesive Hangers
To help you decide which option fits your specific living situation, compare the key operational differences between these two common door hanger types.
| Feature | Over-the-Door Hooks | Adhesive Door Hangers |
|---|---|---|
| Mounting Mechanism | Gravity and top-edge bracket | Pressure-sensitive adhesive |
| Ideal Door Types | Solid wood, metal, or sturdy frames with >2mm top clearance | Smooth, non-porous surfaces (glass, metal, sealed laminate) |
| Weight Capacity | Typically higher (verify on packaging) | Lower to moderate (strictly limited by adhesive rating) |
| Installation Effort | Instant, no tools or preparation required | Requires surface cleaning, precise placement, and curing time |
| Removal Risks | Metal friction or paint scraping on the top edge | Paint peeling, laminate tearing, or sticky residue |
| Best Suited For | Heavy coats, bags, and frequently moved organizers | Light accessories, keys, towels, and doors with tight clearances |
All parameters should be verified against the specific product labels and your physical door measurements before installation.
How to Install and Remove Without Damaging Your Door
To ensure your door hanger remains secure without risking your security deposit, follow these step-by-step installation and removal procedures.
Installing Over-the-Door Hooks
First, inspect the bracket for any sharp metal burrs or rough edges left over from manufacturing. If the bracket does not come with pre-installed padding, apply thin felt or foam pads to the inside surfaces that will make contact with the door.
Next, place the bracket over the top of the door and gently test closing it. If you feel any resistance or hear scraping, remove the bracket immediately. Do not force the door closed, as this indicates insufficient clearance.
Installing Adhesive Door Hangers
Begin by cleaning the target area thoroughly using isopropyl alcohol to remove oils, dust, and fingerprints. Avoid using household spray cleaners, as they often leave a slippery residue that prevents proper adhesive bonding.
Allow the surface to dry completely. Peel the backing from the adhesive strip, position the hanger carefully, and press it firmly against the door for the duration specified by the manufacturer (usually 30 seconds).
Wait the full curing time recommended on the packaging—often 1 to 24 hours—before hanging any items. Skipping this step is the primary cause of adhesive failure.
Removing Adhesive Door Hangers
Never pull the hanger straight off the door, as this is guaranteed to peel the paint or damage the laminate. If you are using stretch-release adhesive strips, grasp the removal tab and pull it slowly and straight down, parallel to the door surface.
For standard adhesives, use a hairdryer on a low-heat setting to gently warm and soften the adhesive backing before attempting to peel it. This reduces the bond strength and protects the underlying paint.
Stop immediately if you see the paint or laminate beginning to lift. If this occurs, consult the door or hardware manufacturer for alternative removal solvents or professional advice.
Frequently Asked Questions (FAQ)
Can I use adhesive hooks on a hollow-core door?
Hollow-core doors often feature thin wood veneers or delicate paint finishes that are highly susceptible to peeling under adhesive stress. If you must use an adhesive hook on a hollow-core door, check the door manufacturer’s care instructions first. It is also wise to test a small, inconspicuous area of the door if permitted by your landlord, and strictly adhere to the hook’s weight limits.
Will over-the-door hooks scratch my wooden door?
Bare metal brackets can easily scratch varnished or painted wood due to the micro-movements caused by daily door usage. To prevent this, verify that the bracket has foam or felt protective pads on its underside before hanging it. If the pads wear down over time, replace them immediately with standard furniture felt pads to maintain a protective barrier.

Community discussion
Share your experience or ask a question. Comments are reviewed before publication.