
Designing a custom microwave cabinet requires balancing seamless aesthetics with strict safety and operational standards. In Singapore’s compact high-rise kitchens, maximizing counter space often means integrating appliances directly into the cabinetry. However, a microwave generates significant heat and moisture during operation, which must escape to prevent damage to both the appliance and your woodwork. To achieve a flawless fit, you must provide your carpenter or cabinet brand with precise physical dimensions, clearance requirements, and ventilation paths. By planning these details before manufacturing begins, you ensure your kitchen remains safe, functional, and visually cohesive.
Gather Exact Appliance Specifications Before Designing
Before your carpenter draws the first line of your kitchen layout, you must select and purchase—or at least finalize the exact model of—your microwave. Relying on generic appliance sizes is a common mistake that can lead to costly retrofitting. Every manufacturer specifies unique physical dimensions and operational tolerances that dictate how the appliance must be housed.
Locate the official user manual or technical specification sheet for your exact microwave model. This document is your primary reference guide throughout the design process. Do not rely on retail website descriptions, as they may omit critical details like rear protrusions, handle depths, or feet heights.
Products mentioned in this guide
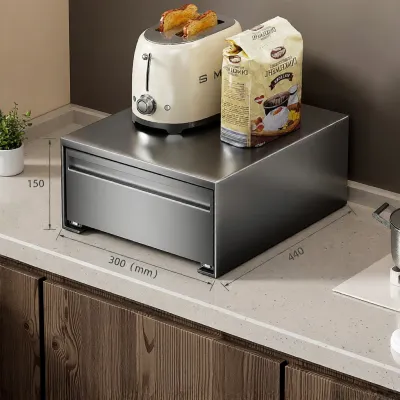
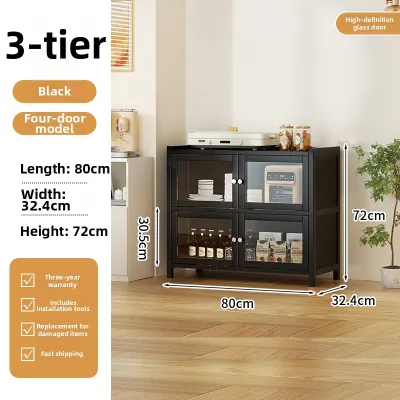
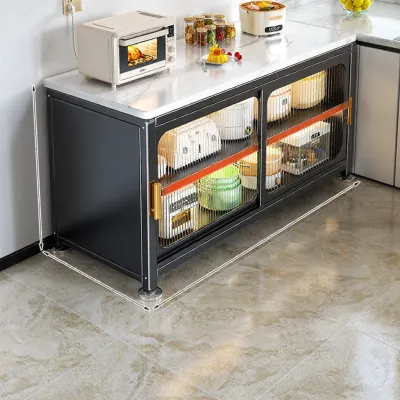
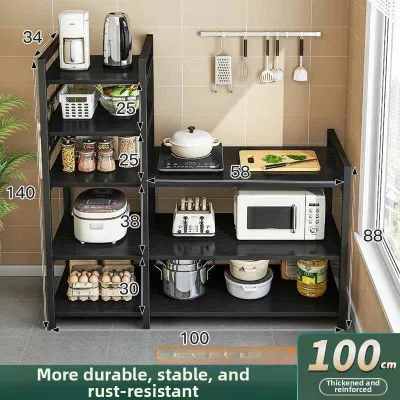
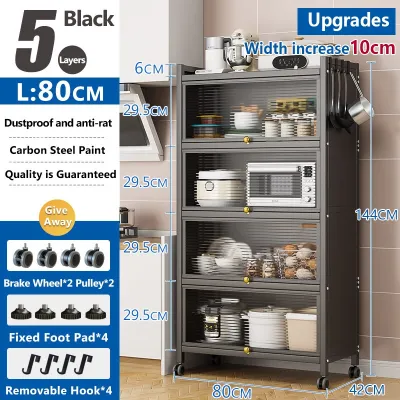
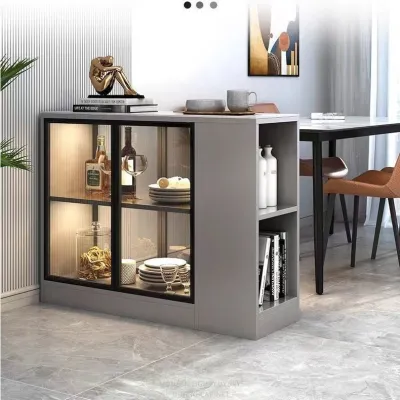

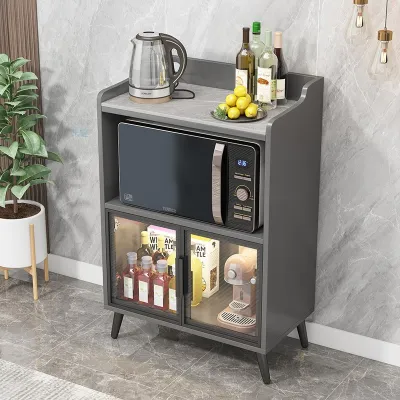
Prices are valid at publication and may change. Please refer to the product page for the latest price.
Record the precise external width, height, and depth of the unit. Additionally, measure the door swing radius and hinge mechanism. Some microwave doors require extra lateral clearance to open fully, which can impact adjacent cabinet doors or block narrow kitchen walkways in tight galley layouts.
Identify the manufacturer’s mandatory clearance requirements. These are the minimum open spaces required at the top, sides, and rear of the appliance to allow heat to dissipate safely. These specifications vary significantly between solo, grill, and convection microwave models.
Calculate the Required Internal Cabinet Dimensions
Translating your appliance’s physical dimensions into the internal net dimensions of a custom cabinet requires careful calculation. The internal cavity must be larger than the microwave itself to accommodate the manufacturer’s specified clearances. Your carpenter will need these exact internal net measurements to build a safe housing unit.

To find the minimum internal width, add the required left and right side clearances to the external width of the microwave. For the internal height, add the top clearance to the appliance’s height. The internal depth must combine the microwave’s depth with the rear clearance, ensuring there is enough space for the power plug and cord without bending them sharply.
You must also account for the physical structure of the cabinetry itself. Cabinet walls, back panels, internal shelving, and decorative face frames all reduce the usable internal space. Ensure your carpenter understands that your specified dimensions represent the net usable space inside the cavity, not the external dimensions of the cabinet box.
Pay close attention to how the microwave sits relative to the front edge of the cabinet. If the cabinet is too shallow, the microwave door or control panel may protrude awkwardly. Conversely, if it is too deep, accessing the control panel might feel recessed and inconvenient. A flush or slightly recessed finish is typically preferred for a clean, integrated look.
Plan for Adequate Ventilation and Heat Dissipation
Proper airflow is the most critical factor in ensuring the longevity of both your microwave and your custom cabinetry. Microwaves pull in cool air and expel hot, moisture-laden air during use. If this heat is trapped inside a sealed wooden box, it can warp the cabinet panels, peel laminates, and cause the appliance to overheat.
Determine the required ventilation type based strictly on your appliance manual. Microwaves generally vent in one of three ways: rear venting, top venting, or front venting. Built-in models often feature front-venting trim kits that direct heat away from the cabinet, while standard countertop models typically vent to the rear or sides, requiring larger internal air gaps.
Specify the size and placement of ventilation grilles or cutouts in the cabinet panels. For rear-venting units, your carpenter should cut a generous opening in the back panel or leave the back of the cavity entirely open to allow heat to escape into the wall cavity or adjacent service voids. If the cabinet is stacked vertically with other appliances, an integrated ventilation shaft running up the back of the tall unit may be necessary.
Ensure the airflow path remains completely unobstructed. Avoid storing items like cookbooks, oven mitts, or plastic containers in the clearance spaces surrounding the microwave. A clear, continuous path from the intake vents to the exhaust outlet is essential for maintaining safe operating temperatures.
Coordinate Electrical and Structural Requirements
A custom microwave cabinet must be structurally sound and electrically compliant to prevent safety hazards. Microwaves are heavy appliances, especially convection models that combine microwave and oven technologies. The shelf or base supporting the unit must be engineered to handle this weight without sagging over time.
Verify that the cabinet shelf can support the weight of your specific microwave plus the heaviest food items you plan to cook. Your carpenter may need to reinforce the shelf with thicker plywood, support brackets, or double-panel construction. This is particularly important for wall-mounted cabinets or floating shelf designs.
Plan the placement of the electrical outlet carefully. It is highly recommended to place the socket in an adjacent cabinet or an easily accessible compartment rather than directly behind the microwave. If the outlet is directly behind the unit, the plug will require extra depth, and you will not be able to quickly cut power to the appliance in an emergency without physically pulling the heavy microwave out of its cavity.
Select heat-resistant materials and finishes for the interior surfaces of the cabinet cavity. High-pressure laminates, solid wood with heat-resistant sealants, or stainless steel liners are excellent choices. In Singapore’s humid climate, using moisture-resistant materials like high-grade plywood instead of standard particleboard can help mitigate swelling and mold growth from trapped steam.
Final Checks Before Manufacturing and Installation
Before giving your cabinet brand or carpenter the green light to manufacture, conduct a thorough review of the technical drawings. Double-check that all dimensions, clearances, and ventilation cutouts are explicitly marked and understood. It is much easier to correct a drawing than to modify a finished cabinet on-site.
Confirm that the installation site allows for safe delivery and maneuvering. Measure your doorways, hallways, and lift access to ensure the pre-assembled cabinet carcass can be brought into your home without damage. Also, verify that the microwave itself can be easily lifted and slid into the cavity during installation.
Once the cabinet is installed, perform a physical fit test before finalizing the project. Slide the microwave into place, check that the door opens fully without rubbing against adjacent panels, and verify that the power cord is not pinched. Run a brief test cycle to observe the airflow and ensure that heat is dissipating through the planned ventilation paths as intended.
Frequently Asked Questions (FAQ)
Can I use a standard cabinet size for a built-in microwave?
Standard off-the-shelf cabinets rarely match the precise clearance and ventilation requirements of specific built-in microwave models. While you might find a standard cabinet that physically fits the external dimensions of your appliance, it often lacks the necessary rear depth or side clearances required for safe operation. Always consult your appliance manual first; if a standard cabinet coincidentally meets all safety and airflow specifications, it may be used, but custom adjustments are highly recommended to guarantee safety and a seamless aesthetic.
What happens if the microwave cabinet lacks proper ventilation?
Inadequate ventilation causes heat and moisture to build up rapidly inside the cabinet cavity. This trapped heat can trigger the microwave’s internal thermal safety switch, causing the appliance to shut down unexpectedly during use. Over time, chronic overheating degrades internal electronic components, leading to premature appliance failure, while trapped moisture can warp wooden cabinet panels, peel edge banding, and encourage mold growth.

Community discussion
Share your experience or ask a question. Comments are reviewed before publication.