
To safely remove old, hardened furniture pads and install new anti-slip replacements, you must soften the degraded adhesive, gently pry away the old pad without scratching the furniture leg, and thoroughly clean the surface before applying the new pad. Over time, factory-installed felt or rubber pads degrade, turning into a sticky, hardened crust that fails to protect your floors and can even stain them. Replacing these worn-out components with a high-quality anti slip furniture pad restores stability, prevents sliding on smooth surfaces like polished marble, parquet, or vinyl, and safeguards your home’s flooring.
Taking a systematic approach ensures you do not gouge the wood, lift delicate veneers, or ruin painted finishes during the transition. In humid climates like Singapore, moisture can accelerate adhesive breakdown, turning old pads into a gummy, stubborn mess. By using the right tools and techniques, you can easily refresh your furniture legs and keep your floors pristine.
Assessing the Old Pads and Furniture Finish
Before reaching for any tools, evaluate both the old pad material and the underlying structure. Worn pads typically fall into three categories: compressed felt that has collected grit, hardened rubber that has become brittle or sticky, and cracked plastic glides. Each material interacts differently with adhesives and age. For instance, old rubber pads often undergo chemical degradation, bonding tenaciously to the wood grain or metal surface beneath them.
Products mentioned in this guide
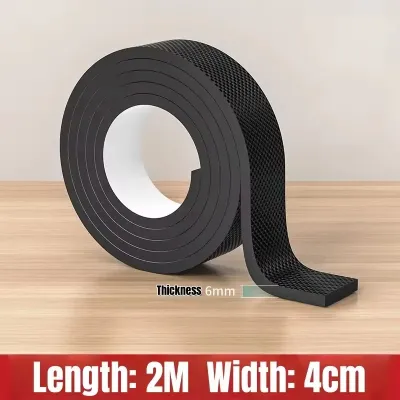
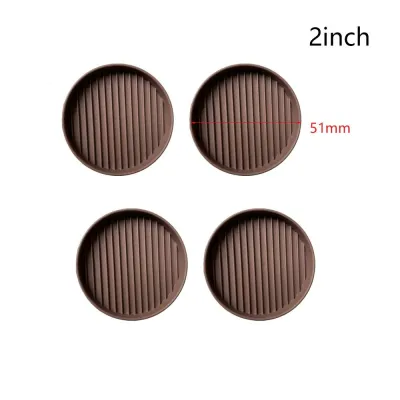
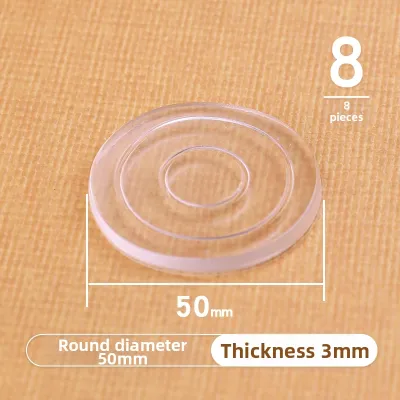
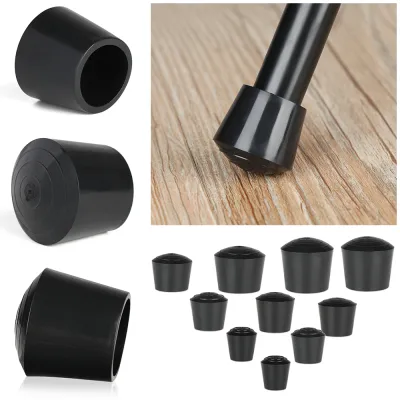
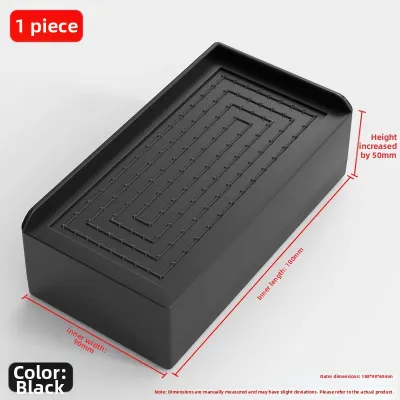
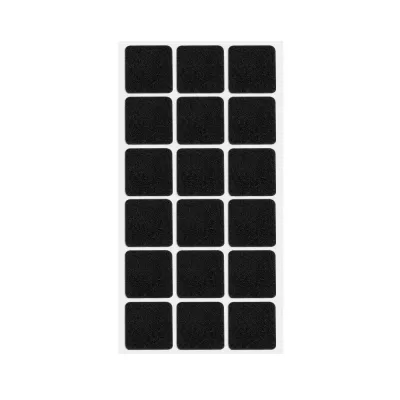
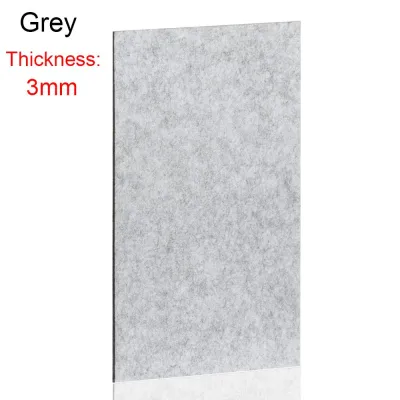
Prices are valid at publication and may change. Please refer to the product page for the latest price.
Next, identify the material of the furniture leg itself. Solid wood, wood veneer, metal, and painted finishes all have different tolerances for physical scraping and chemical solvents. Solid wood is relatively forgiving but can still gouge. Wood veneer is highly sensitive; excessive moisture or harsh solvents can seep under the thin decorative layer, causing the glue to dissolve and the veneer to lift or bubble. Painted and lacquered finishes can easily dissolve or discolor when exposed to strong chemical agents.
Because of these sensitivities, always perform a spot test before applying any adhesive remover or solvent. Select an inconspicuous area, such as the inner side of a back leg slightly above the foot, and apply a tiny drop of your chosen cleaning agent. Wait a few minutes, then wipe it off to check for any softening, discoloration, or loss of gloss in the finish. If the finish remains intact, you can proceed with confidence.
Tools and Materials for Safe Removal
Having the right tools on hand prevents accidental damage to your furniture legs. Avoid metal putty knives, screwdrivers, or razor blades, as these can easily slice into wood fibers or scratch metal coatings. Instead, gather gentle physical removal tools. A stiff plastic scraper, an expired credit card, or a plastic putty knife provides enough leverage to pry away hardened pads without gouging the surface.

For chemical assistance, select a mild adhesive softening agent tailored to your furniture’s finish. A mild citrus-based solvent is highly effective for breaking down stubborn glue residues and is generally safe for most cured finishes. Isopropyl alcohol works well on metal and solid wood but should be used with caution on varnished or lacquered surfaces, as it can dull the shine. For highly sensitive finishes or light adhesive residue, warm soapy water applied sparingly with a damp cloth is the safest starting point.
Finally, prepare your cleaning and finishing supplies. Keep several clean microfiber cloths nearby to wipe away dissolved adhesive and solvent residue. To restore the wood’s natural moisture and protect the freshly cleaned surface, have a suitable wood conditioner or mineral oil ready.
Step-by-Step Guide to Removing Hardened Pads
Begin by laying down a protective sheet or old towel to catch any debris or solvent drips. Turn the furniture piece upside down or lay it on its side to access the legs comfortably. Apply a small amount of your chosen softening agent directly to the hardened pad. If using warm soapy water or a citrus solvent, saturate a small section of a microfiber cloth and press it firmly against the old pad. Let it sit for three to five minutes to allow the liquid to penetrate the dried adhesive. Keep a close eye on the application; do not let liquid pool around the edges of wood veneer, as excessive moisture can cause the wood to swell or warp.
Once the adhesive has softened, slide your plastic scraper or old credit card flat against the bottom of the furniture leg, aiming for the seam between the pad and the wood. Apply gentle, steady pressure to slide the tool underneath the pad. If the pad is extremely hardened, work your way around the perimeter, prying slightly from different angles rather than forcing it from one side. If you encounter significant resistance, stop immediately. Forcing the tool can tear wood fibers or chip the finish. Reapply a small amount of solvent, wait another few minutes, and try again.
After the main body of the pad is removed, you will likely find a sticky or crusty layer of leftover glue. To clean this up, apply a fresh drop of solvent to a clean microfiber cloth. Rub the residue in gentle, circular motions. The friction, combined with the solvent, will roll the remaining adhesive into small beads that are easy to wipe away. Avoid scrubbing aggressively in one spot, which can wear down the finish. Continue wiping until the bottom of the furniture leg feels completely smooth to the touch, with no sticky patches or rough spots remaining.
Preparing the Surface for New Anti-Slip Pads
A clean, dry surface is absolutely essential for the adhesive on your new anti slip furniture pad to bond permanently. Any remaining solvent, oil, grease, or dust will act as a barrier, preventing the new adhesive from making full contact with the furniture leg. Wipe the bottom of each leg thoroughly with a clean, dry microfiber cloth to remove any traces of the cleaning agents used during the removal process.
Moisture is a primary cause of premature adhesive failure, particularly in high-humidity environments like Singapore. If the wood has absorbed any moisture during the cleaning process, let the furniture air-dry completely in a well-ventilated room before proceeding. Even a microscopic layer of dampness trapped under a new pad can weaken the glue, causing the pad to slide off or peel away within a few weeks.
Before applying the new pad, run your finger over the bottom of the leg to check for flatness. If the surface is uneven, has deep gouges, or contains stubborn, dried-on residue that cannot be wiped away, you may need to perform a very light sanding. Use a fine-grit sandpaper and sand gently in the direction of the wood grain. This creates a smooth, flat surface and provides a slight texture for the new adhesive to grip. After sanding, wipe away all wood dust with a dry cloth.
Installing the New Anti-Slip Furniture Pads
When you are ready to install the new anti slip furniture pad, select a size that matches the bottom of the furniture leg as closely as possible. If the pads are slightly too large, trim them carefully with sharp scissors before peeling off the backing. Peel the protective paper from the adhesive side of the pad, taking care not to touch the sticky surface with your fingers, as skin oils can degrade the glue. Carefully align the pad with the center of the leg. Ensure there is no overhang; a pad that sticks out past the edge of the leg will collect dust, pet hair, and floor debris, which quickly compromises the adhesive and looks untidy.
Once the pad is perfectly aligned, press it firmly onto the bottom of the leg. Use your thumb or the palm of your hand to apply strong, even pressure across the entire surface of the pad for at least thirty seconds. Pay special attention to the edges and corners, pressing them down securely to eliminate any air pockets. This initial pressure is crucial for activating pressure-sensitive adhesives, ensuring a deep bond with the wood or metal surface.
After applying the pads, let the furniture rest undisturbed on its side or upside down for at least twenty-four hours to allow the adhesive to cure. Placing weight on the legs or sliding the furniture across the floor before the adhesive has fully cured can cause the pads to shift, leaving a sticky residue on your floors and requiring you to repeat the entire process.
Testing and Maintaining Your Anti-Slip Pads
Once the curing period is complete, carefully turn the furniture upright. Before placing heavy items on it or using it normally, perform a quick stability test. Gently push the furniture from different angles to ensure it sits level on the floor without rocking. The new anti-slip pads should provide immediate resistance to sliding, holding the piece securely in place on smooth surfaces like tiles or polished wood.
To keep your floors protected over the long term, establish a routine inspection schedule. Every three to six months, tilt your chairs, tables, and sofas to inspect the edges of the pads. Look for signs of lifting, shifting, or uneven wear. In high-traffic homes, pads can gradually compress or slide out of alignment due to constant lateral pressure. Catching a lifting pad early allows you to replace it before the bare furniture leg makes contact with your floor.
Over time, the bottom of anti-slip pads—especially those made of rubber or silicone—will naturally accumulate household dust, lint, and pet hair. This buildup acts as a barrier between the pad and the floor, significantly reducing its grip and causing the furniture to slide easily. To restore traction, gently wipe the bottom of the pads with a slightly damp microfiber cloth to remove debris. Avoid soaking the pads, and let them dry completely before sliding the furniture back into place.
Frequently Asked Questions (FAQ)
Can I use a hairdryer to soften hardened furniture pads?
Yes, you can use a hairdryer to soften stubborn, hardened adhesives, but you must proceed with caution. Heat liquefies dried glue, making physical removal much easier. However, excessive heat can dry out wood fibers, melt plastic pads, or cause delicate wood veneers to bubble and lift. To use this method safely, set your hairdryer to low or medium heat and hold it at least fifteen centimeters away from the leg. Move the hairdryer constantly to distribute heat evenly. Stop immediately if you notice any bubbling of the wood finish, discoloration, or a strong chemical odor.
What should I do if the new anti-slip pad does not stick properly?
If your new anti-slip pad fails to adhere, the most common culprit is invisible residue left on the surface, such as oils from your hands, leftover solvent, or fine dust. To troubleshoot, peel off the failing pad and clean the bottom of the furniture leg again using a small amount of isopropyl alcohol on a microfiber cloth. Let it dry completely. If the surface is uneven or highly textured, self-adhesive pads may struggle to make full contact. In these cases, consider switching to mechanical alternatives. Nail-on or screw-in anti-slip glides provide a permanent, mechanical attachment that does not rely on adhesives, making them ideal for heavily used dining chairs or furniture legs with irregular surfaces.

Community discussion
Share your experience or ask a question. Comments are reviewed before publication.