
To properly install an anti slip chair pad for maximum grip, you must match the pad material to your specific chair leg type, thoroughly clean the contact surface to remove all dust and oils, and apply the pad with firm, even pressure. Allowing the adhesive to cure fully before subjecting the chair to lateral movement ensures the pad remains anchored. This simple maintenance task protects your floors, reduces noise, and stabilizes your seating.
Assessing Chair Legs and Selecting Compatible Pads
Selecting the right anti slip chair pad requires a careful evaluation of your furniture’s physical characteristics. Begin by measuring the exact diameter or width of the leg base. A pad that is too small will not distribute weight evenly, while an oversized pad will overhang the edges. Overhanging pads easily catch on rugs, accumulate dust, and peel away prematurely. Use a precise measuring tape or caliper to get the exact dimensions before purchasing replacements.
The material of the chair leg dictates the most effective attachment mechanism. Wooden legs are highly versatile, accepting adhesive, slip-on, screw-in, or nail-on designs. Metal and plastic legs, however, have non-porous surfaces that require specialized adhesives or flexible slip-on caps. Matching the pad’s attachment style to the leg material prevents damage to the furniture and ensures a long-lasting bond.
Products mentioned in this guide
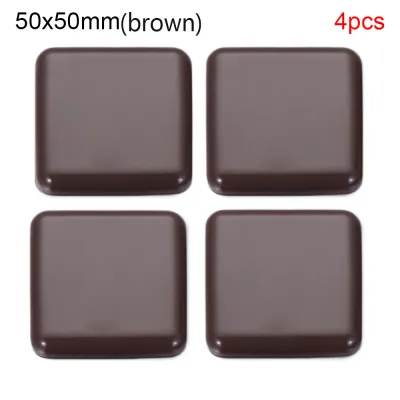
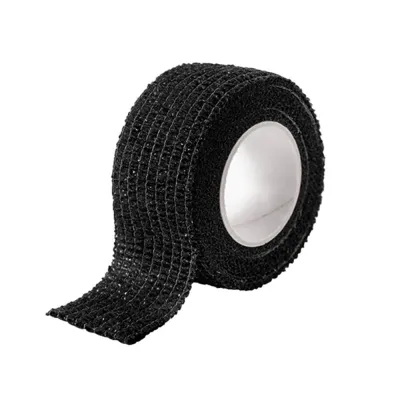
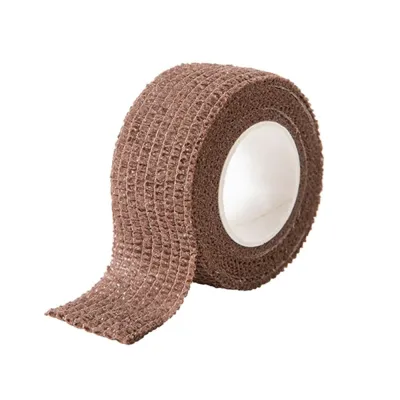
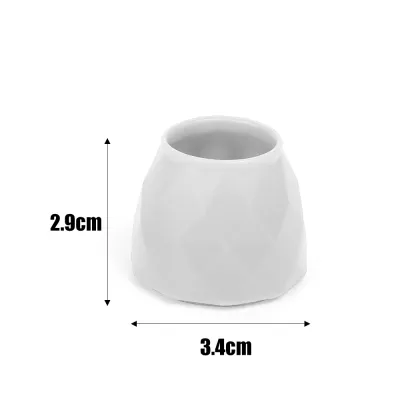
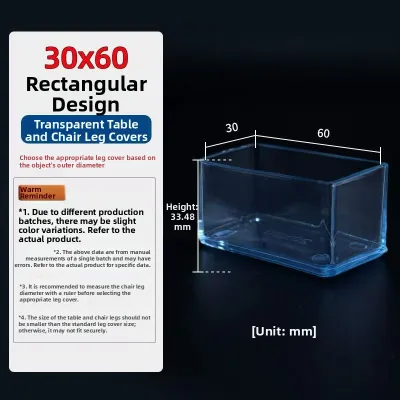
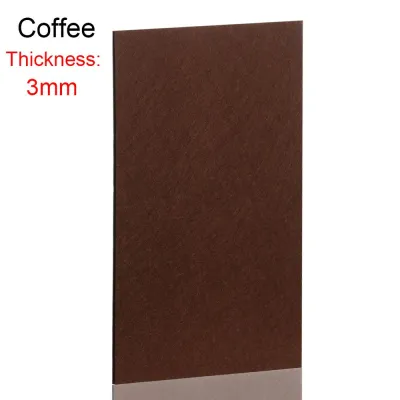
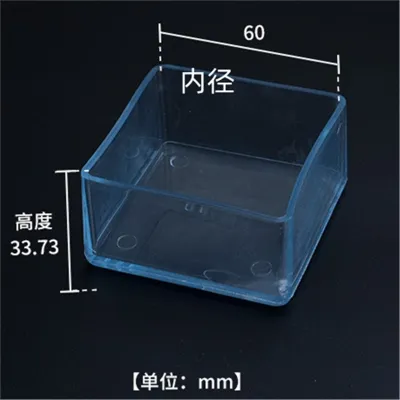
Prices are valid at publication and may change. Please refer to the product page for the latest price.
Consider the overall weight of the chair and how frequently it is used. Heavy dining chairs or frequently moved study chairs exert significant lateral force on the legs. For these high-stress applications, select pads with high-density felt or thick rubber that can withstand constant load-bearing pressure without flattening completely. Thinner, low-density pads are better suited for lightweight accent chairs that remain stationary most of the time.
Preparing the Surface for Maximum Adhesion
Achieving a durable bond depends heavily on how well you prepare the bottom of each chair leg. Over time, furniture legs accumulate a mixture of floor wax, dust, pet hair, and oils from cleaning products. If you apply a new pad directly over this invisible barrier, the adhesive will fail rapidly. Start by removing any old adhesive residue, glides, or worn-out pads using a flat tool, taking care not to gouge the leg material.

Once the old material is removed, clean the surface thoroughly. Isopropyl alcohol is highly effective for stripping away grease and fine dust without leaving a residue. For stubborn grime, a mild household cleaner can be used, but it must be rinsed off completely. Avoid using oily cleaners or wood polishes during this step, as they leave a slick film that prevents adhesives from bonding.
Moisture is a common cause of premature pad failure, especially in humid climates. After cleaning, allow the chair legs to dry completely in a well-ventilated room. Even a tiny amount of trapped moisture can weaken the adhesive backing before it has a chance to cure. If you are working with smooth, painted, or powder-coated metal legs, check the pad manufacturer’s instructions to see if lightly abrading the surface with fine-grit sandpaper is recommended to improve mechanical grip.
Step-by-Step Installation for Different Leg Types
Installing your new pads involves a systematic process of alignment, application, and setting. While the physical action of sticking or fastening a pad takes only a few seconds, rushing the process often leads to misalignment and uneven wear. Always review the manufacturer’s instructions for any specific curing or setting times before you begin the physical installation.
Attaching Pads to Round and Square Wooden Legs
When working with standard round or square wooden legs, precision is key to preventing uneven floor wear. Center the anti slip chair pad precisely on the flat base of the leg. If the pad is off-center, the chair’s weight will be distributed unevenly, causing the pad to slide sideways under pressure and eventually peel off.
Once the pad is aligned, apply firm, sustained pressure directly downward against the leg. Pressing hard for at least thirty seconds helps activate pressure-sensitive adhesives, creating a stronger initial bond. Avoid any twisting or sliding motions during this step, as lateral movement can disrupt the adhesive layer before it establishes a grip on the wood grain.
If you opt for mechanical fasteners like nail-on or screw-in pads, verify that the wood is thick enough to accept the hardware without splitting. Drill a small pilot hole in the exact center of the leg to guide the screw or nail straight. Only use the hardware provided by the manufacturer, and ensure the screw head sits fully recessed within the pad so it never makes direct contact with your flooring.
Securing Pads on Metal and Angled Legs
Metal and angled chair legs present unique installation challenges due to their non-porous surfaces and splayed orientations. Standard adhesive felt pads often struggle to grip smooth metal surfaces over the long term. For these materials, consider using heavy-duty, double-sided mounting tapes or specialized metal-compatible adhesives that form a stronger chemical bond with steel or aluminum.
Angled or splayed legs require careful alignment to ensure the pad makes full contact with the floor. If you apply a pad flat against a slanted leg end, only the outer edge of the pad will touch the ground when the chair is upright. This concentrated pressure causes rapid wear and uneven sliding. Adjust the pad or select angled glides so the contact surface sits completely flush with your flooring.
When applying flexible rubber or silicone slip-on caps to metal legs, avoid stretching the material excessively. While these caps need to fit snugly, over-stretching creates constant tension that pulls the edges upward over time. Slide the caps on gently, ensuring the bottom of the leg sits flat against the inside base of the cap without distorting its shape.
Verifying the Installation and Maintaining Grip
After completing the installation, perform a thorough visual and physical inspection of each chair leg. Check that all pads are centered, flush against the floor, and free of lifting edges. Gently rock the chair to confirm it sits level and does not wobble, which would indicate an uneven pad thickness or misaligned installation.
Maintaining the grip of your anti slip chair pads requires regular cleaning. Over weeks of use, pads act like magnets for dust, hair, and loose fibers. This debris forms a barrier between the pad and the floor, significantly reducing friction and causing the chair to slide too easily. Vacuum the bottom of the chair legs regularly or wipe them with a slightly damp microfiber cloth to restore their original grip.
Periodically inspect the pads for physical wear, flattening, or hardening. Over time, the constant weight of users compresses the pad material, reducing its cushioning and anti-slip properties. If you notice the pads have become hard, thin, or embedded with coarse grit, plan to replace them promptly to prevent scratches on your parquet or vinyl floors.
Troubleshooting Common Adhesion and Slipping Issues
If you notice the edges of an adhesive pad beginning to peel, do not rely on temporary fixes like household tape or glue. Instead, remove the failing pad entirely, clean the leg base to remove all residual adhesive, and apply a fresh pad. Reapplying adhesive to a dirty, dusty pad will only result in another failure within a few days.
When chairs continue to slip despite having pads installed, verify that the pad material is compatible with your specific flooring. Soft rubber or high-friction silicone pads are excellent for preventing movement on hard surfaces like tile, vinyl, or polished concrete. However, if your chairs are placed on carpets or rugs, felt pads are often more appropriate as they allow smooth movement without catching or bunching the fabric.
Discontinue using any pads that leave dark scuff marks, sticky residue, or discoloration on your floors. Some low-quality rubber compounds can react chemically with floor finishes, leading to permanent staining. If you encounter this issue, clean the residue immediately using a floor-safe cleaner and consult your flooring manufacturer for recommended pad materials that will not compromise the finish.
Frequently Asked Questions (FAQ)
Can I use anti-slip pads on chairs with wheels or casters?
Standard anti-slip pads are not designed for use on active wheels or casters. Attempting to stick pads onto the curved, rolling surface of a wheel will fail immediately and can jam the caster mechanism, potentially damaging both the chair and your flooring. If you need to stop a wheeled chair from rolling permanently, check the caster stem size and replace the wheels with stationary bell glides or glide feet designed for that specific chair frame.
How long should I wait before using the chair after installing adhesive pads?
You should always check the specific curing time printed on your pad’s packaging, as adhesive formulas vary significantly. As a general rule, keep the chair upright and completely off the floor—or turned upside down—during the initial setting period to prevent any lateral stress on the fresh adhesive. Allowing the bond to cure undisturbed, especially in humid environments, ensures the adhesive reaches its maximum holding strength.
Will removing adhesive anti-slip pads damage my hardwood floors?
Removing old adhesive pads should not damage your hardwood floors if you use gentle, controlled techniques. Avoid using sharp metal scrapers or harsh chemical solvents, which can easily scratch the wood or strip away the protective polyurethane finish. Instead, apply gentle heat from a hair dryer to soften the old adhesive, then carefully peel the pad away and clean any remaining residue with a mild, floor-safe adhesive remover.
Community discussion
Share your experience or ask a question. Comments are reviewed before publication.