
Replacing worn-out chair felt pads is one of the simplest yet most effective ways to protect your hardwood, laminate, or vinyl floors from unsightly scratches. Over time, the felt on these protective pads compresses, collects abrasive grit, or slides out of place, turning a helpful accessory into a hazard for your flooring. By systematically removing the old pads, preparing the bottom of the chair legs, and applying fresh protectors, you can restore smooth, silent gliding to your dining chairs, stools, and armchairs.
The entire replacement process takes only a few minutes per chair and requires basic household tools. Whether your chairs use self-adhesive pads, nail-on glides, or slip-on caps, taking the time to prep the surface properly ensures the new pads stay securely anchored for months or even years to come.
Signs It Is Time to Replace Your Chair Felt Pads
Identifying when your chair felt pads have reached the end of their lifespan is crucial to preventing permanent damage to your floors. The most obvious sign is visual thinning or flattening of the felt material. When new, felt pads have a plush, cushioned profile that elevates the hard wood or metal of the chair leg off the floor. Over months of daily use, this cushion compresses into a hard, dense disc that offers very little shock absorption or protective barrier.
Products mentioned in this guide
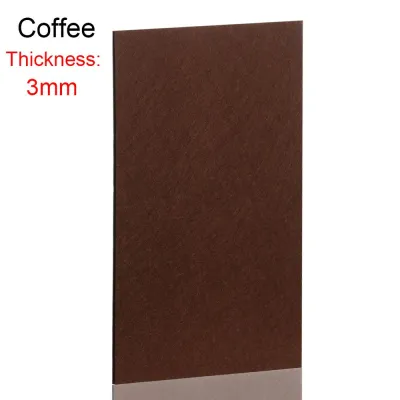
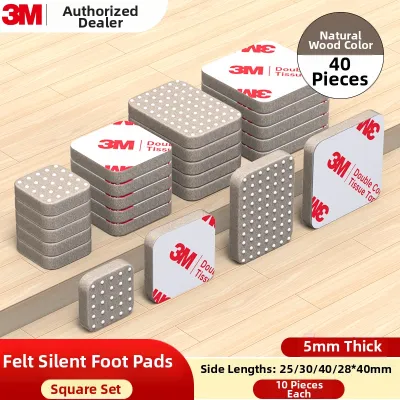
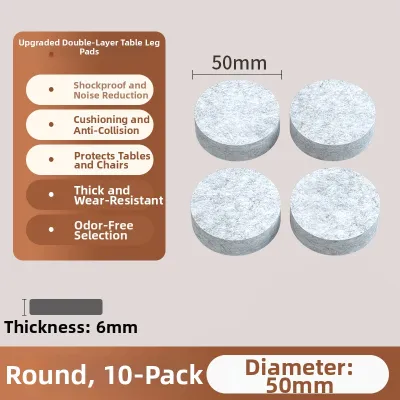
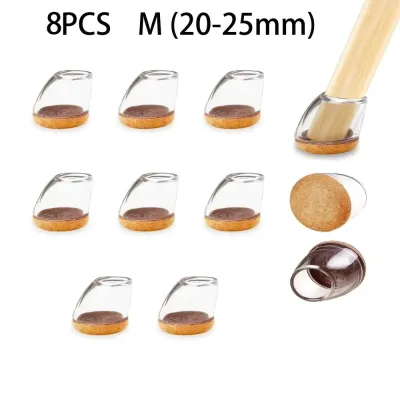
Prices are valid at publication and may change. Please refer to the product page for the latest price.
Another clear indicator is the accumulation of household debris. Felt naturally attracts dust, pet hair, and tiny outdoor grit carried in on shoes. When these particles embed themselves into the fibers of a compressed pad, the felt essentially turns into sandpaper. If you notice a gray, gritty crust on the bottom of the pads, they are no longer protecting your floors and must be replaced immediately.
Listen closely to your furniture as it moves across the room. A quiet, effortless glide is the hallmark of functioning felt pads. If you begin to hear a low scraping, squeaking, or grinding sound when pulling out a dining chair, the felt has likely worn through or shifted. This friction means the hard material of the chair leg is making direct contact with your flooring surface.
Finally, inspect the alignment of the pads. High-friction movements can cause the adhesive backing on stick-on pads to fail, leading the pad to slide sideways off the center of the leg. This leaves sticky adhesive residue exposed to your floor, which traps dirt and creates stubborn black smudges. If you see pads hanging off the edge of the chair feet or find them completely missing, it is time for a full replacement.
Tools and Materials Needed for the Job
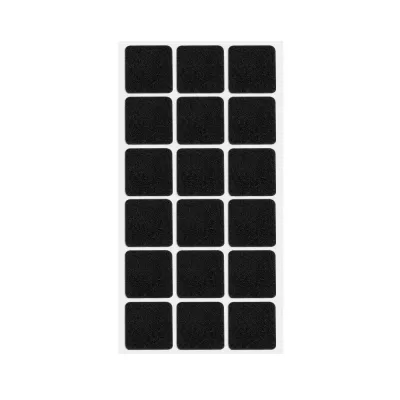
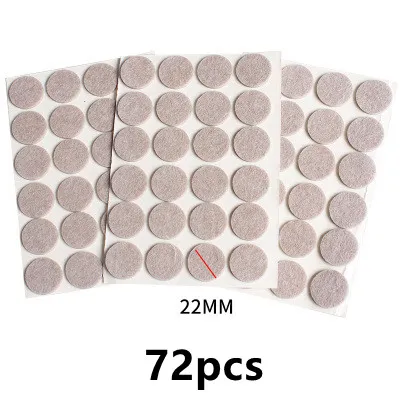
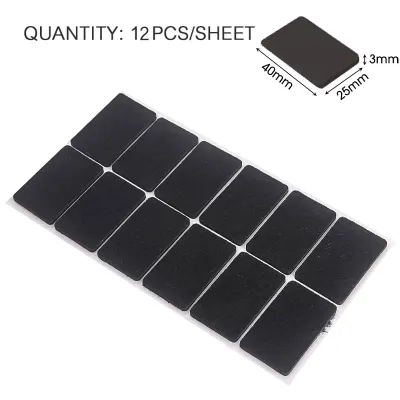
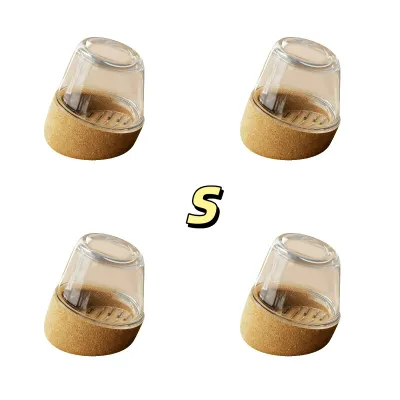
Before beginning, gather the necessary tools and select the correct replacement pads for your specific chairs. The choice of replacement pad depends on your chair leg material and how the furniture is used. Self-adhesive felt pads are the most common and easiest to install, making them ideal for flat-bottomed wooden or metal legs. Nail-on or screw-on felt pads offer a more permanent mechanical attachment for wooden legs, while flexible slip-on silicone caps with felt bottoms work exceptionally well for thin metal legs or angled feet.

To remove the old pads safely, you will need a few basic hand tools. A stiff-bladed putty knife or a flathead screwdriver is essential for prying off stubborn adhesive pads. For nail-on or screw-on glides, keep a pair of needle-nose pliers, a claw hammer, or a matching screwdriver nearby to extract the metal fasteners without damaging the surrounding wood.
Surface preparation requires cleaning agents that can dissolve old, hardened glue without stripping the finish off your chair legs. Rubbing alcohol is highly effective for light adhesive residue and dries quickly without leaving a film. For heavy, stubborn glue buildup, a dedicated commercial adhesive remover can be used, provided you test it on an inconspicuous area of the chair first. Additionally, keep a sheet of fine-grit sandpaper (around 120 to 220 grit) and a clean microfiber cloth on hand to smooth and clean the wood.
Step-by-Step Guide to Removing Old Felt Pads
The removal process varies depending on how the original pads were attached, but the goal remains the same: remove the old barrier completely without splintering the chair leg. For standard self-adhesive pads, start by sliding the edge of a stiff putty knife or flathead screwdriver beneath the felt layer. Work the tool slowly toward the center of the leg, using gentle leverage to lift the pad away. If the adhesive is dry and brittle, the pad may pop off easily; if it is still gummy, pull the pad slowly with your fingers while using the knife to slice through the stretching glue.
Nail-on or screw-on pads require a more cautious approach to prevent the wood from splitting. If you are dealing with a nail-on glide, slide the jaws of your needle-nose pliers or the claw of a small hammer underneath the plastic or metal base of the glide, not just the felt. Apply slow, steady upward pressure, rocking the tool gently back and forth to draw the nail straight out of the wood. Avoid prying aggressively against the outer edge of the chair leg, as this can crush or splinter the wood fibers; instead, place a small scrap of cardboard or wood under your tool to act as a protective fulcrum.
For screw-on protectors, simply use the appropriate manual screwdriver to back the screw out of the pre-drilled hole. If the screw head is stripped or filled with compressed felt, scrape away the debris with a utility knife or pick until the screwdriver can grip the slots securely.
Degraded pads that have partially disintegrated present a unique challenge. If the felt has worn away completely, leaving only a hardened layer of paper and glue, do not attempt to scrape it off dry with force, as this can gouge the chair leg. Instead, dampen a cloth with rubbing alcohol or adhesive remover and hold it against the residue for a few minutes to soften the material before scraping.
Preparing the Chair Legs for New Pads
Once the old pads are removed, preparing the bottom of each chair leg is the most critical step for ensuring the new pads adhere or fasten correctly. Any leftover adhesive residue, dirt, or loose wood fibers will prevent new self-adhesive pads from bonding, causing them to slide off within a few weeks. Start by applying a small amount of rubbing alcohol or adhesive remover to a clean cloth and thoroughly scrubbing the bottom of the leg to dissolve any remaining glue.
After the residue is gone, inspect the wood for roughness, splinters, or unevenness. Use a piece of fine-grit sandpaper to lightly sand the flat bottom surface of the leg. Sanding removes microscopic dirt, flattens any raised wood grain caused by moisture, and creates a slightly textured surface that helps the new adhesive form a stronger mechanical bond. If you are replacing nail-on pads, check the existing nail hole; if the wood around the hole is loose or stripped, you may need to fill it with a small amount of wood filler or a wooden toothpick dipped in wood glue, allowing it to dry completely before proceeding.
Finally, wipe away all sanding dust with a dry microfiber cloth or a tack cloth. If you used any liquid solvents or damp cloths, allow the chair legs to dry completely in a well-ventilated area. Even a tiny amount of moisture trapped under a new adhesive pad will ruin the glue, so patience at this stage pays off in long-term durability.
Installing the New Chair Felt Pads
With the chair legs clean, dry, and smooth, you are ready to install the new felt pads. If you are using self-adhesive pads, select a size that matches the bottom of the chair leg as closely as possible without hanging over the edges. If the pads are slightly too large, trim them to size with sharp scissors before removing the backing paper. Peel the protective backing off the pad, taking care not to touch the sticky surface with your fingers, which can transfer oils and weaken the bond. Align the pad carefully over the center of the leg and press down firmly with your thumb, holding intense pressure for at least thirty seconds to activate the pressure-sensitive adhesive.
For nail-on pads, alignment is critical to prevent the chair from wobbling. Locate the center of the chair leg bottom. If you are installing the pad into a fresh spot or a filled hole, use a small nail or an awl to create a shallow pilot hole; this guides the nail straight and prevents the wood from splitting. Place the nail-on pad over the pilot hole, hold it steady, and tap it gently with a hammer. Ensure you strike the pad perfectly straight so the nail does not bend. Tap until the plastic or metal base of the glide sits completely flush against the wood, leaving no gap.
If you are using slip-on silicone or rubber caps, stretch the opening of the cap slightly with your fingers. Slide the cap over the bottom of the chair leg, pushing it upward until the bottom of the leg makes firm, flat contact with the inside felt base of the cap. Check the perimeter to ensure the flexible material fits snugly around the leg without bunching or slipping down.
Testing and Maintaining Your Newly Padded Chairs
After installing the new pads on all legs, place the chair upright on a flat, level floor to test your work. Sit in the chair and gently rock your weight from side to side to ensure all four legs make even contact with the ground. If the chair wobbles, check if one of the pads is misaligned, double-stacked, or if a nail-on glide was not tapped in completely flush.
To maximize the lifespan of your new felt pads, establish a simple maintenance routine. Vacuum the bottom of your chair legs once a month using a brush attachment to pull out trapped dust, hair, and grit before they can scratch your floors. If you notice a pad has collected a significant amount of hair or lint, you can clean it gently with a stiff-bristled brush or a lint roller.
When moving chairs, try to lift them slightly rather than dragging them across the floor, especially when carrying heavy loads. Dragging puts immense lateral shear force on adhesive pads, which can cause the glue to slide or tear the felt. By combining proper installation with mindful use, your new felt pads will keep your floors pristine and your home quiet.
Frequently Asked Questions (FAQ)
How often should chair felt pads be replaced?
Generally, chair felt pads should be inspected every six months and replaced every one to two years, depending on usage. Chairs in high-traffic areas, such as dining rooms or kitchen islands, experience much more frequent movement and weight load, causing the felt to compress and wear out faster than those on accent chairs in low-traffic bedrooms. If you notice the felt has lost its soft cushion, feels hard to the touch, or has collected embedded dirt, replace them immediately regardless of how long they have been installed.
Can I put felt pads on chairs with angled legs?
Yes, but standard flat adhesive pads often fail on angled legs because the chair’s weight is concentrated on only one edge of the pad, causing it to slide off quickly. For chairs with tapered or angled legs, look for specialized angled felt glides that swivel to match the floor’s angle, or use flexible slip-on silicone caps. These caps stretch to conform to the angle of the leg while keeping the felt bottom perfectly flat against the floor, ensuring even weight distribution and lasting protection.

Community discussion
Share your experience or ask a question. Comments are reviewed before publication.