
Over time, the protective felt pads on your furniture legs inevitably wear down. What began as a soft, cushioning barrier becomes a compressed, grit-filled disc that can scrape across your floors, leaving unsightly marks on delicate parquet, polished marble, or luxury vinyl tiles. Replacing these worn-out protectors is a simple yet highly effective home maintenance task that preserves your flooring and eliminates irritating scraping noises. By following a systematic process—from careful removal of the old adhesive to proper surface preparation and precise application—you can ensure your new protectors stay firmly in place for years to come.
Gather Your Tools and Materials
To achieve a professional-grade result, gather the correct supplies before peeling off the old pads. Having everything on hand prevents interruptions and ensures you do not resort to using improper tools that could gouge or damage your furniture legs.
You will need:
Products mentioned in this guide
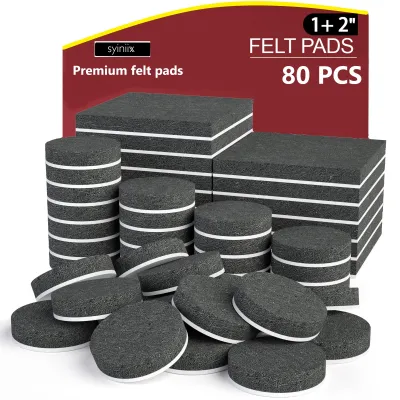
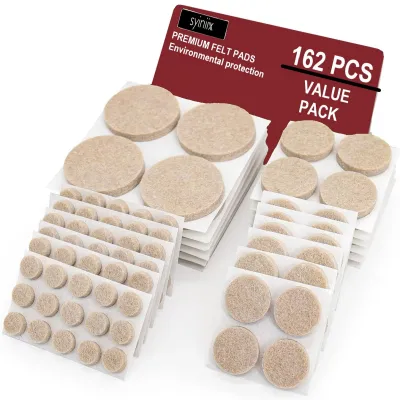
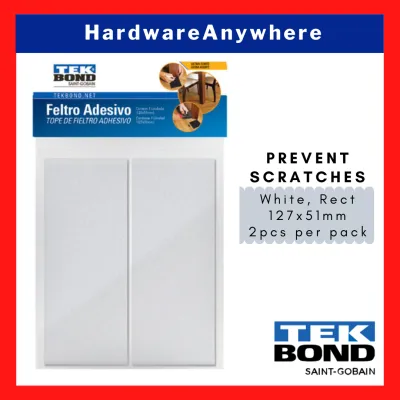
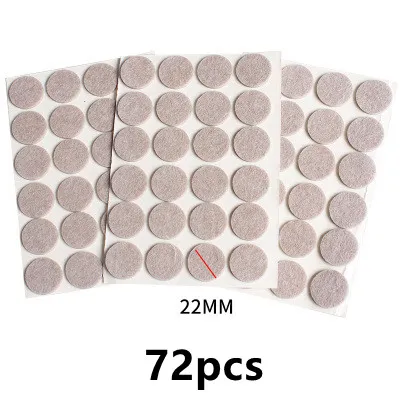
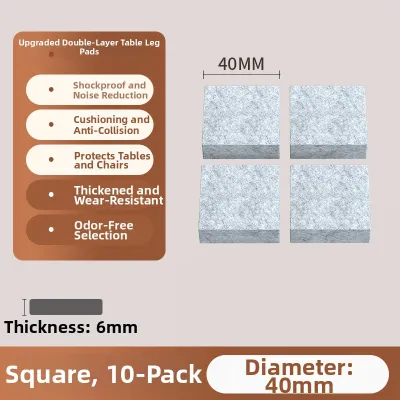
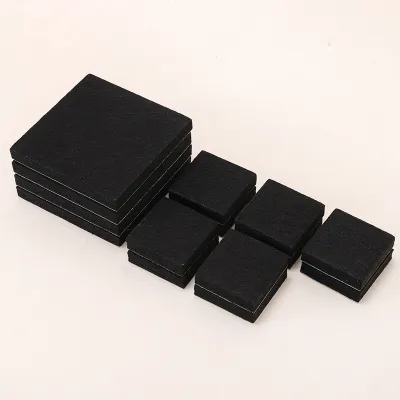
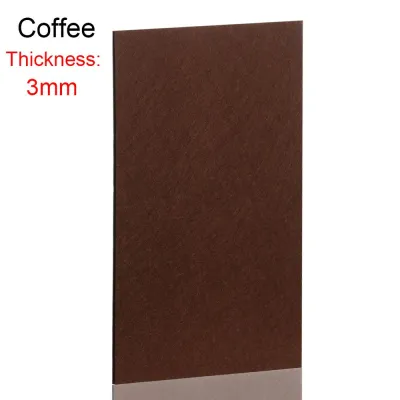
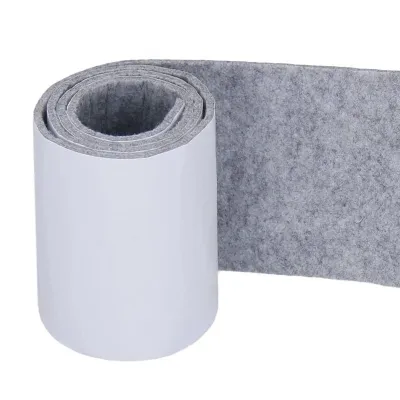
Prices are valid at publication and may change. Please refer to the product page for the latest price.
- A plastic scraper or an old plastic credit card. Avoid metal scrapers, as they can easily scratch wooden finishes or chip painted metal legs.
- Clean microfiber cloths to wipe away dust, debris, and cleaning agents.
- Isopropyl rubbing alcohol or a mild adhesive remover. These solvents help break down stubborn, dried glue without stripping the underlying wood stain or paint, provided they are used sparingly.
- Fine-grit sandpaper (around 220-grit) to smooth out any rough wood fibers or splinters on the bottom of the legs.
- High-quality replacement furniture felt pads.
Before purchasing your new pads, measure the diameter or dimensions of your furniture legs. The pads should be slightly smaller than the footprint of the leg—ideally by about two to three millimeters—so they remain invisible when the furniture is upright and do not catch on passing objects. If you have uniquely shaped furniture legs, consider buying large felt sheets that you can custom-cut to the exact dimensions using heavy-duty household shears.
Remove the Old Felt Pads and Adhesive Residue
Removing degraded felt pads requires patience, especially if they have been subjected to years of heavy weight and friction. Start by turning the furniture upside down or tilting it securely so you have clear, comfortable access to the bottom of each leg.

Slide your plastic scraper or old credit card flat against the bottom of the furniture leg, aiming directly beneath the adhesive layer of the old pad. Apply steady, gentle pressure to pry the pad upward. If the pad is relatively intact, it may peel off in one piece, leaving behind only a thin layer of sticky residue. If the felt has completely worn away, leaving only a hardened crust of old glue, do not scrape it off forcefully, as this can splinter the wood or scratch metal legs.
To tackle stubborn adhesive residue, dampen a clean microfiber cloth with a small amount of isopropyl rubbing alcohol or a mild adhesive remover. Dab the damp cloth directly onto the residue and let it sit for approximately one to two minutes to soften the glue. Once the adhesive has softened, use your plastic scraper to gently roll the glue off the surface, then wipe the area clean with a dry section of your cloth.
Always monitor the condition of the furniture’s finish during this step. If you notice any paint softening, wood stain bleeding, or lacquer peeling, stop using the solvent immediately. In such cases, switch to a dry removal method, using very light pressure with your plastic scraper or a piece of fine-grit sandpaper to gently wear away the remaining glue without affecting the surrounding finish.
Clean and Prepare the Furniture Legs
A common reason new felt pads peel off prematurely is poor surface preparation. Even a microscopic layer of dust, wood fibers, or residual solvent can prevent the new adhesive from forming a permanent bond with the furniture leg.
Once the old adhesive is completely gone, wipe the bottom of each leg with a clean, dry microfiber cloth to remove any remaining solvent or loose dust. Inspect the surface closely. If the furniture legs are made of wood, check for splinters, cracks, or uneven grain that might prevent the new pad from sitting perfectly flush. If you find any rough spots, use your fine-grit sandpaper to lightly sand the bottom of the leg until it is smooth and flat, then wipe away the sanding dust.
For metal or plastic furniture legs, ensure there is no rust, corrosion, or molded plastic ridges that could compromise the adhesive bond. If you clean the legs with any damp cloth or solvent, allow them to dry completely. The surface must be 100% dry and at room temperature before you attempt to apply the new pads. In high-humidity environments, such as during the tropical wet seasons in Singapore, it is highly recommended to perform this task in an air-conditioned room to prevent moisture from settling on the prepared surfaces and weakening the adhesive.
Apply the New Furniture Felt Pads Correctly
With the furniture legs clean, smooth, and dry, you are ready to apply the new furniture felt pads. This step requires precision to ensure the pads provide optimal coverage and do not peel off when the furniture is moved.
Carefully peel the protective paper backing off the new felt pad. Avoid touching the exposed adhesive surface with your fingers, as the natural oils on your skin can significantly reduce the stickiness of the glue. Align the pad directly over the center of the furniture leg. Lower it gently onto the surface, ensuring it does not overhang any edges.
Once the pad is in position, apply firm, direct pressure with your thumb or the palm of your hand. Press down hard for at least thirty seconds. This pressure-sensitive adhesive requires physical force to activate the chemical bond between the glue and the furniture leg. For larger furniture items, you can carefully turn the piece upright and let its own weight press down on the pads, provided you do not slide or drag the furniture while doing so.
If you are working with angled or tapered furniture legs, the weight of the furniture will not press straight down on the pads. For these legs, ensure you choose flexible, wrap-around felt protectors or slightly smaller pads that sit entirely on the flat contact point of the leg. If you are using custom-cut felt sheets, trim the shapes carefully before peeling off the backing, rounding any sharp corners to prevent them from catching on floor transitions or rug edges.
Allow the adhesive to cure fully before subjecting the furniture to normal use. While some manufacturers claim immediate readiness, it is best to let the adhesive cure undisturbed for at least four to twelve hours. Avoid sliding, dragging, or sitting on the furniture during this curing window to ensure the bond reaches its maximum strength.
Test the Glide and Maintain the Pads
After the curing period has passed, you can safely return your furniture to its normal position. Lift the furniture completely to place it on the floor; never drag it into place, as this lateral force can shear the fresh adhesive bond before it has fully stabilized.
To test the installation, gently slide the furniture a short distance across your floor. It should glide smoothly and quietly, without any catching, wobbling, or resistance. Inspect each leg visually to confirm that the pads remain centered and have not shifted under the weight of the furniture.
Felt pads are highly effective, but they are not permanent, maintenance-free solutions. The soft fibers of the felt act like a magnet for household dust, pet hair, and microscopic grit. Over time, this debris can become embedded in the felt, turning a soft protector into an abrasive surface that can scratch your floors. To prevent this, make it a habit to vacuum the bottoms of your furniture legs using an upholstery brush attachment during your regular cleaning routine.
Periodically inspect the physical condition of the pads. Over months of use, the felt will naturally compress and lose its cushioning properties. If you notice the pads have become paper-thin, hard to the touch, or if the edges are starting to lift and collect hair, it is time to repeat the replacement process.
Troubleshoot Common Felt Pad Issues
If your newly applied felt pads fall off within a few days or weeks, the issue is almost always related to surface preparation or curing conditions. Residual adhesive remover, lingering dust, or applying the pads in a cold or highly humid environment can prevent the glue from bonding. To fix this, remove the failed pad, thoroughly clean the leg with isopropyl alcohol, let it dry completely in a temperature-controlled environment, and apply a fresh pad, ensuring you apply firm pressure for at least thirty seconds.
Another common issue is floor scratching despite having new pads installed. If you notice fine scratches on your hardwood or vinyl floors, immediately inspect the bottom of the furniture legs. A small piece of grit, sand, or a tiny staple may have become embedded in the felt fibers. If you find any trapped debris, you can try to scrape it out with a stiff brush, but the safest solution is to replace the affected pad entirely to avoid further floor damage.
If your furniture wobbles or feels uneven after applying new pads, check if the pads are of uniform thickness. Sometimes, one leg of a wooden chair or table may be slightly shorter than the others due to natural wear or manufacturing variances. While you should never stack multiple adhesive felt pads directly on top of each other, you can resolve minor wobbles by placing a thin, non-compressible shim (such as a small piece of plastic or wood veneer) under the pad of the shorter leg before adhering the felt.
Frequently Asked Questions (FAQ)
Can I apply a new felt pad directly over an old one?
No, you should never stack a new felt pad directly on top of an old, worn-out one. Layering pads compromises the stability of your furniture, making it prone to wobbling or tipping. Furthermore, the old pad is likely compressed, dirty, and saturated with oils or dust, meaning the new adhesive will not bond securely and the top pad will quickly slide off, potentially leaving sticky residue on your floors. Always take the time to completely remove the old pad and clean the surface before applying a new one.
Do I need different felt pads for hard floors versus carpets?
Yes, felt pads are specifically designed for hard, smooth flooring surfaces such as hardwood, engineered wood, laminate, tile, and vinyl. On carpets, felt pads create excessive friction, which can cause the pads to peel off and leave sticky adhesive residue on your carpet fibers. For carpeted floors, you should use smooth plastic or metal furniture glides, which are designed to slide effortlessly across carpet pile without catching or causing damage. Always check the manufacturer’s specifications on the product packaging to ensure compatibility with your specific flooring type.

Community discussion
Share your experience or ask a question. Comments are reviewed before publication.