
Planning and configuring a modular shelving system in a compact Singapore flat requires a systematic approach: precise measurement of your wall and floor space, selecting compatible components that balance open and closed storage, mapping out a stable layout, and securing the structure safely to your walls. By prioritizing vertical space, you can dramatically increase your home’s storage capacity without sacrificing precious floor area or making your living room feel cramped.
Quick Answer: Planning Your Modular Shelving Layout
To successfully integrate modular storage furniture into a compact flat, you must follow a clear, sequential path. Start by taking exact measurements of your designated wall, keeping in mind local architectural features like skirting boards and structural pillars. Next, select a mix of open shelves, drawers, and cabinets that match your specific storage needs while maintaining visual balance. Finally, design a layout that places heavier items near the floor and securely anchor the entire system to prevent tipping. This structured approach ensures your shelving remains highly functional, safe, and adaptable to future lifestyle changes.
Step 1: Measure and Assess Your Available Space
Before browsing online marketplaces or visiting local furniture showrooms, you must establish the exact physical boundaries of your room. Use a reliable steel measuring tape to record the width, depth, and height of the intended installation area. Do not rely on your flat’s floor plan alone, as actual built dimensions often vary slightly due to plastering and wall finishes.
Products mentioned in this guide
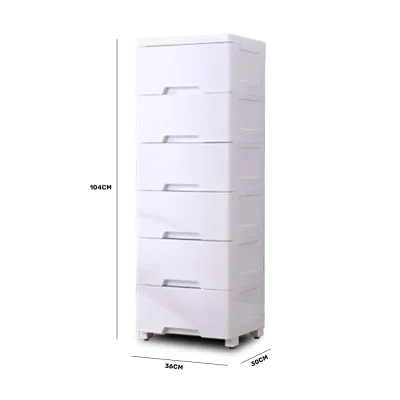
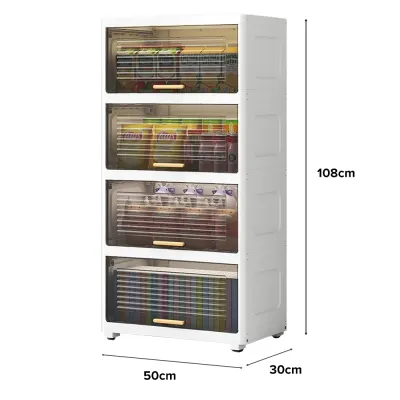
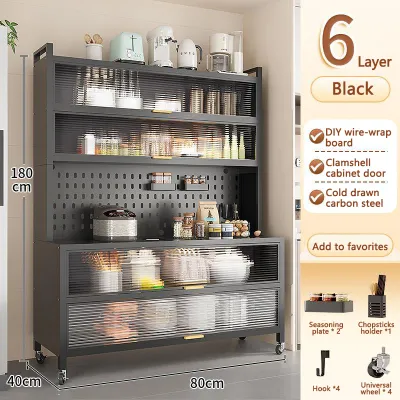
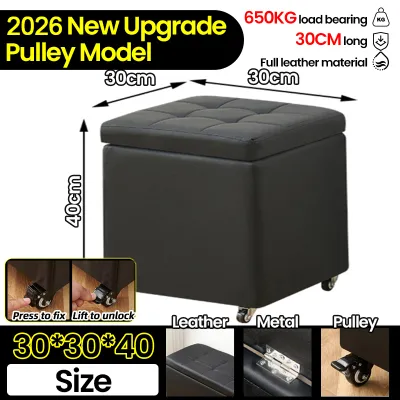
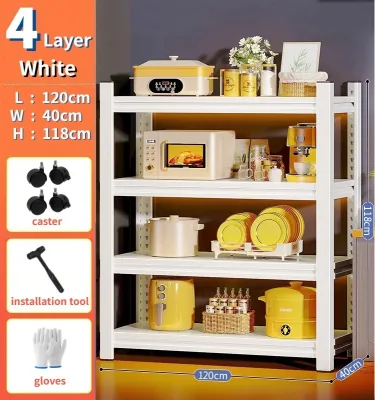
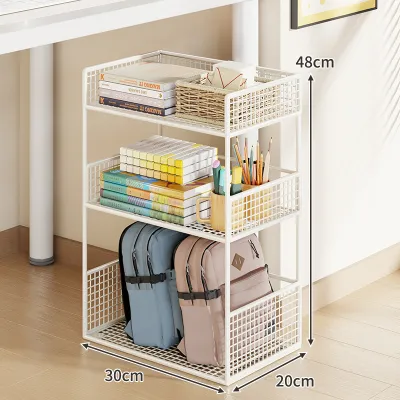
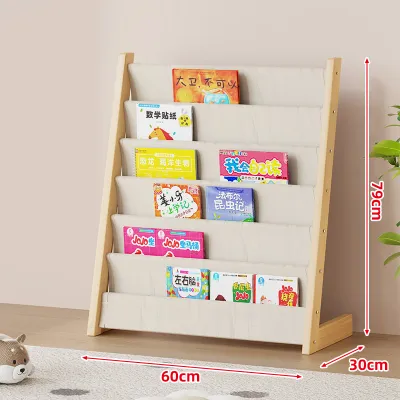
Prices are valid at publication and may change. Please refer to the product page for the latest price.

Pay close attention to architectural details that can obstruct your modular storage furniture. Measure the height and thickness of your skirting boards, as these can prevent tall shelving units from sitting flush against the wall. Note the locations of electrical outlets, light switches, internet ports, and air conditioning units, ensuring your proposed layout does not block access or airflow.
Clearance is another critical factor in a compact layout. Map out the swing paths of nearby doors, wardrobe panels, and windows to ensure they can open fully without striking the new shelves. Leave adequate walkway space—typically at least 60 to 90 centimeters—so you can move comfortably through the room even when drawers or cabinet doors are fully extended.
Finally, identify the composition of your walls. In Singapore flats, you will typically encounter structural concrete walls, brick walls, or drywall partition walls. Structural concrete walls offer the highest load-bearing capacity but require specialized masonry drill bits and heavy-duty anchors. Partition walls, often found dividing bedrooms or study areas, require careful locating of internal studs or specialized hollow-wall anchors to support any wall-mounted components safely.
Step 2: Select the Right Modular Components
Modular storage furniture offers incredible versatility because you can mix and match different components to suit your specific belongings. Base units form the foundation of your system, providing a stable ground-level structure that can house heavier items. Add-on shelves can then be stacked vertically to maximize the use of high walls.
When choosing between open and closed modules, consider both functionality and visual impact. Open shelves are excellent for displaying decorative items, books, and frequently used objects, but too many open shelves can make a small room look cluttered. Integrating closed drawers or door inserts allows you to hide unsightly household items, creating a cleaner and more organized aesthetic.
Always verify the manufacturer’s official specifications for weight capacity rather than making assumptions based on the material. A shelf made of solid wood, engineered wood, or steel will have specific load limits determined by its thickness, span, and support brackets. Exceeding these limits can lead to sagging, joint failure, or structural collapse over time.
To keep a small flat feeling bright and airy, balance the visual weight of your configuration. Placing solid, closed cabinets at the bottom and lighter, open shelves at the top prevents the furniture from overpowering the room. Choosing light colors or finishes that match your walls can also help the shelving system blend seamlessly into the background.
Step 3: Design Your DIY Shelving Layout
Designing your layout requires a balance of structural physics and daily convenience. The fundamental rule of shelving design is to place heavy items at the bottom and lighter items at the top. This configuration keeps the center of gravity low, which significantly improves the overall stability of the freestanding or wall-anchored system.
Plan for flexibility by selecting modular systems with adjustable shelf heights. Your storage needs will inevitably change over time, and being able to reposition shelves allows you to accommodate taller items like storage boxes, kitchen appliances, or large books without wasting vertical space. Leave a few centimeters of clearance above your tallest items to make retrieving them easy.
Before making any purchases, visualize your design using graph paper or digital room planning tools. Draw your wall to scale, noting the positions of outlets and obstacles, and then sketch different component configurations. This step helps you verify that the proportions look balanced and that you have ordered the exact number of uprights, shelves, and brackets required.
Consider how the shelving system will interact with your daily routines. Place frequently accessed items at eye level or waist height to minimize bending and stretching. Reserve the highest shelves for seasonal items, extra bedding, or travel gear that you only need to access a few times a year.
Step 4: Assemble, Anchor, and Verify Safety
When your modular components arrive, begin by inventorying all parts, hardware, and connection pieces against the manufacturer’s packing list. Ensure you have the correct tools on hand, which typically include a spirit level, a measuring tape, a stud finder, a drill with appropriate bits, and a manual screwdriver to avoid over-tightening screws.
Assembling the units on a clean, protected floor—such as on a large piece of cardboard or a blanket—prevents scratching the furniture panels or your flat’s flooring. Follow the manufacturer’s step-by-step assembly instructions carefully, ensuring every joint is square and every locking mechanism is fully engaged before uprighting the unit.
Anchoring tall or top-heavy modular units to the wall is an absolute safety necessity, especially in homes with children or pets who might attempt to climb the shelves. Use the wall-anchoring brackets and hardware supplied by the manufacturer, ensuring they are compatible with your specific wall type. If the supplied screws are not suitable for your concrete or drywall, purchase high-quality wall plugs designed for your wall material.
If you encounter any resistance while drilling, or if you are unsure of what lies behind the wall surface, stop immediately. Hidden water pipes and electrical conduits are common in apartment walls, and striking them can cause severe damage or injury. Consult a qualified local handyman or contractor to complete the installation safely if you lack the experience or proper detection tools.
Maintain and Reconfigure Your Shelving System
Once your modular storage furniture is fully installed and loaded, perform routine maintenance checks to ensure its long-term stability. Every few months, inspect the shelves for any signs of bowing or sagging, which indicates that the weight limit has been exceeded. Tighten any structural screws or wall anchors that may have loosened slightly due to daily vibrations or temperature shifts.
Clean the shelving surfaces according to the manufacturer’s specific care guidelines. For engineered wood or laminate finishes, a slightly damp microfiber cloth is usually sufficient, while solid wood may require specialized wood cleaners and immediate drying to prevent moisture damage. Avoid using abrasive scrubbers or harsh chemical cleaners that can strip away protective coatings.
One of the greatest benefits of modular furniture is the ability to reconfigure it as your household evolves. When changing the layout, completely unload all shelves first to prevent strain on the joints. Carefully disassemble the components using manual tools to avoid stripping the pre-drilled screw holes, and refer back to the manufacturer’s configuration guide to ensure your new layout remains structurally sound.
Frequently Asked Questions (FAQ)
Can I install heavy modular shelving on apartment partition walls?
Yes, but you must take specific precautions. Partition walls, such as drywall or gypsum board, have significantly lower weight capacities than structural concrete walls. To support heavy modular shelving, you must locate the internal timber or metal studs using a stud finder and secure your mounting brackets directly into these studs. If the studs do not align with your shelving layout, you must use specialized heavy-duty hollow-wall anchors, and you should limit the total weight of the items stored on those shelves. For exceptionally heavy loads, consult your building management or a professional contractor to verify the wall’s structural limits.
How do I prevent a tall freestanding modular shelf from tipping over?
The most effective way to prevent a tall freestanding shelf from tipping is to secure it directly to the wall using the manufacturer’s safety anchoring kit. Additionally, always place your heaviest items, such as books, storage bins, and small appliances, on the lowest shelves to maintain a low center of gravity. Ensure the shelving unit is perfectly level by adjusting the leveling feet or using shims under the base, as even a slight forward tilt can dramatically increase the risk of tipping when shelves are loaded.

Community discussion
Share your experience or ask a question. Comments are reviewed before publication.