
Configuring a modular shelf rack storage system in a compact Singapore apartment requires a systematic approach that balances vertical space optimization with structural safety. Because space in local Housing & Development Board (HDB) flats and condominiums is limited, selecting highly adjustable, moisture-resistant modular units allows you to customize your storage to fit awkward corners, narrow corridors, or household shelters. By planning your layout around structural constraints, preparing the correct tools, and securing the frames safely, you can build a highly functional storage setup that adapts to your changing needs over time.
Assessing Your Space and Layout Constraints
Before purchasing any shelf rack storage system, precise measurements of your designated area are essential. Use a reliable steel measuring tape to record the floor width, depth, and the exact floor-to-ceiling height. Take note of skirting boards, light switches, electrical outlets, and air-conditioning trunking, as these can easily reduce your usable wall space by several centimeters. You must also measure the clearance required for nearby doors, windows, and high-traffic walkways to ensure the shelving does not block daily movement or entryways.
Compact Singapore homes often feature underutilized “dead zones” that are ideal for modular storage. Consider the vertical space above study desks, the narrow corridors leading to bedrooms, or the awkward corners in the service yard. If you are planning to install a unit inside an HDB household shelter (bomb shelter), ensure the layout does not interfere with the heavy steel door’s swing radius or block access to the ventilation sleeve and the electrical distribution board (DB box).
Products mentioned in this guide
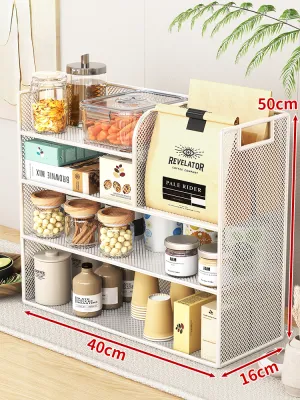
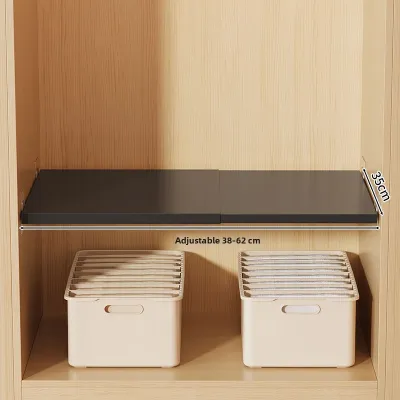
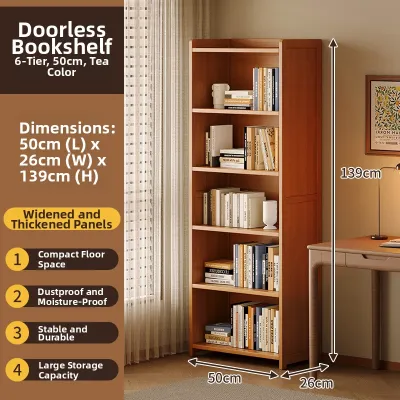
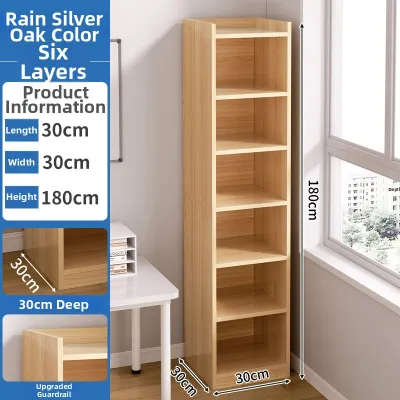
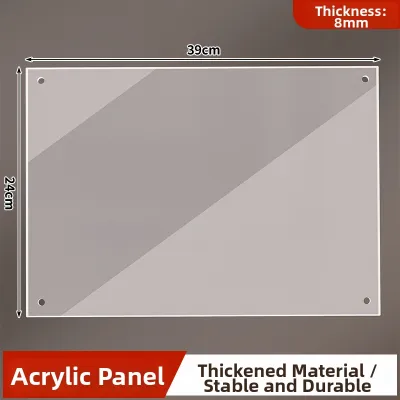
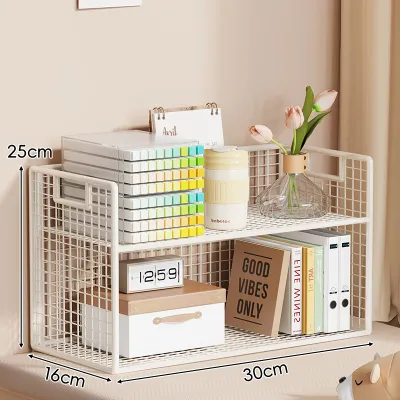
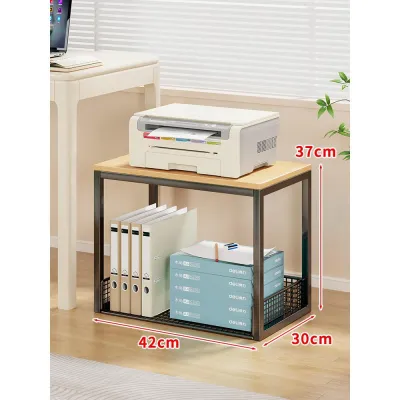
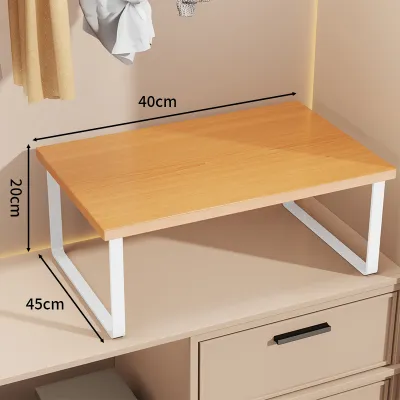
Prices are valid at publication and may change. Please refer to the product page for the latest price.
Before drilling or planning any wall-mounted or tall freestanding units, check for hidden utilities. Use a digital wall scanner to locate hidden water pipes, electrical wiring, or structural concrete beams. Drilling into a structural column or a concealed conduit can cause severe damage and compromise building safety.
Additionally, leave a small ventilation gap of at least two to three centimeters between the back of the shelving unit and the wall. Singapore’s high relative humidity can trap moisture in tight, unventilated spaces, leading to mold growth on both your walls and stored items.
Selecting a Modular Shelving System for Compact Living
Choosing the right modular shelving system depends on your layout, the items you plan to store, and the local indoor environment.

Boltless Metal Racks: These heavy-duty steel systems are highly popular in Singapore for household shelters and storerooms. They use a keyhole locking mechanism instead of bolts, making them incredibly stable and capable of holding heavy loads like household appliances, bulk groceries, or toolboxes.
Adjustable Wire Racks: Constructed from chrome-plated or epoxy-coated steel wire, these units offer excellent airflow, which helps prevent dust accumulation and mold in humid environments. They are ideal for service yards, kitchens, and pantries.
Track-Based Wall Systems: These systems use vertical metal tracks mounted directly to the wall, allowing you to click in brackets, wire shelves, or wooden ledges. They are highly customizable and keep the floor completely clear, making them excellent for study areas or living rooms.
Modular Cube Storage: Often made of engineered wood or plastic composites, cube systems provide a neat, clean aesthetic with optional fabric drawers or doors. They work well in bedrooms and living spaces for lighter items like books, toys, or decorative pieces.
When selecting materials, prioritize indoor durability by reviewing the manufacturer’s care labels and specifications. Do not assume all metal racks are rust-proof or that all wooden shelves can handle moisture. In Singapore’s humid climate, look for powder-coated steel, epoxy finishes, or moisture-resistant laminate on engineered wood. Check if the product is rated specifically for indoor use or high-humidity environments.
Match the depth of your shelves to your walkway clearances. Standard depths range from 30 cm to 60 cm. For narrow corridors or entryways, stick to shallow 30 cm or 40 cm shelves to keep walkways clear. For deep storerooms, a 50 cm or 60 cm shelf maximizes volume but requires more front clearance to access items.
Opt for modular systems that offer individual components for purchase. This ensures that if your storage needs expand in the future, you can easily add extra shelves, hanging rods, or side baskets without replacing the entire framework.
Essential Tools and Preparation for DIY Assembly
Assembling a modular shelf rack storage system without professional help is highly achievable if you prepare the correct tools and safety gear beforehand.
For basic assembly, keep these hand tools ready:
- A non-marking rubber mallet (essential for tapping boltless rack beams securely into place without denting the metal).
- A spirit level (critical for verifying that uprights and shelves are perfectly horizontal and vertical).
- A Phillips-head and flat-head screwdriver (for systems utilizing screws or brackets).
- A steel measuring tape.
If your shelving system requires wall anchoring or wall mounting, you will need a power drill. For the solid concrete or structural brick walls common in Singapore HDB flats, a rotary hammer drill equipped with masonry drill bits is necessary. Standard cordless drills may struggle to penetrate concrete. For drywall partition walls, a standard drill with high-speed steel (HSS) wood or metal bits is sufficient.
Do not overlook personal safety. Wear safety goggles when drilling into concrete to protect your eyes from flying masonry dust, and use durable work gloves to prevent pinches, cuts, or splinters while handling heavy metal frames or wooden panels.
Before unboxing, clear a spacious staging area on your floor. Lay down a clean blanket, cardboard, or a tarp to protect your flooring from scratches. Lay out all components, brackets, and hardware, grouping similar parts together. Check the parts list in the manual to ensure no fasteners or connectors are missing before you begin assembly.
Step-by-Step Assembly and Secure Installation
Assembling the Base and Vertical Frames
Begin by constructing the foundation of your shelving unit. Strictly follow the manufacturer’s instructions regarding the sequence of connecting the base plates, leveling feet, and vertical uprights. If your system uses adjustable feet, screw them in fully before upright assembly.
As you connect the lower horizontal beams to the vertical uprights, place your spirit level across the beams. Adjust the leveling feet or tap the joints with your rubber mallet until the bubble is perfectly centered. Failing to level the base at this stage will cause the entire frame to lean, making it difficult to install upper shelves and compromising the unit’s overall load capacity.
When securing fasteners, tighten them to the manufacturer’s specified feel. Avoid over-tightening screws or bolts, as this can strip the threads, crack plastic connectors, or warp thin-walled metal frames.
Securing the Unit to the Wall
For any shelving unit that is tall, narrow, or intended to hold significant weight, securing it to the wall is a vital safety step to prevent accidental tip-overs.
First, identify your wall type. Tap the wall gently; a hollow sound usually indicates a drywall partition, while a solid, dull sound indicates concrete or brick. For concrete walls, use heavy-duty plastic wall plugs or masonry anchors. For drywall, locate the internal timber or metal studs using a stud finder, or use specialized toggle bolts or heavy-duty hollow-wall anchors if mounting between studs.
Hold your shelving unit against the wall in its final position, mark the anchor points through the bracket holes, and slide the unit aside. Drill the holes to the exact depth and diameter specified by the anchor manufacturer. Insert the anchors, slide the shelving unit back into place, and secure the anti-tip straps or L-brackets.
Safety Boundary: If you are unsure of your wall material, if your drill encounters unexpected high resistance (which may indicate a structural steel rebar or utility pipe), or if the provided anchoring hardware contradicts your wall conditions, stop immediately. Do not guess anchor sizes or force the installation. Consult a qualified handyman or your building management office for guidance.
Adding Shelves and Stabilizing Components
Once the main vertical frame is stable and anchored, proceed to install the horizontal shelves, cross-braces, or back panels. Many modular systems rely on diagonal cross-braces or solid backboards to prevent lateral swaying. Ensure these stabilizing components are installed exactly where the manufacturer specifies.
Engage all locking mechanisms completely. For wire racks, ensure the plastic slip sleeves click firmly into the groove on the upright post before sliding the shelf down over them. For boltless racks, verify that the rivets on the shelf beams are fully seated at the bottom of the keyhole slots.
Perform a final stability check by gently shaking the unit. If there is any wobble, make minor adjustments to the leveling feet to ensure the weight is distributed evenly across all floor contact points.
Organizing and Maximizing Shelf Capacity
An organized shelf rack storage system is both safer and more efficient to use.
Always distribute weight according to structural principles. Place your heaviest items—such as large storage boxes, heavy appliances, or bulk liquids—on the lowest shelves. This lowers the unit’s center of gravity, significantly reducing the risk of tipping and minimizing stress on the upper frame.
Use modular accessories to eliminate wasted space. Fabric bins, clear plastic containers, and drawer inserts are excellent for grouping smaller, loose items together, keeping the shelves looking tidy. You can also attach hanging hooks or side baskets to the outer wire frames or uprights to utilize the external surfaces of the rack for lightweight items like umbrellas, keys, or cleaning cloths.
Adjust the height of individual shelves to match the items you are storing. Standard fixed shelving often leaves large empty gaps above shorter items, wasting valuable vertical space. By grouping items of similar heights together and adjusting the shelves to clear them by just a few centimeters, you can often fit one or two extra shelves into the same vertical footprint.
Always respect the manufacturer’s maximum load limits. These limits are typically specified as “uniformly distributed load” (UDL) per shelf, meaning the weight must be spread evenly across the surface rather than concentrated in one spot. Never exceed the individual shelf limit or the total weight capacity of the entire frame.
Routine Maintenance and Safety Inspections
To ensure your modular shelf rack storage remains stable and safe over years of use, establish a regular maintenance routine.
Every six months, perform a quick physical inspection of the unit. Check all bolts, screws, and wall anchors to ensure they have not loosened due to vibration or daily use. Gently tighten any loose fasteners, but be careful not to over-torque them.
Inspect the physical condition of the shelving materials. Look for signs of wear, such as rust spots on metal frames, warping or sagging in wooden or laminate shelves, or stress cracks near joints and plastic connectors. If you notice significant rust or structural deformation, replace the affected component immediately to prevent sudden failure.
When cleaning your shelves, always adhere to the manufacturer’s care instructions. For powder-coated metal or engineered wood, wipe surfaces with a soft, damp cloth and a mild soap solution. Avoid using harsh chemical cleaners, abrasive scrubbing pads, or excessive water, as these can strip protective coatings, promote rust, or cause engineered wood to swell and delaminate.
Finally, if you significantly change the types of items stored—such as swapping lightweight linens for heavy books—re-evaluate your load distribution. Adjust the shelf heights and anchor points if necessary to accommodate the new weight profile safely.
Frequently Asked Questions (FAQ)
Can I install heavy-duty modular shelves on drywall partitions?
Drywall partitions alone do not have the structural strength to support heavy-duty modular shelves holding significant weight. If you must mount shelves on drywall, you must locate the internal timber or metal studs using a stud finder and screw the brackets directly into them. If studs are unavailable, use high-quality toggle bolts or heavy-duty hollow-wall anchors, and strictly adhere to the anchor manufacturer’s weight ratings. For very heavy storage, choose a freestanding floor rack that transfers the weight to the floor, using the wall anchor solely as an anti-tip safety measure. If you are uncertain about the load capacity of your partition wall, consult a professional installer.
How do I prevent modular shelving from damaging rental floors?
To protect delicate flooring like vinyl, laminate, or parquet in a rental apartment, install protective accessories under the shelving feet. Use heavy-duty felt pads, rubber end caps, or silicone caster cups to prevent scratches and indentations. If the shelving unit is holding exceptionally heavy loads, place a dense rubber utility mat or a thick plywood runner under the entire footprint of the unit. This helps distribute the concentrated point loads across a wider surface area, preventing deep indentations or cracking in the flooring material.
Is it safe to mix components from different modular brands?
It is highly recommended to avoid mixing structural components, such as upright posts, horizontal beams, or shelving panels, from different modular brands. Even if they appear identical, minor differences in manufacturing tolerances, steel thickness, locking mechanisms, and connection angles can prevent parts from seating securely. This can lead to structural instability or sudden joint failure under load. However, it is perfectly safe to use non-structural accessories from different brands, such as generic fabric baskets, plastic storage tubs, or hanging hooks, provided they fit comfortably within the dimensions of your shelves.
Community discussion
Share your experience or ask a question. Comments are reviewed before publication.