
Planning and assembling a modular shelving unit requires a systematic approach that balances spatial constraints, aesthetic preferences, and structural safety. By selecting compatible frames, shelves, and organizing accessories, you can create a highly customized storage solution tailored to your home’s layout. The process involves careful preparation, precise measurements, and a methodical assembly sequence to ensure the finished unit remains stable and functional for years to come.
Measure Your Space and Define Storage Needs
Before purchasing any modular components, you must establish precise measurements of your designated living space. Use a reliable metal measuring tape to record the height, width, and depth of the wall area where the unit will stand. It is easy to overlook architectural details, so ensure you account for protruding baseboards, light switches, electrical outlets, and the swing radius of nearby doors or windows. If you plan to place the shelving unit inside a recessed niche or a tight corner common in modern apartment layouts, subtract a small clearance margin of at least one to two centimeters from your total width to ensure the assembled unit slides in smoothly.
Next, analyze what you intend to store to determine the vertical spacing and depth of your shelves. Heavy books, large storage boxes, and delicate decorative items all require different shelf heights and structural support. Group your belongings by category and measure the tallest and deepest items to ensure they will fit comfortably within the standard shelf depths offered by the modular system. This step prevents the common mistake of buying shelves that are too shallow for your storage bins or too close together for your books.
Products mentioned in this guide
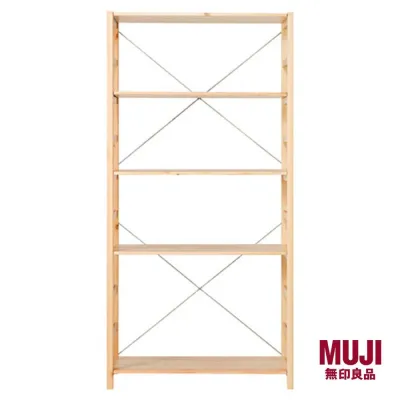
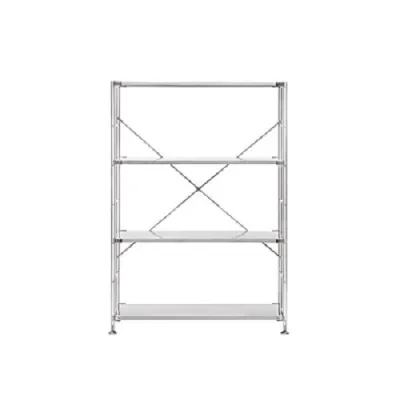
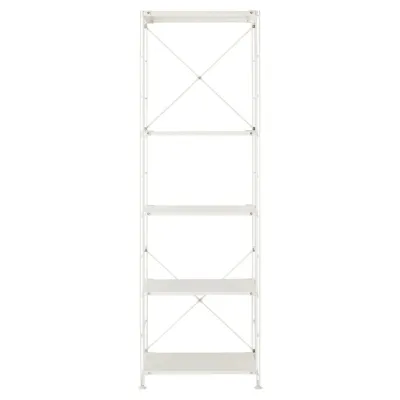
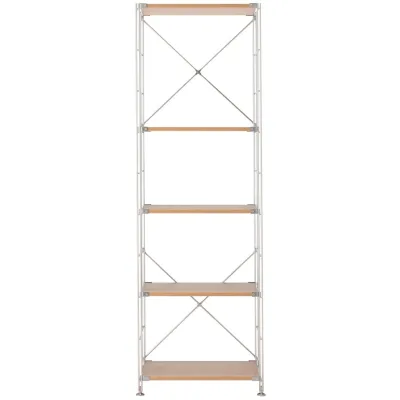
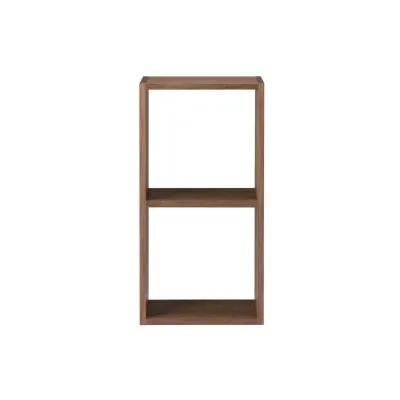
Prices are valid at publication and may change. Please refer to the product page for the latest price.
Environmental conditions in your home also play a critical role in material selection. In warm, humid climates, moisture levels can vary significantly between air-conditioned living rooms and naturally ventilated service yards or kitchens. High humidity can affect certain natural wood finishes or make untreated metal components susceptible to oxidation over time. Assess the exposure of your chosen spot to direct sunlight as well, as prolonged ultraviolet exposure can fade wood veneers and weaken certain plastic accessories.
Select the Right Frames and Shelves
The foundation of your modular unit relies on selecting the appropriate frame type, which typically comes in steel, stainless steel, or natural wood options like oak or pine. Steel and stainless steel frames offer a sleek, industrial aesthetic and are highly resilient in high-humidity environments, making them excellent choices for kitchens or utility areas. Wood frames, on the other hand, provide a warm, organic look that integrates seamlessly into living rooms, bedrooms, and home offices. Your choice should balance the visual style of your home with the practical demands of the room’s environment.

Once you select a frame material, you must match it with compatible shelves of the correct width and depth. Modular systems are designed around specific dimensional grids, meaning components from different product lines or sizes cannot be mixed arbitrarily. Check the manufacturer’s compatibility guidelines to ensure the shelves you select are engineered to lock securely into your chosen frames. For instance, wood shelves may require specific brackets or side-pin configurations that differ from those used for steel wire or solid metal shelves.
Do not assume the weight capacity of a shelf based solely on its material appearance. A thick wooden shelf is not automatically stronger than a slim steel shelf; load limits depend heavily on the span width and the specific engineering of the support brackets. Always verify the maximum load capacity limits printed on the official product labels or instruction sheets before finalizing your purchase. If you plan to store heavy kitchen appliances or dense book collections, opt for shorter shelf spans or reinforced shelf options to prevent sagging over time.
Choose Dividers and Accessories for Organization
To transform your open shelving into an efficient storage system, you can integrate specialized accessories such as drawers, file boxes, and shelf dividers. These inserts are designed to slide perfectly into the modular grid, but you must double-check their dimensions against your specific shelf width and depth. For example, standard polypropylene boxes or soft fabric baskets are often sized to fit exactly two or three abreast on a standard-width shelf. Verifying these dimensions beforehand prevents awkward gaps or inserts that overhang the shelf edge.
Plan the layout of your accessories based on how frequently you access different items. Place daily essentials in open baskets or eye-level drawers where they are easy to reach without bending down. Seasonal items, archival documents, or less frequently used household supplies should go into closed storage boxes on the highest or lowest shelves. This hierarchical arrangement keeps your most-used items accessible while maintaining a clean, uncluttered exterior appearance.
Consider whether your lifestyle requires specialized add-on components to enhance the unit’s functionality. If you need a mobile storage solution for a home office or kitchen, check if your selected frame system supports the installation of compatible casters. For tall, floor-to-ceiling configurations, look into extension poles or tension-mounting accessories that secure the top of the frame to the ceiling, providing extra stability for high-rise setups.
Assemble the Shelf Unit Safely
A successful assembly begins with proper preparation of your workspace. Clear a large, flat area of the floor near the final location of the shelf, ensuring there is enough room to lay the frames down flat. Lay down a soft blanket, clean cardboard, or a large rug to protect both your flooring and the shelf components from scratches during the assembly process. Gather the necessary tools beforehand, which typically include a rubber mallet, a spirit level, and the hex keys or screwdrivers specified in the assembly instructions.
Always follow the manufacturer’s manual sequentially, as modular systems rely on a specific order of operations to ensure structural integrity. Begin by constructing the outer frame, ensuring that all side supports and cross-braces are oriented correctly before tightening any fasteners. Once the main skeleton is assembled, install the shelves starting from the bottom and working your way up. This bottom-up approach keeps the unit stable during assembly and prevents it from becoming top-heavy while you work.
For tall or heavy shelving units, securing the frame to the wall is a critical safety step to prevent accidental tip-overs. Assess your wall type carefully; concrete, brick, drywall, and plasterboard all require different types of wall anchors and screws. If the hardware provided in the box does not match your wall type, or if you are unsure of what lies behind your plaster, stop immediately and consult a qualified professional. Never attempt to mount a heavy unit to a wall using incorrect anchors, as this can lead to structural failure and serious injury.
Inspect and Load the Assembled Unit
Before placing any items on your newly assembled shelf, perform a thorough physical inspection. Go over every joint, bolt, and bracket to ensure they are fully tightened and securely seated in their slots. Place a spirit level on multiple shelves—both from left to right and front to back—to verify that the unit is perfectly level. If your floor is slightly uneven, adjust the leveling feet at the base of the frames until the bubble on the spirit level sits squarely in the center.
When loading your items, distribute the weight strategically to maintain a low center of gravity. Place your heaviest belongings, such as large storage bins, heavy books, or kitchen appliances, on the bottom shelves. Lighter items, decorative pieces, and frequently accessed everyday objects should occupy the middle and upper shelves. This weight distribution minimizes the risk of the unit tipping forward and reduces the physical strain on the upper frame joints.
As you place your items, monitor the shelves closely for any signs of bowing, flexing, or shifting. If a shelf begins to bend under the weight of an object, remove the item immediately and check the product label to confirm you have not exceeded the maximum load capacity. Regularly inspect the unit over the first few weeks of use to ensure that the fasteners remain tight and that the frame has not shifted out of alignment.
Frequently Asked Questions (FAQ)
Can I mix different MUJI shelf materials in one unit?
Mixing different shelf materials within a single unit is generally restricted to components that are explicitly designed by the manufacturer to be cross-compatible. For example, while some steel and wood modular systems share identical dimensions and connector types, others use entirely different mounting mechanisms. Always consult the official compatibility charts or product labels before purchasing to ensure that the specific wood shelves you want can be safely mounted onto your chosen metal frames.
What should I do if the shelf feels wobbly after assembly?
If your shelving unit feels unstable after assembly, first check that all fasteners, cross-braces, and shelf brackets are fully tightened and correctly seated. Next, use a spirit level to verify if the floor surface is uneven, and adjust the built-in leveling feet if your model has them. If the unit continues to wobble or if you suspect a structural defect in any of the components, stop loading the shelf and contact the manufacturer or retailer for assistance rather than attempting unsafe DIY modifications.

Community discussion
Share your experience or ask a question. Comments are reviewed before publication.