
To choose the right shoe rack capacity for your doorway, you must measure the physical width, depth, and height of your entryway, subtract necessary clearances for foot traffic and door swings, and then divide the remaining usable width by the average width of your footwear.
In high-density housing environments like Singapore, where HDB flats and condominiums often feature compact entryways or narrow corridors, selecting the correct furniture dimensions is crucial. A doorway shoes rack that is too large can block your main exit, scrape against your front door, or violate local fire safety guidelines regarding common corridor obstructions. Conversely, a rack that is too small will leave your household’s daily footwear spilling across the floor, creating a cluttered first impression.
By taking precise measurements and matching them to realistic storage needs, you can find a balance between maximizing shoe storage and maintaining a safe, clear passage. This guide walks you through the exact steps to measure your space, calculate true usable area, and select a shoe rack capacity that fits your lifestyle.
Products mentioned in this guide
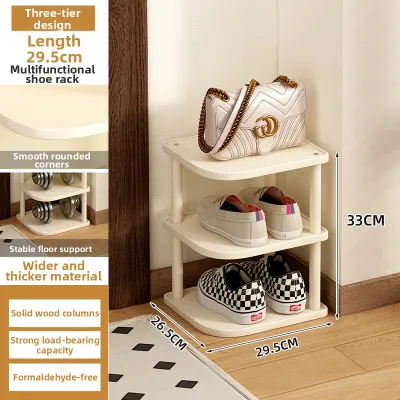
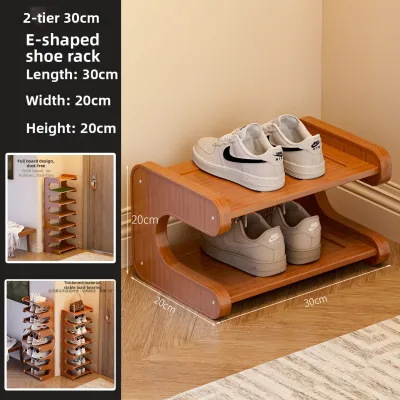
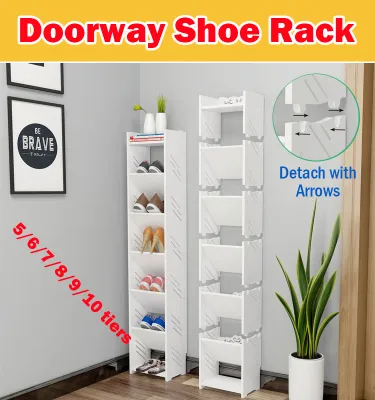
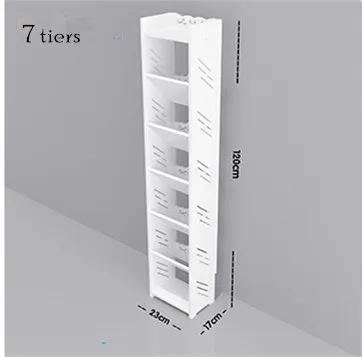
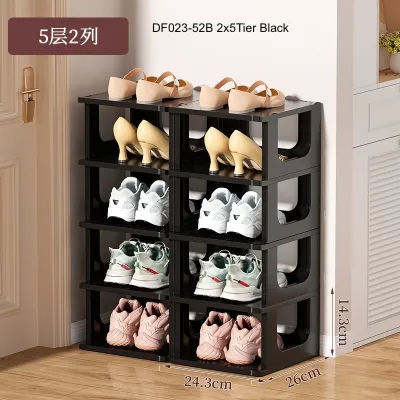
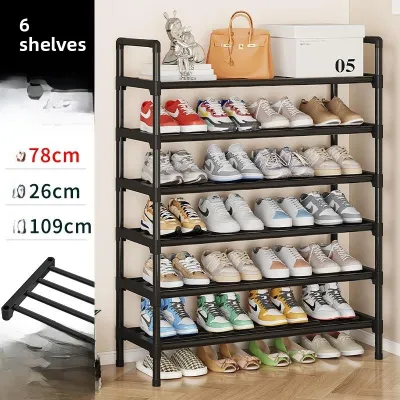

Prices are valid at publication and may change. Please refer to the product page for the latest price.
Step 1: Measure Your Doorway Dimensions Accurately
Start by clearing the entryway floor completely to expose the actual footprint. Using a metal measuring tape rather than a soft fabric one ensures your measurements remain accurate over longer distances.
Measure the raw width of the wall space where you plan to place the rack. Measure from the edge of the door frame to the nearest corner, intersecting wall, or adjacent furniture piece.
Measure the available depth from the wall outward toward the walking path. Keep in mind that a standard shoe rack typically requires a depth of 30 to 40 centimeters, but your specific space might limit you to a slimmer profile.
Measure the height of the wall, especially if you are considering a tall vertical rack or a floor-to-ceiling unit. Note any high-level fixtures, such as wall-mounted lights or decorative molding, that might restrict vertical space.
Account for architectural details that project from the wall. Baseboards, skirting boards, and door trim can reduce your usable width and depth by several centimeters, preventing the rack from sitting flush against the wall.
Check the floor for evenness. Uneven tiles, grout lines, or a sloping entryway floor can cause a tall shoe rack to wobble, which affects both stability and the actual space it occupies.
Identify fixed wall obstructions. Look for light switches, intercom units, electrical outlets, distribution board (DB) box doors, or water meters that must remain accessible at all times.
Step 2: Calculate the Usable Space for a Shoe Rack
Raw dimensions do not equal usable furniture space. You must deduct a standard walkway clearance to ensure household members can move through the doorway comfortably.

Aim to preserve a clear walkway width of at least 90 centimeters in your main passage. If your entryway is exceptionally narrow, you may need to adjust this clearance, but never compromise the ability to exit safely during an emergency.
Deduct the full swing radius of your main entry door. Open the door completely and measure the distance from the wall to the door’s edge to ensure the rack will not obstruct the door or get struck by the handle.
If your front door has a digital lock, a heavy door closer, or a security gate, allow extra clearance. These mechanisms often require additional physical clearance when the door is fully open or swinging.
Factor in visual breathing room and ventilation gaps. Leaving a small gap of 2 to 5 centimeters between the rack and adjacent walls prevents moisture buildup and makes the entryway feel less cramped.
Consider the clearance needed for household members to stand, bend down, and put on their shoes. A shoe rack that fits on paper may still make the entryway unusable if there is no room left to stand comfortably.
Step 3: Match Usable Space to Shoe Rack Capacity Tiers
To estimate how many pairs of shoes will fit on a single shelf, measure the average width of your own footwear. Men’s sneakers, women’s flats, and children’s shoes vary significantly in width.
Divide your usable shelf width by your average shoe width. For example, if your usable width is 80 centimeters and your average shoe pair width is 20 centimeters, you can comfortably fit four pairs per tier.
Compare slim vertical racks with standard tiered designs. Slim tipping-bucket cabinets are ideal for narrow corridors as they often have a depth of under 20 centimeters, though they may limit the types of shoes you can store.
Standard tiered racks offer more depth and are better suited for wider entryways. These units allow shoes to sit flat, accommodating bulkier footwear but requiring a deeper floor footprint.
Evaluate modular or expandable designs if your storage needs fluctuate. Modular units let you stack additional tiers vertically as your collection grows, provided you have the overhead clearance.
Keep in mind that shoe capacity is not just about the number of tiers. A 4-tier wide rack can often hold the same number of shoes as a 6-tier narrow rack, but with a completely different spatial impact on your doorway.
Step 4: Verify Safety, Stability, and Daily Usability
Before purchasing, check the manufacturer’s specifications for maximum load limits. A shoe rack filled to capacity with heavy boots or leather shoes can fail if it exceeds the structural weight limit.
Assess the tipping risk of your chosen design. Tall, narrow vertical racks have a higher center of gravity and are prone to tipping, especially when placed on carpet or uneven entryway tiles.
Identify the anchoring method recommended by the manufacturer. Many tall units require wall anchoring brackets; verify if your entryway walls can support drilling and anchors.
Ensure the rack’s physical depth does not create a tripping hazard. A rack that protrudes even slightly into the natural walking path can catch ankles or bags as people enter and exit.
Check the stability of the joints and materials. If you choose a lightweight plastic or thin metal rack, ensure it does not wobble when fully loaded with shoes.
Common Doorway Shoe Rack Sizing Mistakes to Avoid
A common mistake is forgetting to account for shoe overhang. Shoes placed on open shelves or angled racks often extend several centimeters beyond the physical edge of the furniture frame.
Ignore the swing radius of nearby closet doors or distribution board (DB) cabinet doors. Ensure these doors can open fully for maintenance without requiring you to move the entire shoe rack.
Do not assume all your footwear is low-profile. Overestimating capacity by ignoring the height of high heels, mid-cut sneakers, or boots will leave you with unusable tiers and cluttered floors.
Failing to measure the height of the lowest shelf is another frequent error. If the bottom shelf is too low, you may not be able to clean underneath it, leading to dust accumulation in a high-traffic area.
Frequently Asked Questions (FAQ)
Can I place a shoe rack behind an inward-opening door?
Placing a shoe rack behind an inward-opening door is possible only if you have sufficient clearance behind the door when it is fully opened. You must measure the distance from the hinge wall to the back of the door when opened to 90 degrees.
If this distance is less than the depth of a standard rack, look for ultra-slim tipping-bucket cabinets or wall-mounted shoe organizers. Ensure the door handle does not strike the rack, which can damage both the furniture and the wall.
How do I accommodate bulky shoes or boots on a standard doorway rack?
To accommodate bulky footwear, look for shoe racks with adjustable or removable shelves. Removing a shelf panel allows you to double the vertical clearance of a specific tier to fit boots or high-top sneakers.
If your floor space is too limited for a deep rack, consider a hybrid setup. Use a slim rack for daily low-profile shoes and store bulky or seasonal footwear in a separate closet or on dedicated vertical boot hangers.

Community discussion
Share your experience or ask a question. Comments are reviewed before publication.