
Finding the perfect corner rack is one of the smartest ways to unlock underutilized space in your home, especially in space-conscious environments like Singapore apartments where every square meter counts. However, a corner rack that is even a few millimeters too large can block a doorway, cover a power outlet, or sit awkwardly away from the wall due to skirting boards. To choose a unit that fits seamlessly, you must measure not just the floor area, but the entire three-dimensional volume of the corner, accounting for architectural details, surrounding traffic, and delivery pathways.
By taking systematic measurements before you begin browsing, you can narrow down your options to units that are both physically compatible and highly functional. This guide walks you through the exact steps to measure your corner space, translate those numbers into product specifications, and avoid the common pitfalls that lead to frustrating returns.
Step 1: Capture the Exact Physical Boundaries of Your Corner
To establish the absolute limits of your potential corner rack, you must first map out the physical boundaries of the walls meeting at your chosen corner. Start by identifying the corner apex, which is the exact point where the two walls intersect. Using a metal tape measure for accuracy, extend the tape along the left wall from the apex to the maximum distance you want the rack to extend. Mark this point, then repeat the process along the right wall. These two measurements represent your maximum left-wall width and right-wall width, which are critical for L-shaped or triangular units.
Products mentioned in this guide
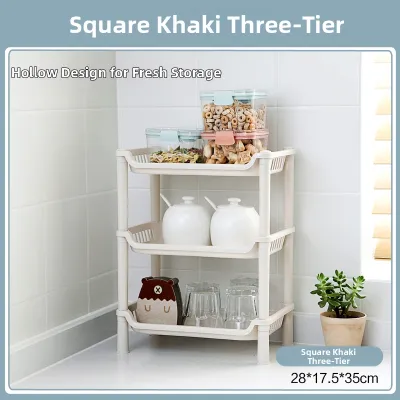
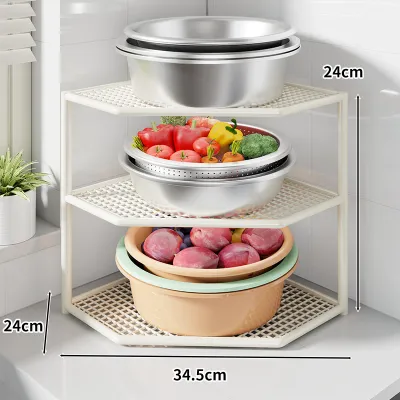
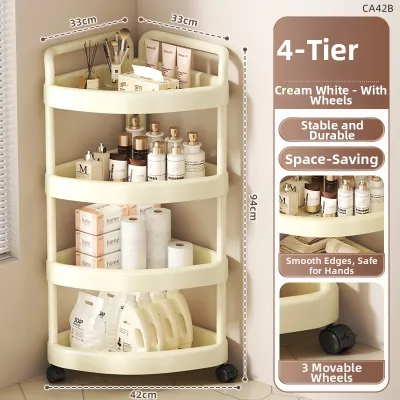
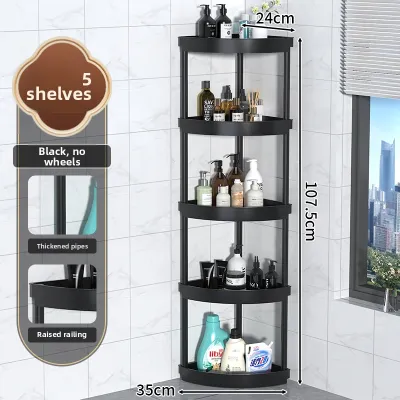
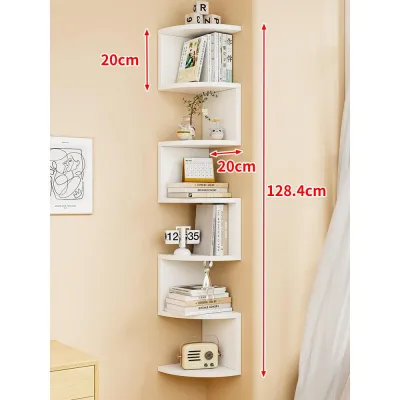
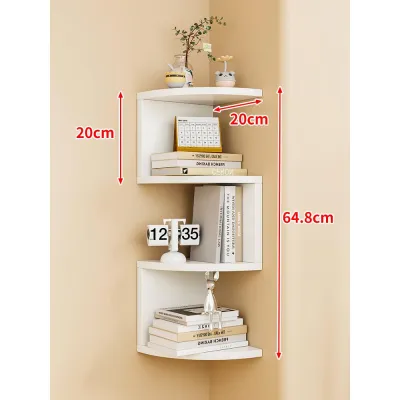
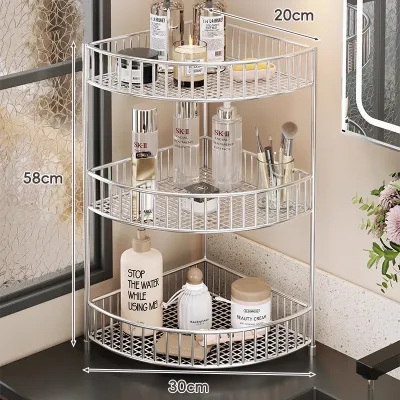
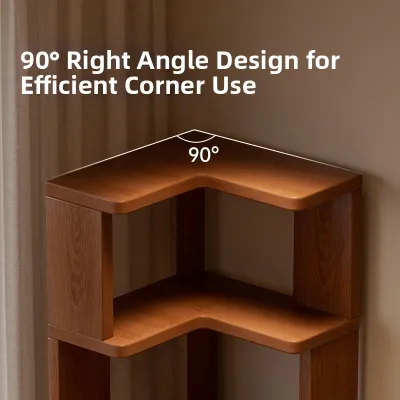
Prices are valid at publication and may change. Please refer to the product page for the latest price.
Next, determine the maximum allowable depth of the rack. The depth refers to how far the front edge of the furniture will protrude into the room from the walls. To measure this, project a line from your marked width points perpendicular to the walls and see where they meet in the room. If you are opting for a pentagonal or curved corner unit, this depth measurement dictates how much floor space the unit will occupy.
Finally, measure the vertical clearance from the floor to the ceiling, or to the lowest overhead obstruction such as a beam, light fixture, or air conditioning unit. Do not assume your ceiling height is uniform throughout the room; older properties and high-rise apartments often have subtle structural variations. Note the locations of any wall-mounted fixtures, including electrical outlets, light switches, and internet ports, as covering these can restrict access to essential utilities.
Step 2: Factor in Clearances, Traffic, and Obstructions
A corner rack might fit perfectly within its designated alcove but still cause daily frustration if it disrupts the flow of your living space. Walkway clearance is the first operational factor to calculate. Ensure there is at least 60 to 90 centimeters of open space in front of the rack to allow a person to walk past comfortably without bumping into the furniture. In high-traffic areas like hallways or narrow entryways, keeping this clearance clear is essential for safety and comfort.

You must also account for the functional clearance of the rack itself and any surrounding elements. If the corner rack features doors, drawers, or pull-out trays, measure the distance these components extend when fully opened. Compare this against the surrounding space to ensure they do not collide with coffee tables, sofas, or adjacent walls. Similarly, check the swing path of nearby room doors, wardrobe doors, or windows to prevent them from striking the rack when opened.
Architectural details can also limit where a rack can safely sit. Look for window sills that protrude from the wall, low-hanging curtains, or wall-mounted air conditioning units that could block a tall shelving unit. If your corner is near a window, ensure the rack does not block natural light or interfere with window latches. Mapping these clearances beforehand prevents you from purchasing a beautiful piece of furniture that ultimately restricts your room’s usability.
Step 3: Translate Room Measurements into Rack Specifications
Once you have your maximum room measurements, you need to translate them into the specifications listed on product sheets. When shopping online or in-store, look closely at the manufacturer’s detailed dimension diagrams. A standard product listing usually provides overall width, depth, and height, but corner furniture requires a more nuanced reading. For instance, an L-shaped corner rack will list two separate wall-facing widths, whereas a triangular or wedge-shaped rack might only list a single width across the front face and a depth from the front edge to the back corner.
Understanding the spatial difference between these shapes is key to maximizing your storage. A true L-shaped rack hugs both walls closely, leaving the center of the corner open, which is excellent for books and display items but requires precise wall clearance on both sides. An angled, pentagonal, or wedge-shaped rack cuts across the corner, creating a flat front face. While wedge racks are easier to fit into tight spaces, they offer a different shelf shape that may not accommodate square storage boxes as efficiently.
If your space has irregular height constraints, such as a sloped ceiling under a staircase or a low bulkhead, look for corner racks with adjustable shelving or modular designs. Modular units allow you to stack or configure shelves to match your specific vertical limits. Always compare your measured maximum height against the fully assembled height of the rack, leaving at least a few centimeters of breathing room at the top to make installation and cleaning manageable.
Step 4: Verify Delivery Routes and Assembly Footprint
A common oversight when purchasing furniture is focusing solely on the final destination while ignoring how the item will get there. This is particularly critical in multi-story residential buildings where furniture must navigate shared lifts, tight corridors, and narrow stairwells. Measure the height and width of your apartment’s entry door, as well as the internal dimensions and door clearance of your building’s elevator. If a pre-assembled corner rack cannot fit through these entry points, you may face costly delivery failures or return fees.
For flat-packed corner racks, you must consider the assembly footprint. Building a piece of furniture requires significantly more physical space than the finished unit occupies. Check the manufacturer’s instructions to see if the rack must be assembled flat on the floor before being raised into an upright position. If so, you need a clear floor area adjacent to the corner that is at least as wide and long as the diagonal height of the rack, allowing you to lift it safely without hitting the ceiling or walls.
Additionally, evaluate the stability and anchoring requirements of the unit. Tall, narrow corner racks are prone to tipping, especially when loaded with heavy items like books or ceramic decor. Check if the product specifications require wall-mounting or floor-anchoring hardware. If wall anchoring is necessary, inspect your walls to ensure you can safely drill and install anchors, keeping in mind that concrete walls require different drill bits and plugs compared to drywall or plasterboard partitions.
Common Measuring Mistakes That Lead to Ill-Fitting Furniture
Even experienced decorators can make simple errors that result in a corner rack sitting unevenly or failing to fit. One of the most frequent mistakes is assuming that walls are perfectly straight and meet at a flawless 90-degree angle. In reality, walls often bow, tilt, or lean slightly. To combat this, always take your width and depth measurements at three different heights: near the floor, at waist height, and near the top of where the rack will stand. Use the smallest of these three measurements as your buying limit.
Another common oversight is ignoring the thickness of skirting boards or baseboards. Skirting boards run along the bottom of the wall and can protrude anywhere from one to three centimeters. If you measure the wall length only at waist height, your corner rack may hit the skirting board at the bottom, preventing the top of the unit from flushing against the wall. This creates an unsightly gap and reduces stability. Always measure the distance between the skirting boards rather than the bare walls when calculating floor clearance.
Finally, do not rely on visual estimation or standard industry sizes. While many corner racks are designed to fit standard spaces, there is no universal “standard” size. A unit labeled as a “small corner shelf” might still be too deep for a narrow hallway. Always rely on concrete measurements rather than descriptive marketing terms to ensure a precise fit.
Frequently Asked Questions (FAQ)
What if my corner is not a perfect 90-degree angle?
If your walls meet at an obtuse or acute angle, a rigid, pre-assembled L-shaped rack will not sit flush against both walls, leaving awkward gaps or rocking unstably. In these situations, opt for a wedge-shaped or triangular corner rack, which only contacts the walls at specific points rather than running flat along both surfaces. Alternatively, look for units with adjustable leveling feet to compensate for uneven floors, or use paintable filler strips to close minor gaps between the rack frame and the wall for a built-in look.
How much gap should I leave between the rack and the wall?
While you want your corner rack to sit as close to the wall as possible for stability, leaving a small gap of about 5 to 10 millimeters is highly beneficial. This tiny clearance prevents the furniture from rubbing against the wall paint during minor shifts, allows for natural air circulation to prevent moisture buildup—especially important in humid climates—and provides just enough room to run thin electrical cords or LED lighting cables behind the unit if needed.

Community discussion
Share your experience or ask a question. Comments are reviewed before publication.