
To get a perfectly fitted floating corner shelf, you must measure the wall length along both sides of the corner starting from the inner vertex, determine the maximum safe depth that won’t block walkways or doors, and verify that your walls meet at a true 90-degree angle. Taking these precise measurements ensures your shelf sits flush against both walls without unsightly gaps or dangerous overhangs.
In Singapore homes where space optimization is key, a floating corner shelf is an excellent way to utilize underused vertical areas. However, because walls are rarely perfectly straight or square, buying a shelf based on visual estimation often leads to installation frustration. A systematic measurement approach is essential before purchasing any shelving unit to ensure a secure and visually appealing fit.
Step-by-Step Guide to Measuring Your Corner Space
To begin, you will need a steel measuring tape, a pencil, a notepad, and a carpenter’s square or corner ruler. Using a flexible sewing tape can lead to sagging and inaccurate readings, so a rigid metal tape is highly recommended for capturing precise straight lines.
Products mentioned in this guide
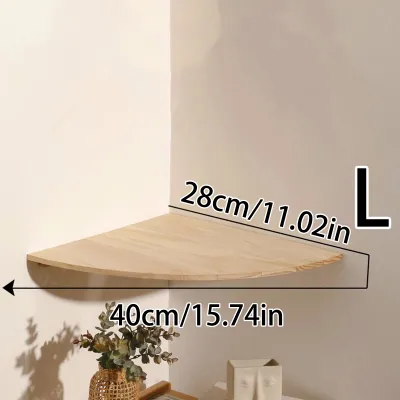
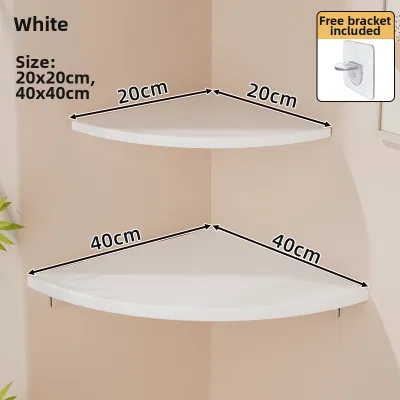
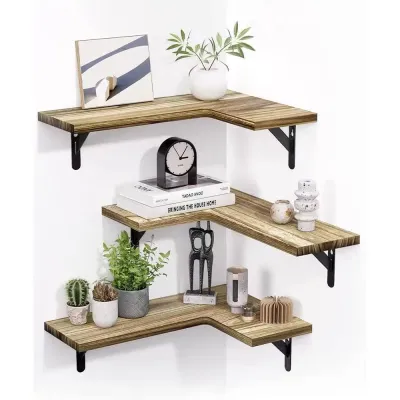
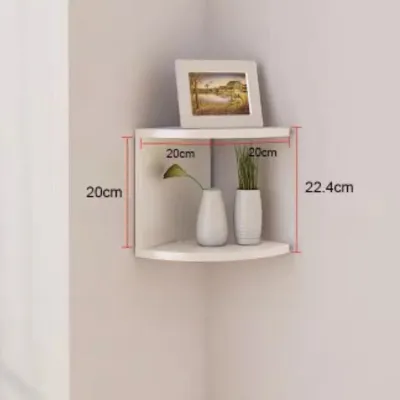
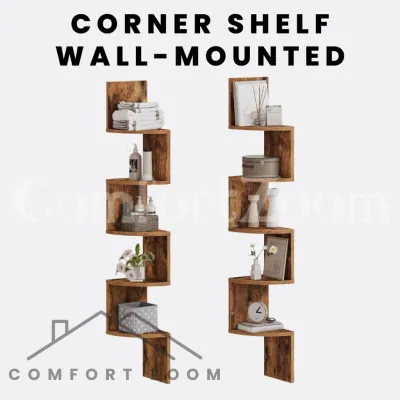
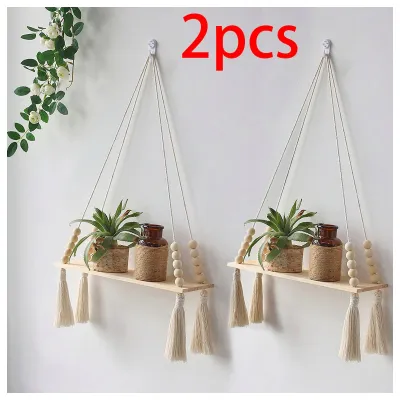
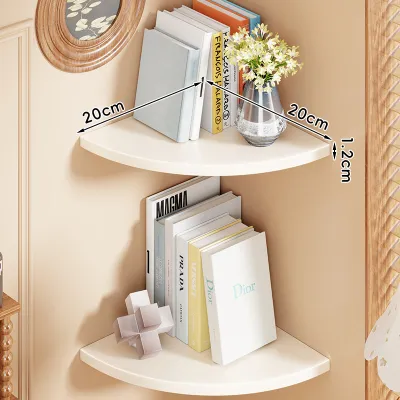
Prices are valid at publication and may change. Please refer to the product page for the latest price.
Start by measuring the available wall length on both sides of the corner. Place the end of your measuring tape directly into the corner vertex—the exact point where the two walls meet. Extend the tape horizontally along the left wall to the point where you want the shelf to end, and record this dimension. Repeat the exact same process along the right wall, as corner shelves are often asymmetrical or require different clearances on each side.
Next, determine the maximum usable depth for your shelf. The depth is the distance from the wall out to the front edge of the shelf. To find this, measure outward from each wall at a 90-degree angle. Ensure this projected depth does not obstruct walkways, nearby doors, or adjacent furniture. In high-traffic areas, a shelf that projects too far can become a safety hazard or block natural movement.
If you plan to install a multi-tier floating corner shelf setup, you must also measure the vertical height and spacing. Measure the total vertical wall space available from the floor or from any furniture below to the ceiling. Decide on the number of tiers you want and calculate the vertical gap between each shelf. Ensure there is enough vertical clearance to easily place and retrieve your intended items, such as books, decorative pieces, or storage boxes.
If you are purchasing a large multi-tier unit or a pre-assembled corner shelving system, also verify the package dimensions against your building’s lift doors and entryway clearances to ensure hassle-free delivery.
Accounting for Obstacles and Clearances
Before finalizing your measurements, you must identify physical barriers on the wall that could reduce the usable footprint or interfere with the hidden mounting brackets.

First, check for skirting boards, baseboards, or wall moldings. Even though a floating shelf is installed higher up the wall, these architectural features can prevent you from placing measuring tools flush against the wall at lower levels. If you are planning a low-hanging shelf, skirting boards will directly alter your depth calculations and prevent a flush fit unless you account for their thickness.
Next, locate all electrical outlets, light switches, and data ports in the vicinity. A floating corner shelf or its internal mounting hardware must not block access to these utilities. Measure the distance from the corner vertex to the edge of any outlet plate to ensure the shelf body or its support brackets will clear them completely.
Finally, ensure adequate clearance from moving elements and fixtures. Measure the swing path of adjacent doors and window frames to confirm they will not strike the shelf when opened. In typical residential layouts, pay close attention to air conditioning trunking, exposed piping, or structural pillars. These elements often run along wall corners and can severely limit the available mounting area.
Translating Measurements into Shelf Dimensions
Once you have your raw room measurements, you must translate them into actual product specifications to avoid buying a shelf that is too large or misaligned.
Select the shelf depth based on your intended load and the measured safe clearance zone. Deeper shelves hold larger items but place greater leverage and stress on the wall anchors. For standard books and small decorative items, a depth of 15 cm to 25 cm is typical. Ensure this depth remains well within the clearance boundaries you mapped out in the previous step.
Calculate the maximum shelf width by subtracting a safety margin from your raw wall measurements. Because walls are rarely perfectly square, subtracting a margin of 5 mm to 10 mm from your measured wall length helps accommodate minor wall deviations. This small tolerance prevents the shelf from jamming during installation or leaving a wedge-shaped gap.
Additionally, review the manufacturer’s specified bracket footprint. Floating shelves rely on internal metal brackets or wall plates that are screwed directly into the wall. This mounting hardware often requires a specific flat wall area that may differ from the visible shelf board itself. Check the product specifications to ensure your wall has enough uninterrupted flat surface to accommodate the bracket’s width and height.
In humid tropical climates like Singapore, check the shelf’s finish and care instructions to ensure the material is suitable for your specific room environment, such as a bathroom or kitchen, where moisture levels are higher.
Verifying Wall Structure and Installation Requirements
A floating corner shelf is only as secure as the wall supporting it. Before purchasing, you must verify that your chosen corner can structurally handle the weight of the shelf and its contents.
Identify the wall material in your target corner. In concrete-dominant residential structures, interior walls are commonly made of solid concrete, masonry, or drywall over metal studs. Solid concrete and masonry walls offer excellent load-bearing capacity but require a masonry drill bit and heavy-duty wall plugs. Drywall, on the other hand, requires specialized hollow-wall anchors or direct mounting into the underlying studs to prevent the shelf from sagging or pulling out.
Cross-reference the product’s installation manual for specific fixing requirements. Look for details on stud spacing, bracket length, and the manufacturer’s maximum weight capacity limits. Keep in mind that weight limits are highly dependent on proper installation and the type of wall anchor used. Never exceed the specified load capacity, and distribute weight evenly across the shelf surface.
Establish a clear stop condition for your project. If you cannot identify the wall material, if the wall shows signs of moisture damage or cracking, or if you do not have the appropriate tools for drilling into concrete, halt your DIY plan. In these situations, consult a qualified professional handyman to assess the wall and complete the installation safely.
Common Measuring and Sizing Mistakes to Avoid
Avoiding a few common pitfalls can save you the hassle of returning an ill-fitting shelf or damaging your walls.
The most frequent mistake is assuming walls meet at a perfect 90-degree angle. Most corners are slightly acute or obtuse. If you do not verify the angle with a carpenter’s square or take measurements at multiple heights, a pre-fabricated 90-degree shelf may not fit flush, leaving a noticeable gap at the back or front.
Another common error is forgetting to subtract the thickness of skirting boards or decorative trim when planning a shelf that aligns with other furniture. Always measure from the actual flat plaster or concrete surface of the wall, not from the outer edge of the trim, unless you plan to mount the shelf above those features.
Finally, do not ignore the vertical space required for the items you plan to display. Measuring only the shelf’s physical dimensions without considering the height of your tallest books or decorative vases can result in cramped, unusable tiers. Always add the height of your tallest item plus a few centimeters of hand clearance to your vertical spacing calculations.
Frequently Asked Questions (FAQ)
Do floating corner shelves need a gap between the edges and the walls?
Floating corner shelves are designed to sit flush against both walls for a clean, seamless look. However, because walls are rarely perfectly flat, a tiny tolerance gap of 1 mm to 2 mm is common. If your walls are highly uneven, you may need to check the manufacturer’s installation guide for recommended tolerances or use a scribing method to shave down the back edges of a wooden shelf for a custom fit.
How do I measure for a corner shelf if my walls are bowed or uneven?
If your walls are bowed or uneven, take horizontal measurements at three different heights: the top, middle, and bottom of the intended shelf location. Use the smallest of these three measurements as your maximum safe width limit. This ensures that the shelf will fit into the tightest part of the corner without getting stuck or forcing you to sand down the walls.

Community discussion
Share your experience or ask a question. Comments are reviewed before publication.