
To choose the right wall-mounted storage rack, you must measure the absolute height and width of your available wall, identify physical obstacles, determine your wall’s structural material, and account for necessary clearances. Getting these measurements right prevents installation failures, ensures the rack fits your room’s traffic flow, and guarantees the wall can safely support the weight of both the rack and your stored items.
In compact living spaces, such as modern apartments or HDB flats, vertical storage is highly efficient, but a single miscalculation can block a doorway, cover a light switch, or overload a partition wall. Taking a systematic approach to measuring and assessing your space before purchasing ensures a seamless installation and long-term safety.
Assess Your Wall Dimensions and Physical Clearances
Start by measuring the total width and height of the intended wall section using a reliable metal tape measure. Avoid fabric tapes, which can stretch and lead to inaccurate readings over longer distances. Always measure twice to confirm your numbers before committing to a specific product size.
Products mentioned in this guide
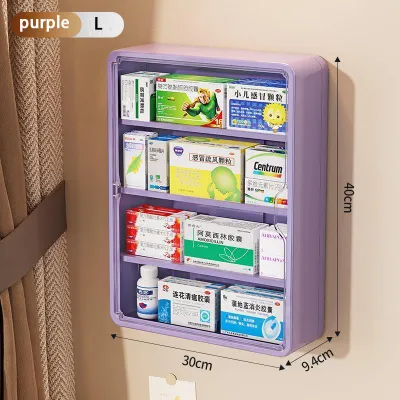
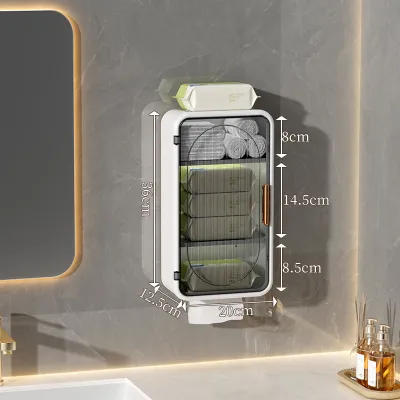

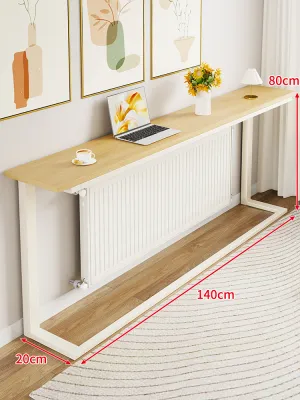
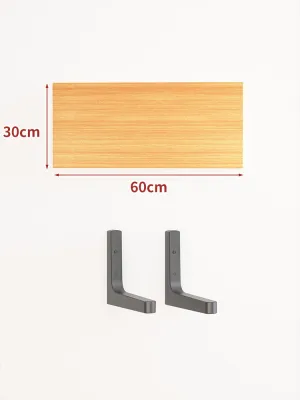
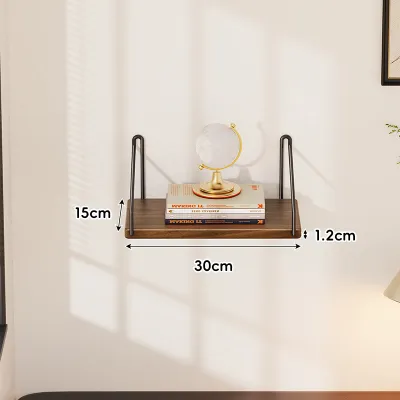
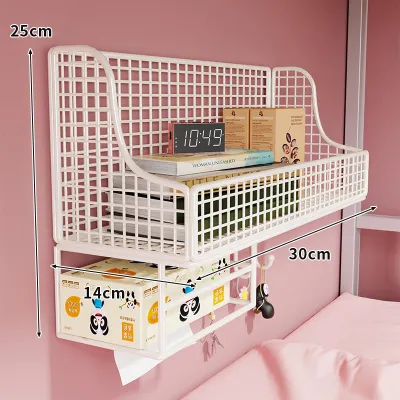
Prices are valid at publication and may change. Please refer to the product page for the latest price.
Map out the exact boundaries of your usable wall space. Do not just measure the empty area; note the distance from the corners of the room to the edges of where you want the rack to sit. This helps you visualize how the rack will look in relation to the entire wall and prevents it from looking off-center.
Identify and document all physical obstacles within or near the mounting zone. This includes power outlets, light switches, skirting boards, air conditioning units, window frames, and door frames. You must also account for any wall-mounted lights or thermostats that might limit your vertical or horizontal space.
Keep a buffer zone of at least a few centimeters around these obstacles to allow for easy access to switches and outlets, and to prevent the rack from interfering with window treatments or door swings. A tight fit might look neat on paper, but it can make daily tasks frustrating if you cannot easily plug in an appliance.
Account for the protrusion depth of the storage rack. A rack that extends too far from the wall can restrict movement in narrow hallways, block walkways, or collide with adjacent furniture when doors or drawers are opened. Measure the clearance of nearby doors when fully opened to ensure they do not strike the rack.
Check the wall surface for flatness and vertical alignment. Use a spirit level to identify any bowing, uneven plaster, or sloping ceilings that could affect how the brackets sit or require adjustable mounting hardware to keep the shelves level. An uneven wall can put unnecessary stress on the rack’s joints and mounting points.
Evaluate Wall Structure and Load-Bearing Requirements
Before buying any wall-mounted storage rack, you must determine what lies behind your paint or wallpaper. Solid walls made of brick, concrete, or structural blocks offer high load-bearing capacity but require specific masonry drill bits and wall plugs. These walls are common in many structural partitions and external walls.

Hollow walls, such as drywall or plasterboard mounted on timber or metal studs, require a completely different approach. Knocking gently on the wall can help you identify hollow areas by their resonant sound, while a solid wall will produce a dull, flat thud. Never assume a wall is solid without verifying its composition first.
For hollow walls, locating the internal studs is critical for securing heavier racks. Use a stud finder to locate and mark the center of these structural supports, as mounting directly into drywall with standard plugs can lead to structural failure and wall damage. Mark the stud locations clearly with a pencil so you can align your brackets accordingly.
Cross-reference your wall type and stud spacing with the manufacturer’s installation guidelines. Check the product specifications for the maximum weight rating and verify if the included mounting hardware is compatible with your specific wall material. Some products require specialized heavy-duty anchors that must be purchased separately.
If you encounter an unknown wall structure, suspect structural damage, or find that your wall type conflicts with the manufacturer’s mounting requirements, stop immediately. Consult a qualified contractor or professional installer to assess the wall and perform a safe installation. Attempting to mount a heavy rack on an unstable wall poses a serious safety hazard.
Match Rack Dimensions to Your Measured Space
When browsing for a wall-mounted storage rack, compare its external dimensions—including any protruding brackets, side frames, or decorative moldings—against your mapped-out clear space. The actual footprint of the rack is often slightly larger than the shelf surface itself, so always use the finished dimensions provided by the manufacturer.
Consider the depth of the shelves in relation to the items you plan to store. Books, decorative items, and storage bins all have different depth requirements; choosing shelves that are too shallow leads to overhang, while excessively deep shelves waste space and disrupt room flow. Ensure the shelf depth matches your specific organizational goals.
For spaces with irregular dimensions or changing storage needs, evaluate modular, floating, or adjustable shelving systems. These designs allow you to configure the layout to fit around obstacles and can be expanded or rearranged over time. They offer excellent flexibility if you plan to move or reconfigure your room in the future.
Avoid the common mistake of ignoring the extra clearance needed for the installation process itself. Some racks require sliding onto brackets from the top or sides, meaning you must leave sufficient clearance from the ceiling or adjacent walls to physically mount the unit. Always check the assembly and mounting instructions before purchasing.
Factor in the physical weight of the rack when empty. A heavy solid wood or industrial steel frame reduces the remaining weight capacity available for your actual belongings, so balance the rack’s material weight against your storage needs. Additionally, ensure the packaged product can easily fit through your doorways, hallways, and lift access during delivery.
Plan Installation Heights and Ergonomic Clearances
Determining the correct installation height is essential for both safety and daily usability. Start by establishing the optimal bottom clearance to prevent head bumps, especially if the rack is mounted above high-traffic walkways, seating areas, or workspaces.
If you are mounting the rack above existing furniture, such as a desk, sofa, or sideboard, leave a clearance of at least 20 to 30 centimeters. This gap prevents the space from feeling cramped, allows you to place items on the furniture surface below, and ensures you do not accidentally knock the rack when sitting or standing.
Maintain adequate top clearance between the uppermost shelf and the ceiling. This space is necessary for visual proportion, allows for proper air circulation, and ensures you have enough room to clean the top surface easily. It also prevents stored items from touching the ceiling and causing scuff marks.
Calculate the vertical spacing between individual shelves or multiple racks based on the specific height of the items you intend to store. Taller items like binders, vases, or large books require more vertical clearance than standard novels or small decorative pieces. Adjustable shelving tracks are highly useful for customizing this spacing.
Verify that the primary shelves are positioned at a comfortable reaching height. Avoid placing frequently accessed items so high that they require unsafe stepping stools, or so low that they cause physical strain during daily retrieval. Keep your most-used items between eye level and waist level for optimal ergonomics.
Frequently Asked Questions (FAQ)
Can I install a heavy wall-mounted storage rack on drywall?
Mounting a heavy storage rack directly onto drywall without anchoring it into structural studs is highly risky and can cause the wall to collapse under load. Always locate the wooden or metal studs behind the drywall and secure the mounting brackets directly into them. If the stud spacing does not align with your rack’s mounting points, check the manufacturer’s manual for approved heavy-duty drywall anchors, weight distribution limits, and specific safety warnings.
How do I measure for a corner wall-mounted rack?
To measure for a corner-mounted rack, measure along both intersecting walls starting from the exact corner outward to ensure you have symmetrical and adequate clearance on both sides. Use a carpenter’s square to check if the corner is a true 90-degree angle, as uneven plaster joints or corner beads can prevent the rack from sitting flush. If the walls are slightly out of square, you may need to use spacers or choose an adjustable corner design to achieve a secure and level fit.

Community discussion
Share your experience or ask a question. Comments are reviewed before publication.