
Maximizing vertical space with a floor-to-ceiling shelf is an excellent way to organize your HDB or condo room. However, a successful installation relies on precise measurements and careful planning to avoid spatial conflicts and ensure structural stability. To plan this setup successfully, you must measure your exact vertical clearance at multiple points, identify potential architectural obstructions like cornices or skirting boards, and verify that your building’s access routes can accommodate the delivery of large modular components.
Assessing Your Room and Access Constraints
Before purchasing any modular shelving system, you must thoroughly evaluate the physical environment of your room. In many Singapore apartments, ceiling heights can vary slightly from one corner to another, and floors may not be entirely level. Look upward to identify any overhead obstructions that could interfere with a tall shelving unit. Air conditioning units, ceiling fans, light fixtures, and overhead beam structures are common obstacles that can restrict where a tall shelf can safely stand. You should also map out the locations of wall outlets, light switches, and data ports to ensure the shelving unit does not block access to essential utilities.
Physical access to your home is another critical factor that is easily overlooked. Modular components, especially vertical side panels or long support metal frames, can be exceptionally tall and heavy. Measure the height and width of your apartment’s entry doors, hallway clearances, and the internal dimensions of your building’s elevator. If you live in a high-rise condominium or HDB estate, some large flat-pack boxes or pre-assembled frames may not fit inside a standard passenger lift, requiring manual transport up stairwells. Confirming these dimensions beforehand prevents delivery day complications and unexpected handling fees.
Products mentioned in this guide
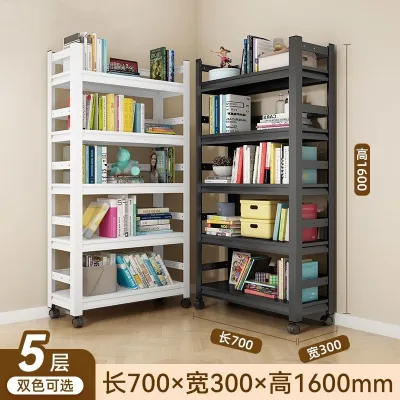
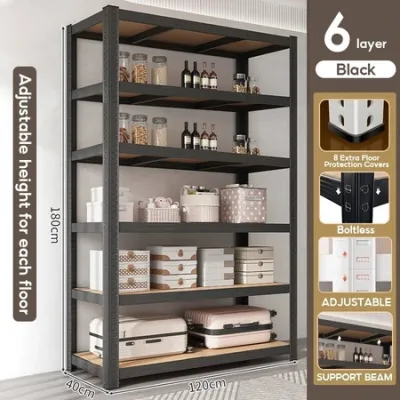
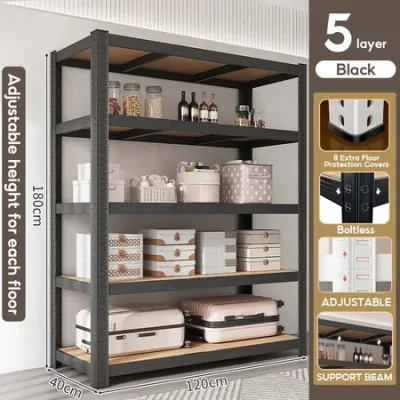
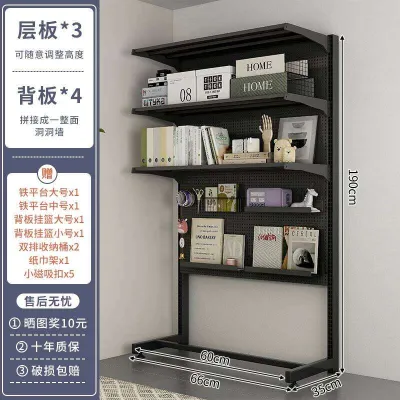
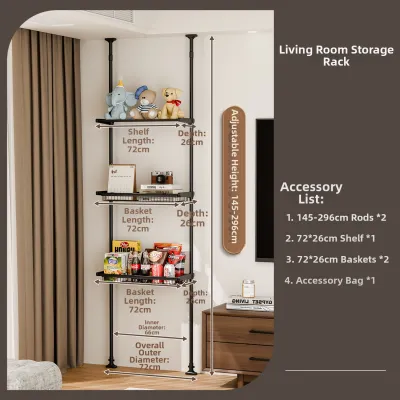
Prices are valid at publication and may change. Please refer to the product page for the latest price.
Finally, examine the base and top of your walls for architectural trims. Skirting boards along the floor and decorative cornices or plaster moldings at the ceiling level can prevent a flat-backed shelf from sitting flush against the wall. This gap not only wastes valuable floor space but can also compromise the stability of the unit by preventing proper wall anchoring. Note the depth and height of these trims so you can plan how to bypass or accommodate them during the configuration phase.
Taking Accurate Floor-to-Ceiling Measurements
Achieving a seamless, built-in look with a floor-to-ceiling shelf requires highly accurate measurements. Do not rely on standard architectural blueprints, as actual finished dimensions often deviate by several centimeters due to plastering, screeding, or flooring installations. Use a reliable steel measuring tape or a laser measure, and always take measurements at multiple points across the intended installation wall.

To determine the maximum usable height, measure the distance from the floor to the ceiling in at least three distinct locations: the far left, the center, and the far right of the designated space. Ceilings are rarely entirely flat, and even a minor slope can cause a tall modular unit to jam during assembly. Always use the shortest of these three measurements as your absolute height limit. This ensures that the shelving unit will fit comfortably under the lowest point of the ceiling without scraping the plaster.
Similarly, measure the width of the wall at three different heights: near the floor, at midpoint, and close to the ceiling. Walls can bow inward or outward, meaning a shelf that fits correctly at floor level might get stuck halfway up. If you plan to install a wall-to-wall modular system, use the narrowest width measurement as your guide.
Additionally, you must factor in the manufacturer’s recommended clearance gaps. Many modular systems require a small expansion gap at the top to allow the panels to be maneuvered into place, or to accommodate the natural settling of the building over time. If the assembly process requires tilting the unit upright from the floor, you will need significantly more diagonal clearance than the actual standing height of the shelf. Check the manufacturer’s installation manual to verify whether the unit must be assembled flat on the floor or if it can be built upright in its final position.
Planning the Modular Configuration and Stability
Once you have established the physical boundaries of your space, you can begin designing the internal layout of your modular shelf. A well-planned configuration balances aesthetic appeal, storage utility, and structural safety. When organizing your shelves, always place the heaviest items, such as books, storage boxes, or heavy equipment, on the lowest shelves. Keeping the weight concentrated near the base lowers the center of gravity of the entire unit, which significantly reduces the risk of tipping.
Before finalizing your design, review the manufacturer’s technical specifications for load capacity. Each shelf tier will have a maximum weight limit, and the overall frame will have a cumulative load capacity that must not be exceeded. Overloading shelves can cause wood composite panels to sag or metal frames to buckle, leading to structural failure. If you plan to store heavy items, consider shorter shelf spans, as wider shelves are more prone to bending under load.
Given the height of a floor-to-ceiling shelf, securing the unit to the wall is an absolute necessity for safety. Tall furniture is inherently susceptible to tipping forward, especially when loaded or if subjected to accidental pulling. Identify the material of your wall—whether it is solid concrete, brick, or hollow drywall—as this dictates the type of wall anchors and drill bits required. Solid concrete walls, common in HDB flats, offer excellent holding power but require masonry drills and heavy-duty wall plugs. Drywall partitions, often found in newer condos, require specialized hollow-wall anchors or must be fastened directly into the internal metal or timber studs for adequate support.
Preparing for Assembly and Installation
Proper preparation of the workspace is key to a smooth and damage-free installation. Clear the entire room or a large adjacent area to give yourself ample space to lay out the components. Protect your flooring by laying down thick cardboard sheets, moving blankets, or drop cloths. This prevents scratches, dents, or scuffs on your parquet, vinyl, or tile floors while you handle heavy panels and metal frames.
Before beginning the assembly process, unbox all components and cross-reference them with the manufacturer’s parts inventory list. Verify that every screw, bracket, dowel, and panel is present and undamaged. Finding a missing or damaged structural piece halfway through assembly can leave you with an unstable, half-finished unit that blocks your living space. Inspect the edges of the panels for any transit damage, as chipped corners can weaken the joints.
Finally, honestly assess whether the installation is a suitable DIY project or if it requires professional assistance. While assembling basic modular shelves is manageable for many, a true floor-to-ceiling setup involves handling heavy, oversized panels and performing precise wall anchoring. If your walls are made of tough reinforced concrete, or if you are uncomfortable using a hammer drill and leveling tools, hiring a qualified professional installer is highly recommended. A professional ensures that the unit is properly plumb, level, and securely anchored, giving you peace of mind that the structure is safe for daily use.
Frequently Asked Questions (FAQ)
Do floor-to-ceiling shelves need to be drilled into the wall?
Yes, tall modular shelving units almost always require secure wall anchoring to prevent tipping. Even if a shelf appears stable when empty, loading it with items shifts the center of gravity forward, creating a serious safety hazard. Always follow the manufacturer’s safety instructions and use the recommended fixing hardware suitable for your specific wall type, whether it is solid concrete or hollow drywall.
How do I account for skirting boards and cornices?
To ensure your shelf sits flush against the wall, you can choose a modular system designed with a built-in base recess that clears standard skirting boards. Alternatively, you can carefully notch the back of the shelf’s side panels to match the profile of your skirting board, or temporarily remove the trim altogether. If you cannot modify the shelf or the wall trim, you must use specialized spacer brackets to anchor the unit securely to the wall across the resulting gap.

Community discussion
Share your experience or ask a question. Comments are reviewed before publication.