
Maximizing the limited footprint of a modern apartment requires smart furniture choices that utilize underused areas without making the room feel cramped. A modular corner glass cabinet is an excellent solution for Singapore HDB flats and condominiums, offering a way to display cherished items while keeping the visual profile of the room light and airy. However, because glass is both heavy and fragile, successful DIY installation relies on precise preparation, careful handling, and a clear understanding of your home’s structural layout. By taking accurate measurements and following a systematic assembly sequence, you can safely integrate this stylish storage piece into your living space.
Unlike standard flat-wall shelving, corner units must contend with the unique geometry of intersecting walls, nearby doorways, and localized fixtures. Taking the time to assess your space, gather the correct tools, and understand the assembly steps beforehand prevents costly alignment errors and ensures a stable, secure installation. Whether you are looking to display collectibles, glassware, or books, this guide walks you through the essential steps to measure, assemble, and secure your modular corner glass cabinet.
Assessing Your Corner Space and Cabinet Dimensions
Before purchasing or assembling a modular corner glass cabinet, you must verify that your chosen corner is suitable for the installation. Begin by measuring the height of the ceiling and the lengths of both intersecting walls. Do not assume your walls meet at a perfect 90-degree angle; older HDB flats and even newer condo units can have slight wall deviations. You can check for squareness by placing a carpenter’s square in the corner or using a measuring tape to perform a quick corner-alignment check.
Products mentioned in this guide
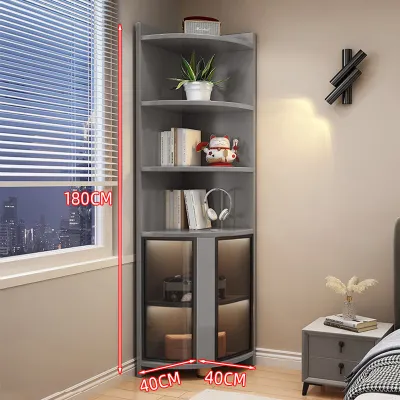
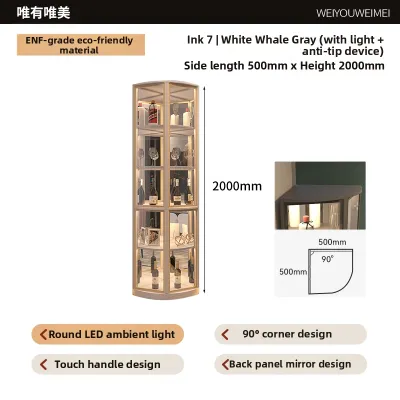
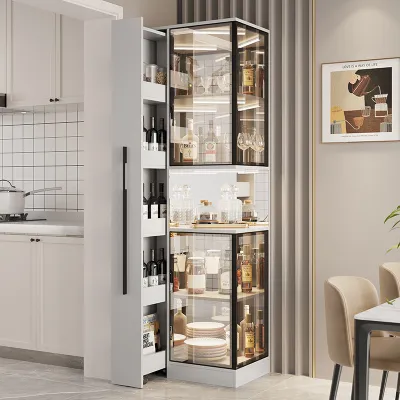
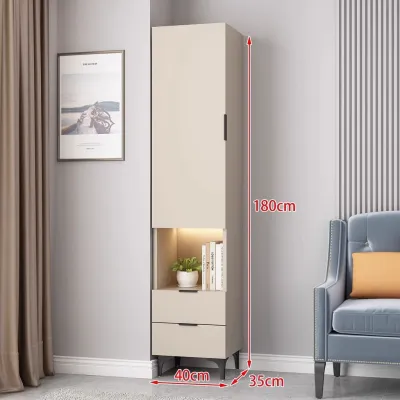
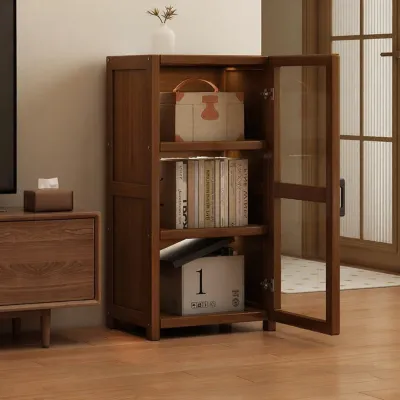
Prices are valid at publication and may change. Please refer to the product page for the latest price.
Next, account for any permanent fixtures that might prevent the cabinet from sitting flush against the walls. Skirting boards or baseboards are standard in Singapore homes and typically project 10 to 15 millimeters from the wall. If the cabinet design does not feature a rear cutout to accommodate skirting boards, you must factor this gap into your depth calculations. Additionally, locate any wall-mounted power outlets, light switches, or air conditioning conduits that could be blocked or obstructed by the cabinet’s frame.
Finally, plan the logistics of moving the cabinet components into your home. Modular glass cabinets often arrive in heavy, flat-packed boxes containing large tempered glass panels. Measure the height and width of your building’s elevator door, your main entrance, and any narrow hallways or tight corners leading to the destination room. Ensuring these pathways are clear prevents accidental bumps and damage to the fragile glass panels before you even begin the assembly process.
Gathering Tools and Preparing the Installation Area
Having the right tools on hand is critical for a smooth and safe DIY installation. You will need a reliable measuring tape, a high-quality spirit level, and manual screwdrivers of the appropriate sizes. While power drills are convenient for other furniture projects, they are highly discouraged when assembling glass cabinets because the high, uncontrolled torque can easily crack or shatter tempered glass panels instantly.

Protecting your home’s flooring and the cabinet components during assembly is equally important. Singapore apartments commonly feature delicate flooring materials such as vinyl, laminate, engineered wood, or polished porcelain tiles. Clear a generous workspace in the room and lay down thick cardboard from the product packaging, heavy moving blankets, or foam padding. This soft barrier protects your floors from scratches and cushions the glass panels when you lay them out for inspection.
Ensure the installation area is well-lit and free of clutter, children, and pets. Working with glass requires your full attention and a clean environment to prevent tripping hazards. If the room lacks sufficient natural light, set up a portable work light to help you clearly see the alignment marks, screw threads, and any potential defects in the glass panels during the unpacking phase.
Step-by-Step Assembly and Installation Process
Begin by carefully unpacking all components and inspecting them for any transit damage. Run your gloved hands gently along the edges of each glass panel to check for chips, hairline cracks, or deep scratches. Tempered glass is incredibly strong on its flat surface but highly vulnerable to impact along its edges. If you discover any damage, stop immediately and contact the manufacturer or retailer for a replacement, as compromised glass can shatter unexpectedly under load.
Always assemble the base and the primary vertical support frames first. The base serves as the foundation for the entire structure, so it must be perfectly level. Place your spirit level across the base in multiple directions; if your floor has a slight slope, adjust the leveling feet if the cabinet is equipped with them. A level base ensures that the weight of the glass panels and shelves is distributed evenly, preventing localized stress points that could lead to structural failure.
When inserting the glass panels into the frame, pay close attention to the hardware instructions. Never allow glass to make direct contact with metal screws, brackets, or frames. Always use the provided rubber, silicone, or plastic washers and gaskets to cushion the connection points. Tighten all screws and fasteners manually and gradually, stopping as soon as you feel firm resistance. Overtightening is one of the most common causes of glass breakage during DIY assembly.
As you build upward tier by tier, continuously check the vertical alignment using your spirit level. The vertical supports must remain perfectly plumb. If the frame leans even slightly, the glass shelves will not sit flat, causing stored items to slide and putting uneven pressure on the shelf supports. Take your time to adjust and align each modular section before moving on to the next level.
Securing the Cabinet and Final Safety Checks
Because glass cabinets are naturally front-heavy—especially when the doors are opened—anchoring the unit to the wall is a vital safety step. This is particularly important in compact spaces where daily foot traffic or accidental bumps can cause the cabinet to wobble. Most modular systems include wall-anchoring brackets or safety straps designed to prevent tip-over accidents.
To secure the cabinet properly, you must identify your wall type to select the correct mounting hardware. In Singapore, HDB flats typically feature solid concrete or precast internal walls, which require a rotary hammer drill, masonry drill bits, and plastic wall plugs. Many modern condominiums, however, use drywall or gypsum board partitions for internal rooms, which require specialized hollow-wall anchors or toggle bolts. If you are unsure of your wall material or do not own the appropriate heavy-duty tools, consult a qualified professional to perform the drilling and anchoring.
Once the cabinet is anchored, perform a final round of safety and stability checks. Gently nudge the frame to ensure there is no movement or wobble. Open and close the glass doors slowly to check the alignment of the hinges; the doors should swing smoothly without rubbing against the frame or adjacent panels. Finally, wipe down the entire structure to remove any fingerprints or dust, and verify that all shelf support pegs are fully seated in their slots before placing any items inside.
Frequently Asked Questions (FAQ)
How do I clean glass shelves without leaving streaks in a corner cabinet?
To clean glass shelves effectively in a confined corner cabinet, use a standard glass cleaner or a mild solution of dish soap and warm water. Spray the cleaner directly onto a clean, lint-free microfiber cloth rather than spraying it onto the glass itself, which prevents excess liquid from pooling in the corner joints or metal brackets. Wipe the glass in a consistent S-pattern to avoid redistributing dust. Avoid using abrasive sponges, steel wool, or harsh chemical solvents, as these can scratch the glass surface or degrade the protective finishes on the modular metal or wooden frames.
Can I adjust the shelf heights after the modular cabinet is assembled?
Whether you can adjust the shelf heights depends entirely on the design of your specific modular system. Many cabinets feature pre-drilled holes along the vertical frame, allowing you to reposition the shelf support pegs easily. Before attempting any adjustments, completely unload all items from the cabinet to prevent accidental drops. Carefully remove the glass shelf you wish to move, place it safely on a padded surface, and then reposition the support pegs. Always double-check that all pegs are level and securely locked into place before reinserting the glass shelf.

Community discussion
Share your experience or ask a question. Comments are reviewed before publication.