
To find the correct replacement table leg rubber, you must match the exact shape of your table leg, measure its outer dimensions (or inner dimensions for hollow legs) using a precise tool like a caliper, and select a rubber cap that matches these specifications. Choosing the correct size prevents the table from wobbling, protects your floors from scratches, and ensures the caps do not slip off during daily use. Taking a few minutes to assess your furniture legs before purchasing ensures a seamless installation and long-term floor protection.
Replacing worn-out protective caps is one of the simplest ways to preserve both your furniture and your flooring. With replacement sets typically costing under S$15, this is a highly cost-effective way to protect your home. Over time, the original feet on chairs and tables degrade due to friction, weight, and environmental exposure. When these protectors fail, metal edges can gouge hardwood, wood legs can splinter, and the table can become unstable. Finding the right replacement requires understanding the physical characteristics of your furniture and taking precise measurements.
Identify Your Table Leg Shape and Material
Before purchasing any replacement parts, you must identify the geometric profile of your table legs. Table legs generally fall into three main categories: round, square, and rectangular. Some specialized furniture may feature oval, tapered, or multi-sided legs, which require highly specific cap shapes. Matching the geometry of the leg to the replacement cap is essential because a round cap will not stretch evenly over a square leg, and a square cap will leave unstable gaps on a round leg.
Products mentioned in this guide
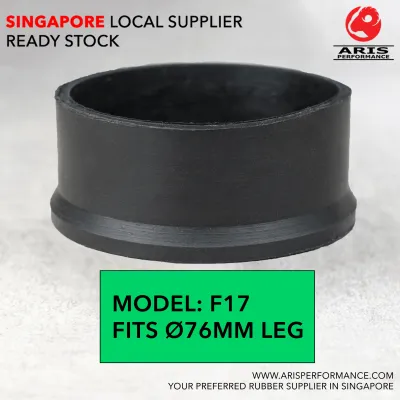
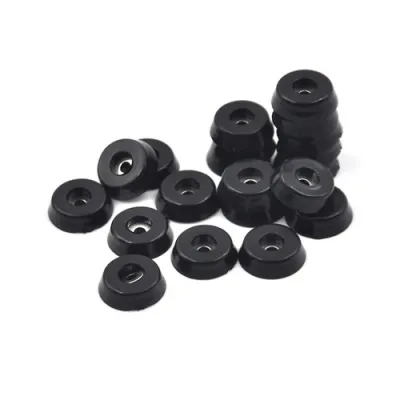
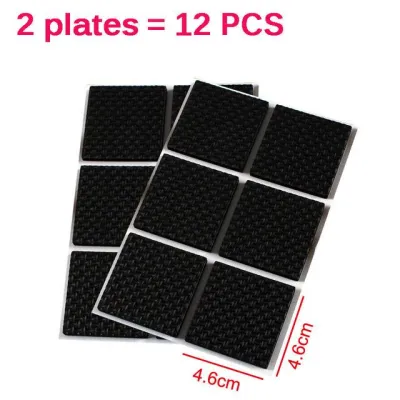
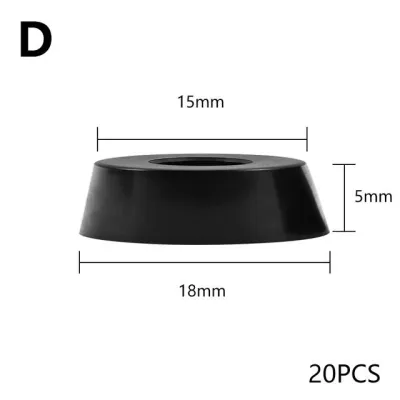
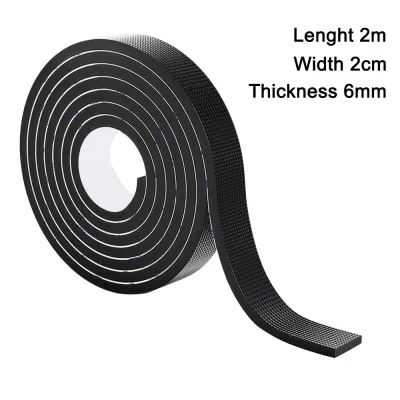
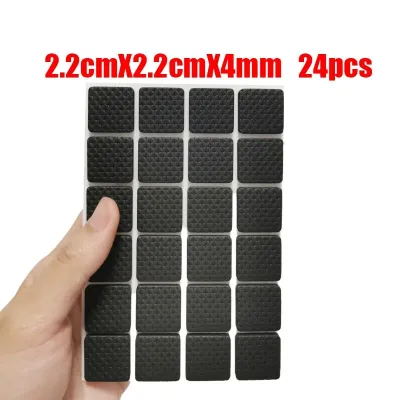
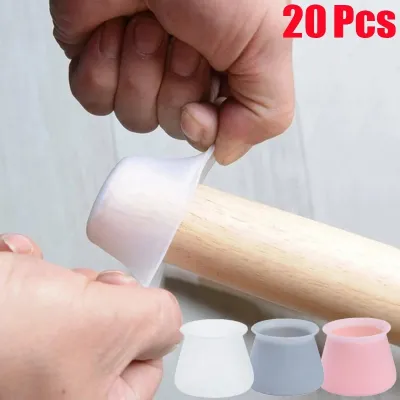
Prices are valid at publication and may change. Please refer to the product page for the latest price.
The material of your table legs also plays a significant role in how the rubber cap behaves once installed. Metal legs, which are often hollow, typically have sharp bottom edges that can slice through thin rubber over time. Wood legs are solid but can have textured grain, paint, or varnish that affects how well a rubber cap grips the surface. Plastic or composite legs are smoother and may require a tighter-fitting cap to prevent the rubber from sliding off when the table is moved.
Before installing new caps, inspect the bottom of each table leg for existing damage. Metal legs should be checked for rust, sharp burrs, or jagged edges that could damage the new rubber from the inside. Wood legs should be inspected for splinters, cracks, or moisture damage that might compromise the structural integrity of the leg. Addressing these issues beforehand—such as by sanding down rough wood or filing away sharp metal edges—ensures a clean, secure fit that extends the life of your new rubber protectors.
How to Measure Table Legs Accurately
Accurate measurements are the foundation of a successful replacement project. While a standard household ruler or measuring tape can work, using a digital or vernier caliper provides the most precise readings. Even a difference of one millimeter can determine whether a rubber cap slips on snugly or slides off under the slightest lateral pressure. Always measure the leg at the very bottom where the cap will sit, as some legs taper slightly toward the floor.

For round legs, you need to measure the outer diameter, which is the distance across the widest part of the circular base. If you are using a measuring tape, wrap it around the circumference of the leg and divide that number by 3.14 to calculate the diameter. For square or rectangular legs, measure the width and depth of the flat face. If the leg is rectangular, you must record both dimensions carefully, as rectangular rubber caps are sized by both width and length.
If your table legs are hollow—which is common with metal furniture—you must decide between an external slip-on cap and an internal push-in insert. For external slip-on caps, you still measure the outer diameter of the leg. For internal push-in inserts, you must measure the inner diameter of the hollow tube, as well as the wall thickness of the metal. This ensures the ribbed portion of the insert can compress properly inside the tube while the outer flange sits flush against the metal edge.
When reviewing product specifications, pay close attention to manufacturing tolerances and material flexibility. Rubber is naturally pliable, meaning a slip-on cap can often stretch slightly to accommodate a leg that is a fraction of a millimeter larger than the cap’s rated size. However, if your table legs are made of a rigid material like metal or hard plastic, you should aim for an exact match or a cap that is slightly smaller to ensure a tight grip. For solid wood legs, a slightly flexible stretch-fit cap is often preferred to accommodate natural wood expansion and contraction.
Choosing the Right Type of Table Leg Rubber
Selecting the right replacement involves comparing different styles of rubber protectors to find the one that matches your table’s usage. Slip-on caps are the most common and versatile option, sliding directly over the outside of the leg to provide a thick barrier between the furniture and the floor. Push-in inserts are ideal for hollow metal legs, offering a clean, low-profile look that preserves the original design of the furniture. Adhesive rubber pads are another option, though they are generally best suited for stationary furniture rather than tables that are frequently moved.
The thickness and hardness of the rubber are critical factors in determining how well the cap performs. Heavy, solid wood dining tables require thick, heavy-duty rubber caps that can support substantial weight without compressing completely. Thicker rubber provides superior shock absorption and noise reduction, which is especially beneficial in open-plan living spaces with hard flooring. Softer rubber offers excellent grip and slip resistance but may wear down faster under heavy loads, whereas harder rubber lasts longer but may slide more easily on polished surfaces.
You must also match the tread or texture on the bottom of the rubber cap to your specific flooring material. Smooth, non-marking rubber caps are ideal for hard tiled, vinyl, or polished concrete floors, as they prevent scratches while allowing for quiet movement. If your table sits on a carpeted surface, a cap with a slightly rounded or smoother bottom will prevent snagging. For outdoor furniture used on rough concrete, stone, or wooden decks, look for heavy-duty rubber caps with reinforced bases and textured treads that can withstand abrasive surfaces and outdoor elements.
Step-by-Step Installation and Fit Verification
Proper installation ensures that your new table leg rubbers stay in place and perform effectively. Begin by thoroughly cleaning the bottom of each table leg to remove dirt, dust, old adhesive residue, or grease. If you are replacing old adhesive pads, use a mild solvent or rubbing alcohol to clean the surface, ensuring no sticky residue remains. For wooden legs, a light sanding with fine-grit sandpaper can help remove loose wood fibers and create a smooth surface for the new cap.
To install slip-on rubber caps, align the cap with the bottom of the leg and push it upward with firm, even pressure. If the fit is very tight, you can soften the rubber slightly by soaking the caps in warm water for a few minutes before installation. For push-in inserts, align the ribbed section with the hollow opening of the leg and press it in. If the insert is difficult to push in by hand, use a rubber mallet to gently tap it into place, taking care not to use a metal hammer, which can crack the plastic or deform the metal leg.
Once all four caps are installed, place the table back on a flat, level surface to verify the fit. Gently rock the table from side to side to check for any wobble or unevenness, which could indicate that one of the caps is not fully seated. Slide the table slightly across the floor to confirm that the caps remain securely in place and do not twist or slip off under lateral pressure. If a cap feels loose, you may need to wrap a small amount of high-friction tape around the leg tip before sliding the cap back on to create a tighter seal.
Maintenance and When to Replace Again
To maximize the lifespan of your replacement table leg rubbers, establish a routine inspection schedule. Every few months, take a moment to look at the bottom of the table legs to check for signs of wear. Look for cracking in the rubber, permanent flattening from the weight of the table, or a loss of slip resistance. If you notice that the rubber has hardened or become brittle, it is time to plan for another replacement, as degraded rubber can easily split and expose the floor to damage.
Keeping the rubber caps clean is also essential for protecting your floors. Over time, dust, pet hair, and small pieces of grit can become embedded in the bottom of the rubber caps. When the table is moved, this trapped grit acts like sandpaper, scratching the very floors you are trying to protect. Wipe the bottom of the caps periodically with a damp cloth to remove any accumulated debris, and avoid using harsh chemical cleaners that can degrade the rubber material.
Immediate replacement is necessary if you observe any exposed metal or wood edges cutting through the rubber. Uneven wear on the caps can also cause the table to wobble, creating an unstable surface that is both annoying and potentially unsafe. By addressing wear early and replacing the caps at the first sign of deterioration, you can ensure your floors remain pristine and your furniture stays stable for years to come.
Frequently Asked Questions (FAQ)
Can I use silicone caps instead of rubber for my table legs?
Silicone caps are a popular alternative to traditional rubber, but they serve slightly different purposes. Silicone is generally softer, more flexible, and often translucent, making it less noticeable on lighter-colored furniture legs. However, silicone tends to have less structural rigidity than heavy-duty rubber, meaning it can wear through more quickly under heavy dining tables or on rough surfaces. For lightweight chairs and tables on smooth, hard floors, silicone is an excellent choice, but heavy or frequently moved tables are better suited for the durability and shock absorption of traditional rubber.
What should I do if the exact size rubber cap is unavailable?
If you cannot find a rubber cap that matches your measurements exactly, look for a cap that is slightly smaller rather than larger, as rubber can stretch to accommodate a minor difference. Alternatively, you can purchase caps that feature internal grip ridges, which are designed to accommodate a small range of leg diameters securely. Avoid trying to modify the table leg itself or using excessive amounts of glue to hold an oversized cap in place, as this can damage the furniture and lead to an unstable, unsafe table setup.

Community discussion
Share your experience or ask a question. Comments are reviewed before publication.