
Quick Answer: Sizing Your Rack Shelf
To find the right rack shelf size, you must match the unit’s outer dimensions to your net available space while leaving clearance for access, assembly, and ventilation.
Measure the maximum width, depth, and height of your designated spot. Subtract at least 5 cm to 10 cm from the width and depth to account for skirting boards, wall unevenness, and door swings.
Verify the manufacturer’s spec sheet for the exact exterior footprint and the diagonal height needed to stand the unit up during assembly.
Products mentioned in this guide
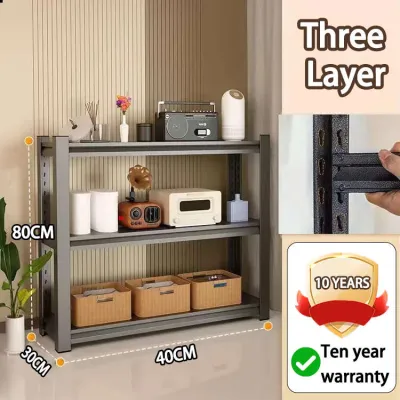
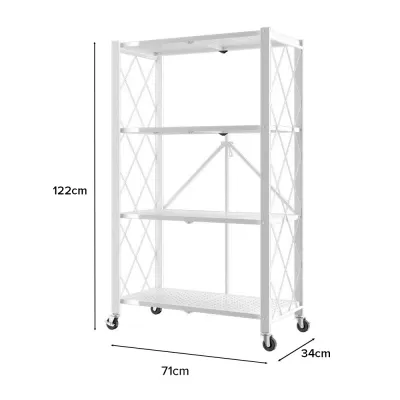
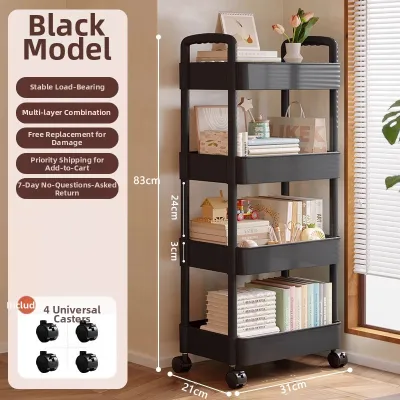
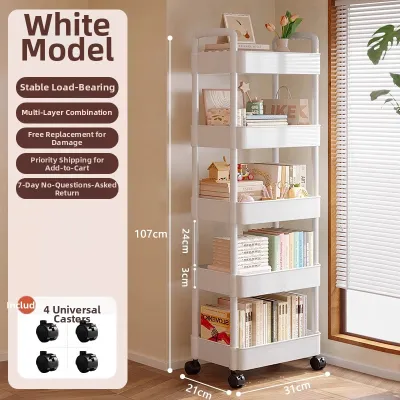
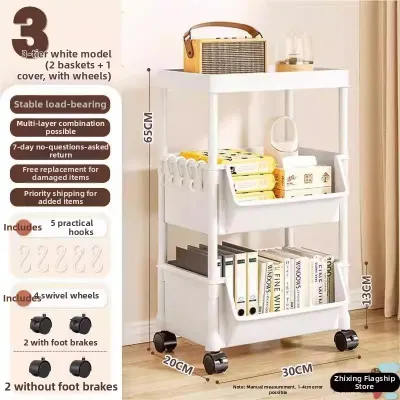
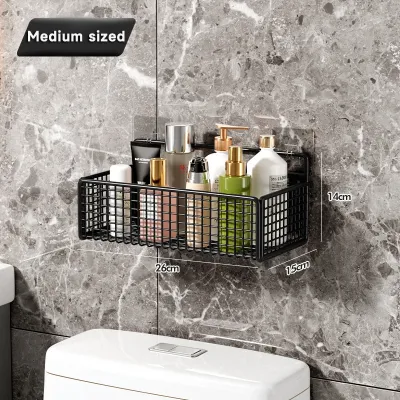
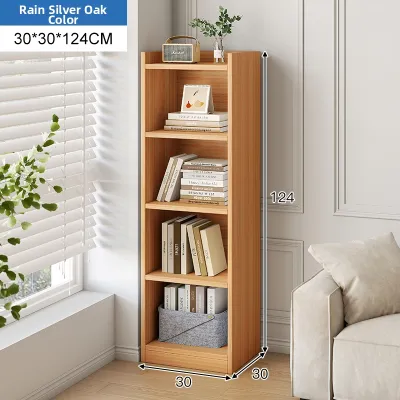
Prices are valid at publication and may change. Please refer to the product page for the latest price.
Step 1: Measure Your Available Footprint and Height
Measuring the physical space is the foundation of a successful furniture setup. Start by clearing the area completely to expose the floor and walls.

Use a reliable steel measuring tape rather than a soft fabric tape or a smartphone app, as physical tapes provide the most consistent accuracy over long distances.
Measure the width of the space at three different heights: near the floor, in the middle, and near the ceiling. Walls in homes are rarely perfectly plumb, and a variance of even a few millimeters can prevent a tight-fitting rack shelf from sliding into place.
Measure the depth from the back wall to the front boundary of your designated storage zone. If you plan to place the rack shelf inside a recessed niche or a utility room, measure the depth at both the left and right sides.
Measure the vertical height from the floor to the ceiling. If there are false ceilings, light fixtures, or overhead beams, measure to the lowest obstruction to ensure the unit will fit vertically.
Identify physical obstructions that reduce your usable space. Look out for skirting boards, wall-mounted power outlets, light switches, trunking, window sills, and air conditioning units.
Record all your measurements in a single consistent unit, such as millimeters or centimeters. Mixing inches and centimeters during your search often leads to costly ordering mistakes.
Step 2: Factor in Clearance, Pathways, and Access
A rack shelf that fits perfectly on paper can still make a room feel cramped or unusable if you do not account for daily movement.
Calculate walkway clearance around the unit. In high-traffic areas like corridors or living rooms, maintain a clear pathway of at least 90 cm to allow people to walk past comfortably without bumping into the shelves.
Check the swing radius of nearby doors, including room doors, wardrobe doors, and cabinet fronts. Ensure that any door can open fully to its natural stopping point without striking the frame of your new rack shelf.
Leave adequate space for ventilation if you plan to place electronics, small appliances, or smart home hubs on the shelves. A gap of 5 cm to 10 cm behind and beside the unit helps prevent heat buildup.
Do not forget to plan the delivery and assembly route. Measure the height and width of your main entrance door, lift doors, stairwells, and internal hallways.
Many flat-packed or pre-assembled storage units cannot clear tight corners in older apartment corridors or low-ceiling lifts. Confirming these dimensions beforehand prevents the frustration of a failed delivery.
Step 3: Align Shelf Dimensions with Storage Items
The external size of the rack shelf determines if it fits your room, but the internal dimensions determine if it fits your life.
Match the shelf depth to the specific items you intend to store. Standard novels and decorative items typically require a depth of 20 cm to 25 cm, while large storage boxes, binders, and kitchen appliances need a depth of 35 cm to 45 cm or more.
If you choose a shelf that is too shallow, your storage boxes will overhang, creating an untidy look and a potential safety hazard. If the shelf is too deep, you waste valuable floor space and items can get lost at the back.
Look for units with adjustable shelf heights. This flexibility allows you to customize the vertical spacing as your storage needs change over time, preventing wasted vertical space between tiers.
Verify the load-bearing limits per tier by checking the manufacturer’s official product specifications. Heavy items like books, tools, or kitchen mixers require sturdy shelving materials and robust support brackets.
Consider the visual proportion of the furniture within the room. A massive, floor-to-ceiling metal rack can overwhelm a small study corner, whereas a tiny, low-profile shelf might look lost and out of place in a spacious living room.
Step 4: Verify Manufacturer Specifications and Assembly Requirements
Before finalizing your purchase on any online marketplace or at a local showroom, carefully review the official product specification sheet.
Distinguish clearly between the overall exterior dimensions and the internal usable shelf space. The exterior dimensions include the thickness of the frame, outer legs, and any decorative molding, which must fit within your measured room footprint.
The internal usable dimensions tell you the actual space available for your storage containers. A rack shelf might have an external width of 80 cm, but the usable shelf width between the vertical supports might only be 74 cm.
Account for the extra diagonal clearance required to assemble and stand a tall unit upright. When you assemble a tall rack shelf flat on the floor and tilt it upward, the diagonal measurement of the unit is greater than its final standing height.
If your ceiling height is exactly equal to the height of the shelf, you will not be able to stand the unit up after horizontal assembly. Check the manufacturer’s instructions for the minimum ceiling clearance required for assembly.
Confirm the anchoring and wall-mounting requirements. Tall, narrow, or top-heavy rack shelves pose a serious tip-over risk and must be secured to the wall.
Check your wall type—whether it is concrete, brick, or drywall—to ensure you have the correct wall plugs and mounting hardware recommended by the manufacturer.
Common Sizing Mistakes to Avoid
One of the most frequent mistakes is assuming that standard sizes are universal across different brands. A “standard” medium rack shelf can vary by several centimeters depending on the manufacturer, which can ruin a tight-fitting installation plan.
Another common error is forgetting to account for the thickness of skirting boards at the base of the wall. If you measure only the wall-to-wall distance at chest height, the skirting board will prevent the shelf from sitting flush against the wall, leaving an unstable gap and creating a tipping hazard.
Many shoppers also overlook the diagonal depth and height needed during the assembly process. Forcing a tall unit upright in a tight space with low ceilings can scrape the paint off your ceiling or damage the top corners of your new furniture.
Finally, avoid overestimating the load capacity of lightweight shelving materials. Placing heavy storage boxes on a shelf designed only for light decorative items will cause the tiers to sag and eventually fail.
Frequently Asked Questions (FAQ)
Can I use a rack shelf in a narrow hallway?
Yes, you can use a rack shelf in a narrow hallway, provided you maintain a safe and comfortable walkway. For safety and ease of movement, ensure the remaining clear path is at least 90 cm wide.
Choose a shallow-depth unit, typically between 20 cm and 30 cm, to minimize the footprint. Ensure the shelf is securely anchored to the wall to prevent accidental tipping if someone bumps into it in the tight space, and keep the path entirely free of protruding items.
What if my walls are uneven or have skirting boards?
If your walls have skirting boards, measure the available width and depth from the face of the skirting board rather than the bare wall. This ensures the unit will fit without hitting the baseboards.
For uneven walls or floors, look for a rack shelf equipped with adjustable leveling feet. These feet allow you to compensate for minor floor slopes to keep the unit stable.
If the unit does not have adjustable feet, use sturdy furniture shims under the base, and always secure the top of the shelf to the wall using the manufacturer’s approved anchoring hardware to guarantee stability.

Community discussion
Share your experience or ask a question. Comments are reviewed before publication.