
Installing modular wall shelves is an excellent way to maximize vertical space, organize your belongings, and customize your home’s interior design. However, the prospect of drilling into your walls can be daunting, especially if you want to avoid permanent structural damage or are managing a rental property. Achieving a secure, level installation that preserves the integrity of your walls requires understanding your specific wall construction, choosing the correct hardware, and following a precise mounting process.
By taking a systematic approach to planning, preparation, and execution, you can safely mount modular shelving units that support your items reliably. This guide walks you through the essential steps to assess your walls, select the right tools, install your shelves securely, and eventually remove them with minimal impact on your living space.
Assess Your Wall Type and Shelf Load
Before purchasing any hardware or lifting a drill, you must determine the exact composition of your walls. In Singapore, residential properties typically feature two main types of wall construction: solid concrete or brick walls, and hollow drywall partition walls. Solid concrete walls are standard for structural and external boundaries in Housing & Development Board (HDB) flats and condominiums, offering high load-bearing capacity but requiring specialized drilling techniques. Drywall or gypsum board partitions are more common for internal room dividers, which are softer and require careful anchoring to prevent structural failure.
Products mentioned in this guide
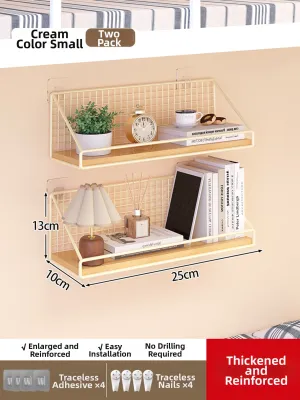
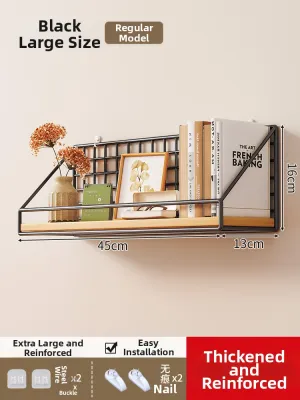
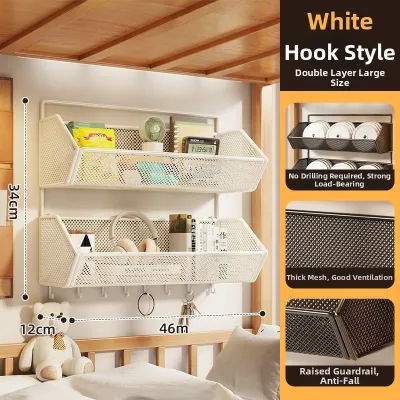
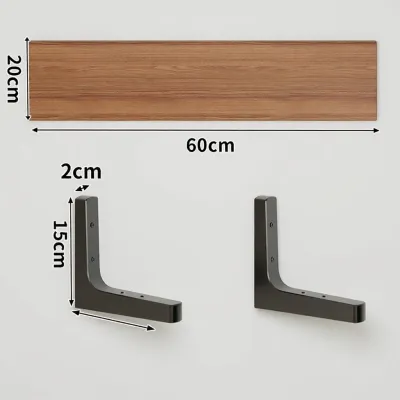
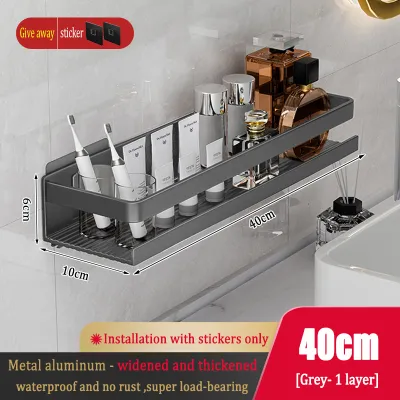
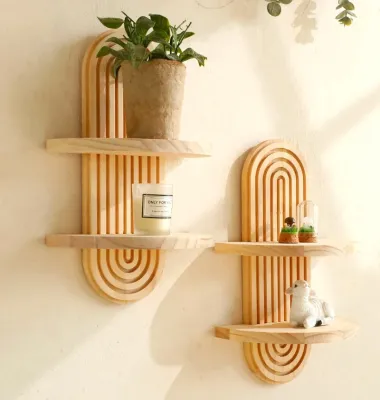
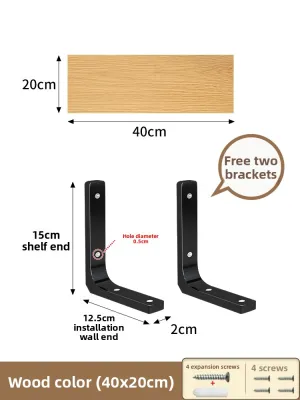
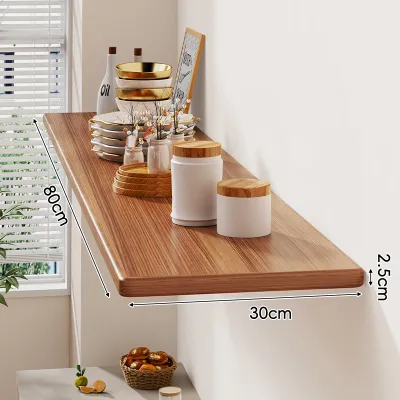
Prices are valid at publication and may change. Please refer to the product page for the latest price.
To identify your wall type, gently tap the surface in several places. A dull, solid thud indicates concrete or masonry, while a hollow, echoing sound points to drywall or plasterboard. Understanding this distinction is critical because mounting a heavy modular shelf on drywall using concrete plugs will quickly lead to crumbling plaster and a collapsed shelf.
Next, evaluate the weight capacity of your modular shelving system by consulting the manufacturer’s specifications. Keep in mind that the total load includes both the weight of the shelf itself and the items you plan to place on it. To maintain stability, plan to distribute heavier items, such as books or ceramic pots, evenly across the lower shelves or closer to the bracket supports, rather than clustering them in the center of a single shelf span.
Finally, you must identify and avoid hidden hazards behind the wall surface before finalizing your shelf placement. Electrical wiring and plumbing pipes often run vertically or horizontally from switches, sockets, and taps. Using a reliable multi-scanner or stud finder with wire-detection capabilities is an essential safety step to ensure you do not drill into live utility lines, which could cause costly damage or severe personal injury.
Gather the Essential Tools and Hardware
Having the correct tools on hand is the key to a smooth, damage-free installation. For a standard mounting project, you will need a measuring tape, a pencil for marking, a spirit level to ensure perfect horizontal alignment, and a power drill. A high-quality spirit level is particularly important for modular systems, as even a slight tilt can cause shelves to misalign or items to slide off.

Your choice of drill bits and wall anchors must match your specific wall type. For concrete walls, you will need masonry drill bits, which feature a carbide tip designed to grind through tough stone and cement. For drywall, standard wood or metal drill bits are sufficient to create clean pilot holes. Never use a wood bit on concrete, as the friction will instantly dull and ruin the tool.
Choosing the correct wall anchors is the single most important factor in preventing wall damage. For concrete walls, plastic expansion plugs or heavy-duty nylon wall anchors are highly effective, as they expand tightly against the solid hole walls when the screw is driven in. For drywall, standard plastic plugs are insufficient for load-bearing shelves; instead, opt for threaded drywall anchors or metal toggle bolts that spread the weight across a wider area behind the hollow board.
Additionally, prepare dust management tools to keep your living space clean during the process. A simple trick is to stick a folded sticky note or a small paper cup directly beneath your marked drilling point to catch falling plaster or concrete dust. Wearing safety goggles and a dust mask is also highly recommended to protect your eyes and lungs from fine airborne particles.
Step-by-Step Installation Guide
Once you have gathered your tools and verified your wall type, you can begin the physical installation. Start by holding your first shelf bracket against the wall at your desired height. Place your spirit level on top of the bracket to ensure it is perfectly straight, then use a pencil to mark the exact center of the screw holes onto the wall surface.
If your modular system uses a horizontal suspension rail, mount this component first. Align the rail using your spirit level, mark all the mounting points, and double-check the alignment before drilling. Taking extra time during this marking phase prevents the frustration of lopsided shelves and avoids the need to drill corrective holes close to your original marks, which can weaken the wall structure.
With your marks clearly visible, prepare to drill your pilot holes. Hold the drill completely perpendicular to the wall to ensure the hole is straight; tilting the drill will create an angled hole that prevents the anchor from sitting flush. Drill to a depth slightly longer than the length of your wall anchor, using a piece of masking tape wrapped around the drill bit as a visual depth guide.
After drilling, clear any remaining dust from inside the hole using a vacuum cleaner nozzle or a manual blow bulb. Insert your chosen wall anchor into the hole. It should fit snugly; if it is too loose, the anchor will spin when you try to tighten the screw, preventing a secure hold. Tap the anchor gently with a hammer until it sits completely flush with the wall surface.
Position your bracket over the installed anchors and insert the screws. Tighten the screws steadily using a manual screwdriver or a drill with a low clutch setting. Avoid over-tightening, as excessive force can strip the plastic anchor inside the wall or crack the bracket itself, compromising the overall stability of your modular shelving system.
Mounting on Concrete Walls
Drilling into the solid concrete walls common in Singapore homes requires a power drill with a hammer function. The hammer action combines rapid percussive impacts with rotation, allowing the carbide-tipped masonry bit to pulverize the tough concrete. Set your drill to the hammer mode and apply firm, steady pressure, letting the tool do the work rather than forcing it forward.
For concrete installations, heavy-duty nylon expansion anchors or concrete sleeve anchors provide the most reliable hold. Ensure the drill bit diameter matches the anchor manufacturer’s specifications exactly. A hole that is even slightly too large will prevent the anchor from expanding securely, while a hole that is too small will cause the anchor to bend or break when you attempt to tap it into place.
Mounting on Drywall or Partition Walls
When dealing with hollow drywall partitions, your primary goal is to locate the internal wooden or metal studs that form the wall’s structural frame. Mounting your shelf brackets directly into these studs provides the highest possible weight capacity and eliminates the risk of the drywall tearing under load. Use a stud finder to locate the edges of the studs, and mark their positions clearly.
If your shelf layout does not align with the stud positions, you must use specialized hollow-wall anchors. Toggle bolts, which feature spring-loaded metal wings that expand behind the drywall, offer excellent holding power for medium loads. When using toggle bolts, drill a hole large enough for the folded wings to pass through, insert the bolt through the shelf bracket first, squeeze the wings closed, and push them through the wall until you hear them spring open inside the cavity.
Safe Removal and Wall Repair
Whether you are moving out of a rental property or simply reconfiguring your room layout, removing modular shelves safely is essential to avoid leaving unsightly scars on your walls. Begin by removing all items from the shelves, then carefully unscrew the brackets. Support the weight of the bracket as you remove the final screws to prevent it from dropping and scratching the wall paint.
Removing the embedded wall anchors requires patience. For plastic expansion plugs in concrete, insert a screw slightly into the plug and use the claw end of a hammer or a pair of pliers to pull both the screw and the plug straight out. If the anchor is stubborn, do not yank it sideways, as this will tear a larger hole in the plaster; instead, use a utility knife to carefully slice off the exposed collar of the anchor, leaving the remaining sleeve recessed inside the wall.
For hollow-wall anchors like toggle bolts, the metal wings will drop into the wall cavity once the bolt is fully unscrewed. You can then push the remaining plastic sleeve into the wall or pull it out gently with pliers. Once the anchors are removed or recessed, clean the holes of any loose debris or dust using a dry brush.
To repair the holes, apply a high-quality spackling paste or wall putty using a putty knife. Press the filler firmly into the hole, scraping the excess flat against the wall surface. For deep holes, apply the filler in thin layers, allowing each layer to dry completely to prevent shrinking or cracking.
Once the final layer of filler is dry, gently sand the area smooth using fine-grit sandpaper until it is completely flush with the surrounding wall. Wipe away the sanding dust with a damp cloth. Finally, apply a small amount of matching touch-up paint using a small brush or foam roller, blending the edges into the existing wall finish for an invisible repair.
Frequently Asked Questions (FAQ)
Can I install wall shelves without drilling?
While heavy-duty double-sided mounting tapes and adhesive strips are widely available, they are generally not suitable for supporting modular wall shelves. These adhesive products have strict weight limits and are designed primarily for lightweight, flat items like picture frames or small decorative ledges. They require smooth, non-porous surfaces to adhere properly and can easily peel away paint or drywall paper when subjected to the downward pulling force of a loaded shelf. For modular systems designed to hold books, plants, or household items, mechanical fastening with screws and anchors remains the only safe and reliable method.
How do I know if my shelf is overloaded?
You can identify an overloaded shelf by looking for several physical warning signs before a structural failure occurs. Inspect the shelf boards for any visible sagging or bowing in the middle, which indicates the span is carrying too much weight. Check the wall brackets to see if they are bending downward or pulling away from the wall surface, leaving a visible gap. Additionally, look closely at the plaster around the screw heads or wall anchors; fine cracks, crumbling dust, or loose anchors are critical signs that the wall material is failing under the load, requiring you to unload the shelf immediately and reinforce the mounting hardware.

Community discussion
Share your experience or ask a question. Comments are reviewed before publication.