
Installing a modular wooden wall shelf system yourself is an excellent way to maximize vertical space, clear floor clutter, and introduce natural warmth to your living areas. Whether you want to display books in your study or organize decorative items in the living room, a modular setup offers the flexibility to adapt your storage as your needs change. Taking on this project as a do-it-yourself task allows you to customize the layout precisely to your room’s dimensions while saving on professional installation fees.
Achieving a secure, level, and visually appealing result requires careful preparation and a systematic approach. Wall-mounted shelving must bear not only the weight of the wooden boards themselves but also the cumulative load of the items you place on them. By understanding your wall structure, selecting the correct hardware, and following precise mounting steps, you can complete this home improvement project with confidence and ensure your shelves remain stable for years to come.
Assess Your Wall and Space Before Drilling
Before purchasing your modular wooden wall shelf or unpacking your drill, you must thoroughly evaluate the intended installation site. Begin by measuring the available wall space with a tape measure, noting both the width and height of the area. Ensure that the planned modular configuration will not obstruct walkways, swing paths of doors, or the placement of existing furniture. It is helpful to map out the shelf dimensions on the wall using painter’s tape to visualize the final layout and confirm that the scale feels appropriate for the room.
Products mentioned in this guide
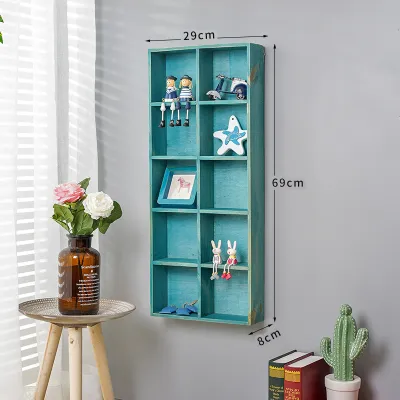
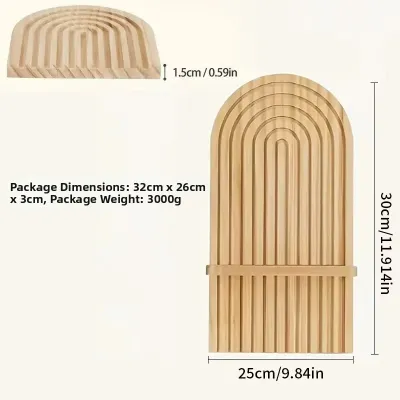
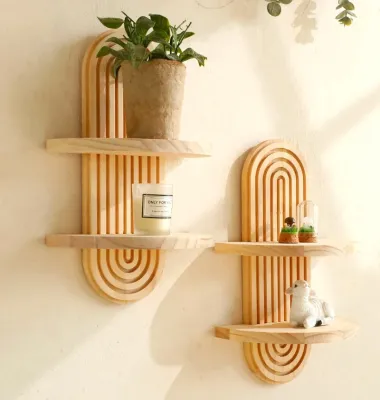
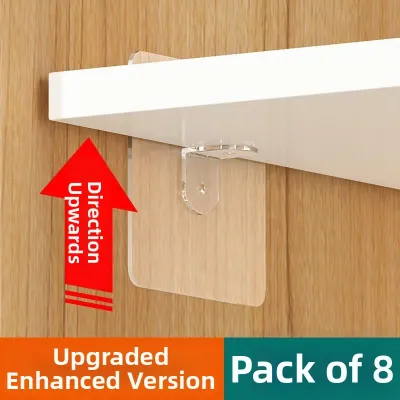
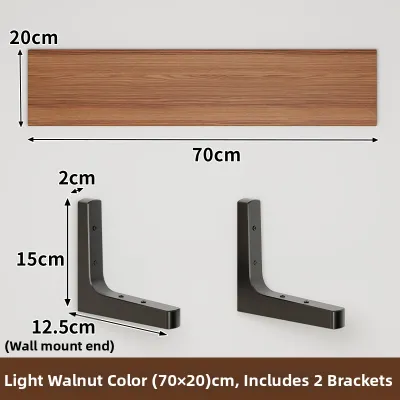
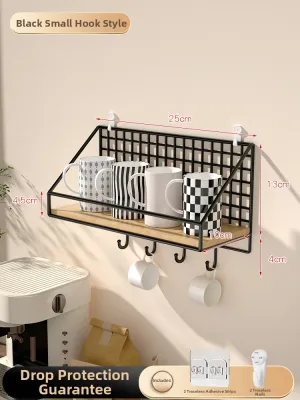
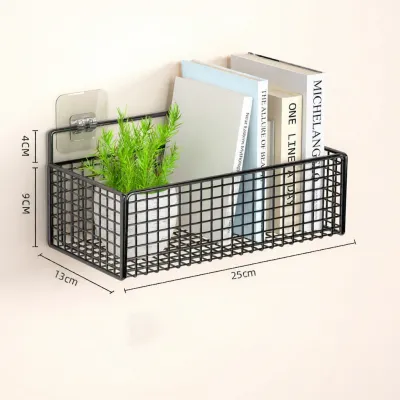
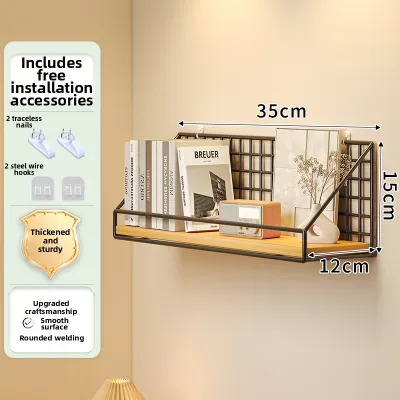
Prices are valid at publication and may change. Please refer to the product page for the latest price.
Identifying the composition of your wall is the most critical safety step in this process. Different wall materials require entirely different mounting strategies and hardware. In many modern apartments and homes, you will encounter solid concrete or brick walls, which offer excellent load-bearing capacity but require a masonry drill bit and heavy-duty wall plugs. Alternatively, internal partition walls are often constructed from drywall or plasterboard mounted over timber or metal studs; these walls are much softer and require specialized anchors or direct fastening into the studs to support any significant weight.
Once you have identified your wall type, cross-reference the manufacturer’s specified weight limits for the modular shelving system with your intended storage needs. Remember that the rated capacity of a shelf assumes proper installation into a compatible wall material. If you plan to store heavy items like books or kitchen appliances, you must ensure both the wall structure and the brackets can handle the load. Overloading a wall shelf can lead to structural failure, causing damage to your walls, your belongings, and potentially posing a safety hazard to household members.
Gather the Right Tools and Hardware
Having the correct tools on hand before you begin prevents unnecessary interruptions and ensures a precise, clean installation. For measuring and marking, you will need a reliable tape measure, a pencil to mark drill points, and a high-quality spirit level to guarantee your shelves are perfectly horizontal. A spirit level is indispensable, as even a minor misalignment can cause items to slide off the shelves and place uneven stress on the mounting brackets.

For the physical installation, you will require a power drill with variable speed control. It is essential to match your drill bits to your specific wall type; use a carbide-tipped masonry bit for concrete or brick, and a standard wood or twist bit for drywall and studs. You will also need a screwdriver or a driver bit for your power drill that matches the screw heads provided with your shelving kit. A hand screwdriver is often preferred for the final tightening stages to avoid stripping the screw heads or over-tightening the hardware.
Always prioritize using the specific wall anchors and screws provided by the manufacturer or those explicitly recommended in the product manual. Generic, low-quality plastic plugs often fail to expand correctly inside the wall, compromising the stability of the entire system. If your kit does not include hardware suitable for your specific wall type—such as toggle bolts for drywall—purchase high-quality, load-rated alternatives from a reputable local hardware store rather than relying on whatever spare fasteners you have lying around in your toolbox.
Step-by-Step Mounting and Assembly Process
The key to a successful modular shelf installation lies in precise marking. Begin by determining the desired height of your lowest shelf or the main vertical standards. Hold the first vertical track or bracket against the wall at the chosen height, and place your spirit level against its side to ensure it is perfectly plumb. Once it is aligned, use a pencil to mark the exact center of the mounting holes onto the wall. If your system uses multiple vertical tracks, measure the exact distance required between them according to the manufacturer’s instructions, and repeat the leveling and marking process for the subsequent tracks.
With your mounting points clearly marked, prepare to drill. Double-check your marks one last time with the spirit level and tape measure before making any holes. Fit your power drill with the correct bit size, which must match the diameter of your wall anchors exactly. Hold the drill perfectly perpendicular to the wall and apply steady, even pressure as you drill to the depth specified by the anchor manufacturer. Once the holes are drilled, clear out any remaining dust and debris using a vacuum cleaner nozzle or a manual blow bulb, as leftover dust can prevent the wall anchors from seating and gripping securely.
Next, insert the wall anchors into the clean holes. They should fit snugly; if necessary, gently tap them flush with the wall surface using a rubber mallet or the handle of a screwdriver. Position your vertical tracks or brackets over the anchors, insert the screws, and tighten them using your screwdriver. Tighten the screws until they are firm, but avoid using excessive force that could strip the anchor or crack the bracket. Before moving on to the next step, physically grasp each bracket and give it a firm tug to verify there is absolutely no wobble or movement against the wall.
Once the supporting framework is securely anchored, you can begin assembling the modular wooden components. Depending on your specific system, the wooden shelf boards will either snap into place on adjustable brackets, slide onto concealed support rods, or secure directly with small locking screws from underneath. Carefully align each wooden board with its corresponding supports, ensuring they sit flat and even. Take your time to adjust the spacing of the modular elements to your liking, making sure all connections are fully engaged and locked according to the product design before placing any items on the shelves.
Recognize Safety Limits and When to Call a Pro
While installing a modular shelf is a highly manageable DIY project, you must recognize when structural conditions require you to stop and seek professional assistance. If you encounter unexpected resistance while drilling, stop immediately. This resistance could indicate that you have hit a metal stud, a concrete reinforcing bar, or worse, a hidden water pipe or electrical conduit. Using a digital stud finder with live-wire and metal detection capabilities before you drill is a highly recommended safety practice to avoid costly and dangerous utility punctures.
You should also halt the installation if you notice the wall material crumbling, cracking, or turning to fine powder as you drill. This is a common issue with older plaster walls or poorly mixed concrete, indicating that the wall structure itself lacks the integrity to hold standard anchors. If you cannot confidently identify your wall type, or if the mounting process requires heavy-duty anchoring systems that exceed your comfort level and tool kit, it is always wiser to hire a qualified local handyman or carpenter to complete the installation safely.
It is a dangerous misconception to assume that adding extra screws or using larger anchors can compensate for a weak or structurally compromised wall. A wall that cannot support the weight of the shelving system will eventually fail, regardless of how many fasteners you use. Always respect the physical limits of your home’s structure and the manufacturer’s rated load capacities. Prioritizing safety over a completed project ensures that your home remains a secure environment for your family and prevents catastrophic damage to your walls and belongings.
Verify Stability and Maintain Your Shelves
After completing the physical installation, you must verify the stability of your new modular wooden wall shelf system before fully loading it with your belongings. Perform a gradual load test by placing a few lightweight items on the shelves first. Over the course of a few hours, slowly add more weight up to your intended storage level, while closely observing the brackets, tracks, and the surrounding wall surface. Listen carefully for any creaking sounds and look for any signs of bowing, pulling away from the wall, or hairline cracks in the plaster.
To ensure the long-term reliability of your shelving system, establish a routine maintenance schedule. Changes in indoor humidity and temperature can cause both the wooden shelves and the wall structure to expand and contract slightly over time. Every few months, use a manual screwdriver to check the tightness of all mounting screws and bracket fasteners, gently snugging up any that have vibrated loose. Inspect the wooden boards visually to ensure they are not warping or sagging under the weight of your items; if you notice sagging, redistribute the weight or add an additional support bracket.
Proper care of the wooden surfaces is also essential to preserve their appearance and structural integrity. Follow the manufacturer’s specific care instructions regarding the finish of your wood, whether it is treated with lacquer, varnish, wax, or natural oil. Avoid using harsh chemical cleaners or abrasive pads that can strip the protective finish and expose the raw wood to moisture. Instead, dust the shelves regularly with a soft, dry microfiber cloth, and wipe up any liquid spills immediately to prevent water spots, swelling, or warping of the natural timber.
Frequently Asked Questions (FAQ)
Can I install a wooden wall shelf on drywall or plasterboard?
Yes, you can install a wooden wall shelf on drywall, but you must use specialized hardware and observe strict weight limits. Standard plastic wall plugs designed for concrete or brick will pull straight out of drywall under any significant load. Instead, you must use specialized hollow-wall anchors, such as toggle bolts, molly bolts, or self-drilling threaded drywall anchors, which expand behind the plasterboard to distribute the weight over a larger surface area.
When mounting on drywall, always check the weight ratings printed on the anchor packaging, and remember that the overall capacity is limited by the strength of the drywall itself. For heavier modular configurations or books, it is highly recommended to locate the timber or metal studs behind the drywall using a stud finder. Screwing the mounting brackets directly into these structural studs provides vastly superior support and ensures your shelving system remains securely attached to the wall.
How do I ensure the modular shelves are perfectly level?
Ensuring your modular shelves are perfectly level requires using the right tools and establishing a clear reference line before you begin drilling. A standard pocket level is often too short to provide an accurate reading across a wide modular system. Instead, use a spirit level that is at least 60 centimeters long, or invest in a self-leveling laser level that projects a perfectly straight horizontal line across your entire wall surface.
Before drilling any holes, draw a continuous, light pencil line along the wall using your level as a guide. Use this reference line to align the top or mounting holes of all your vertical tracks or brackets. If your wall surface itself is slightly uneven or textured, you can place thin plastic or wood shims behind the brackets to keep them plumb, or choose a modular system that features built-in adjustable leveling screws on the bracket arms to fine-tune the angle of each wooden board.

Community discussion
Share your experience or ask a question. Comments are reviewed before publication.