
Installing a modular wall shelf system in a Singapore home is one of the most effective ways to maximize vertical space, especially in compact HDB flats and condominiums. While the prospect of drilling into your walls might seem daunting, achieving a secure, level, and highly functional installation is entirely manageable as a DIY project. The process requires identifying your wall type, selecting the correct anchors, marking precise reference points, and executing the installation with the proper tools. By following a systematic approach, you can safely mount a modular system that supports your storage needs without relying on professional installation services.
Assessing Wall Types and Planning Your Shelf Layout
Before purchasing any hardware or lifting a drill, you must evaluate the structural makeup of your wall and plan the physical arrangement of your shelving. Singapore residential properties feature distinct wall constructions that dictate the load capacity of your shelves and the specific installation methods you must use. Skipping this diagnostic step can lead to failed anchors, damaged walls, or a collapsing shelf system.
Identifying Concrete vs. Drywall Partitions
Most residential units in Singapore, particularly Housing & Development Board (HDB) flats and modern condominiums, utilize reinforced concrete (RC) or precast concrete panels for structural and external walls. These concrete walls are incredibly dense, offer exceptionally high load-bearing capacities, and require specialized impact-drilling equipment to penetrate. Mounting a heavy modular system on a concrete wall provides the most stable foundation possible, making it the ideal choice for storing books, heavy kitchenware, or dense decorative items.
Products mentioned in this guide
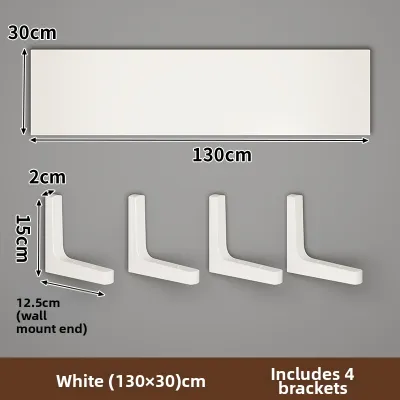
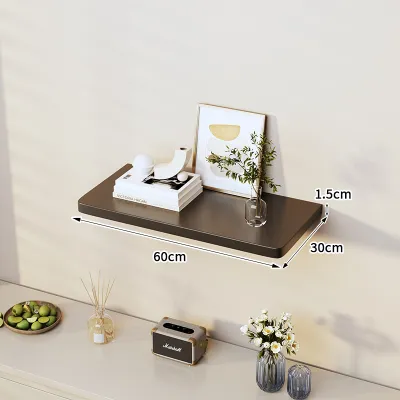
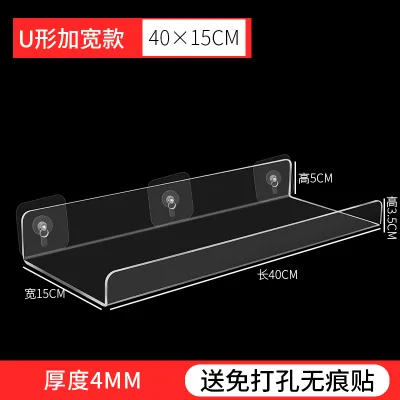
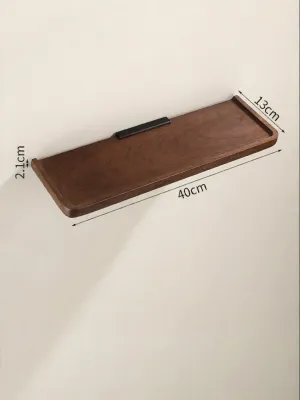
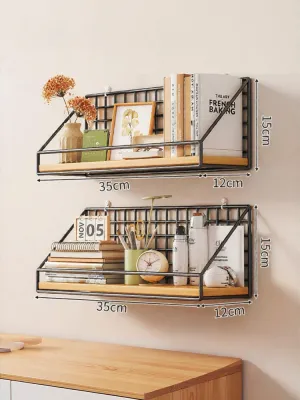
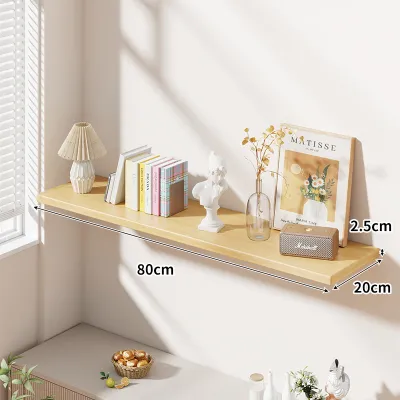
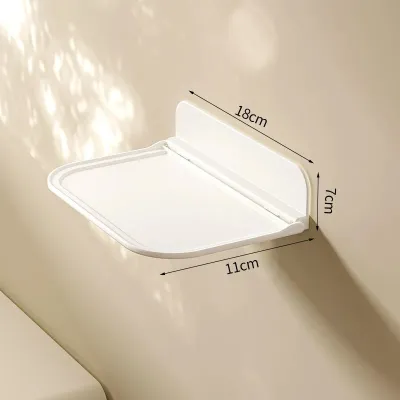
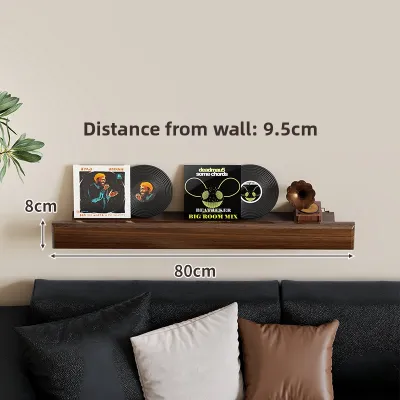
Prices are valid at publication and may change. Please refer to the product page for the latest price.
In contrast, interior partition walls—such as those dividing bedrooms or creating study nooks—are frequently constructed from drywall or lightweight plasterboard mounted on metal or wooden studs. Drywall partitions sound hollow when tapped and cannot support substantial loads without specialized anchors. If you attempt to mount a heavy shelving unit directly onto drywall using standard plastic plugs, the weight will eventually pull the plasterboard forward, causing severe structural failure. Always consult your property’s original floor plans or contact your building management office to verify wall types before commencing work.
Measuring and Marking the Shelf Positions
Once you have verified your wall’s composition, you must map out the exact placement of the modular tracks or brackets. Begin by measuring the overall width and height of the wall space, noting any nearby obstacles such as electrical outlets, light switches, window frames, or air-conditioning units. You must also account for baseboards and ensure there is sufficient clearance from the ceiling to comfortably slide or hook the modular shelves into place.
Using a high-quality spirit level and a steel measuring tape, draw a perfectly horizontal reference line at the desired height of your top shelf or support rail. For modular systems that rely on vertical standards (the vertical metal tracks that hold the brackets), you must ensure these tracks are mounted perfectly plumb (absolutely vertical). Mark the exact center of each screw hole using a sharp pencil. Double-check the distance between the vertical standards against the manufacturer’s specifications; even a minor deviation of a few millimeters can prevent horizontal shelves or cabinets from fitting into the slots later.
Gathering the Right Tools and Wall Anchors
A successful DIY installation relies heavily on using the correct tools and hardware designed for your specific wall material. Using makeshift tools or incorrect anchors is the primary cause of unstable shelving and damaged walls.

Essential Tools and Hardware Checklist
To ensure a smooth installation process, gather the following tools before you begin:
- Measuring and Marking: A steel measuring tape, a pencil, a spirit level (at least 60cm long for accuracy), and painter's tape.
- Power Tools: A hammer drill (also known as a rotary hammer) is essential for concrete walls. For drywall or stud mounting, a standard rotary drill or cordless driver is sufficient.
- Drill Bits: High-quality carbide-tipped masonry drill bits for concrete; high-speed steel (HSS) or wood bits for drywall and studs.
- Safety Gear: Dust mask, safety goggles, and a digital wall scanner (stud finder) to detect hidden utility lines.
Selecting the Correct Wall Anchors
You must match your anchoring hardware to your specific wall type and the manufacturer’s weight specifications. Never rely on the low-grade plastic plugs often bundled in generic hardware packs for heavy or high-capacity modular systems.
- For Concrete Walls: Use heavy-duty nylon wall plugs (such as Fischer UX or SX plugs) or metal sleeve anchors. Ensure the screw length and diameter match the plug manufacturer's recommendations exactly to achieve maximum expansion and grip within the concrete.
- For Drywall Partitions: Use metal toggle bolts (butterfly anchors) or heavy-duty self-drilling drywall anchors. Toggle bolts expand behind the plasterboard, distributing the weight across a larger surface area. If possible, align your vertical standards with the internal wooden or metal studs and secure them directly with wood screws for maximum stability.
Step-by-Step Installation Process
With your tools gathered and your layout marked, you can proceed to the physical installation. Take your time during each phase; precision at this stage ensures a safe, durable, and level finish.
Safety Warning: Before beginning any drilling or assembly, always read the manufacturer’s installation manual for your specific modular shelf system and the mounting guidelines for your wall type. If the manufacturer’s instructions conflict with general guidelines, or if you are unsure of your wall’s load capacity, stop and consult a qualified professional handyman or structural engineer.
Drilling the Pilot Holes
Before drilling, run a digital wall scanner over your marked points to verify that no electrical conduits or water pipes run behind them. This step is critical in Singapore homes, where utility lines are often embedded directly within concrete walls or run behind partition panels. Once the area is cleared, apply a small piece of painter’s tape directly over each pencil mark to prevent the drill bit from slipping on smooth wall surfaces.
To drill into reinforced concrete, set your hammer drill to the hammer function. Hold the drill firmly with both hands, keeping it perfectly perpendicular (90 degrees) to the wall surface. Apply steady, forward pressure without forcing the tool; let the hammer action do the work. To ensure you drill to the correct depth, measure the length of your wall anchor, add 5mm, and wrap a piece of colored tape around your drill bit at that exact length to serve as a visual depth guide.
If you encounter a highly resistant metal barrier while drilling into an HDB concrete wall, you have likely hit structural rebar. Do not attempt to force the masonry bit through steel, as this will destroy the bit and damage the wall. Instead, stop drilling immediately and shift your mounting hole slightly upward or downward, ensuring the adjustment still aligns with your shelf’s structural layout. For drywall, use a standard rotary drill without the hammer function to drill clean holes without tearing the paper facing. Always wear safety goggles and a dust mask to protect yourself from airborne concrete or plaster dust.
Inserting Wall Anchors and Mounting Brackets
Once the holes are drilled, clear out any residual dust from inside the holes using a vacuum cleaner nozzle or a hand blower. Dust left inside a concrete hole can prevent wall anchors from expanding fully, reducing their load-bearing capacity. Gently tap your nylon wall plugs into the concrete holes using a hammer until they are completely flush with the plaster surface. If an anchor resists, verify that the hole is deep enough rather than forcing it, which can bend or split the plastic.
For drywall installations using toggle bolts, feed the bolt through the mounting hole of the vertical track first, then thread the spring-loaded toggle wing onto the bolt. Compress the wings and push them completely through the drilled drywall hole until you hear them spring open behind the wall. Pull back slightly on the track to create tension on the wings, then tighten the bolt with a screwdriver or drill until snug. Align your vertical tracks over the installed anchors and insert the screws, tightening them only halfway. Place your spirit level against the track to make micro-adjustments, ensuring it is perfectly plumb before tightening all screws securely.
Assembling the Modular Components
With the vertical tracks or mounting brackets securely anchored to the wall, you can begin assembling the modular shelf components. Always consult the manufacturer’s assembly manual first, as different brands utilize unique locking mechanisms, such as slot-in brackets, clip-on supports, or screw-secured panels. If your system features adjustable bracket arms that slot into vertical standards, insert them at your planned heights and tap them gently with a rubber mallet to ensure they are fully seated.
Next, place the horizontal shelves onto the brackets. If your system utilizes retaining screws or locking pins to secure the shelves to the brackets, install them immediately to prevent the shelves from tipping or sliding out of place when loaded. For modular add-ons such as drawers, cabinets, or wire baskets, install the slides or mounting frames according to the manufacturer’s instructions. Verify that doors swing smoothly and drawers glide without binding, which can indicate that your vertical tracks are slightly out of alignment. Leave any highly adjustable components unsecured until you are completely satisfied with the overall layout, then tighten all set screws.
Post-Installation Safety Checks and Weight Limits
Before loading your newly installed modular wall shelf with books, electronics, or decor, you must conduct safety checks to verify its structural integrity and stability.
Begin with a thorough physical inspection. Check that all screws are fully tightened and flush against the mounting tracks. Inspect the connection between the tracks and the wall; there should be absolutely no visible gaps, flexing, or play when you apply gentle downward pressure. Use your spirit level one final time across all horizontal shelves and vertical standards to confirm that nothing shifted during the final tightening phase.
Next, perform a gradual load test. Place a few lightweight items on the shelves and observe how the system responds. Gradually add heavier items over a period of several hours, checking for any signs of bowing, creaking, or pulling away from the wall. You must strictly adhere to the manufacturer’s maximum load limits, which are typically specified per shelf and for the overall system. Keep in mind that these weight ratings assume the shelf is mounted to a solid concrete wall; drywall installations have significantly lower weight capacities. Always distribute weight evenly, placing the heaviest items on the lowest shelves to maintain a low center of gravity and reduce the leverage force exerted on the top wall anchors.
Frequently Asked Questions (FAQ)
Can I install a heavy modular shelf on a drywall partition?
Standard drywall partitions cannot support heavy modular shelving systems on their own. If you plan to store heavy items like books, kitchen appliances, or dense storage boxes, you must anchor the system’s vertical standards directly into the internal wooden or metal studs behind the drywall. If stud alignment is not possible, you must limit your storage to lightweight decorative items and use heavy-duty metal toggle bolts, strictly adhering to the manufacturer’s drywall weight limits. If your storage needs exceed these limits, consult a professional contractor to reinforce the partition wall.
Do I need a hammer drill for HDB concrete walls?
Yes, a hammer drill or rotary hammer equipped with carbide-tipped masonry bits is highly recommended and often necessary for drilling into HDB concrete walls. The reinforced concrete used in Singapore’s high-rise residential construction is exceptionally dense. A standard rotary drill lacks the impact force required to break through this material, which will cause the drill bit to overheat, dull rapidly, and potentially damage your wall or the drill motor itself. Using the correct hammer drill ensures clean, precise holes with minimal effort.

Community discussion
Share your experience or ask a question. Comments are reviewed before publication.