
Installing a modular hanging shelf system is one of the most effective ways to maximize vertical storage, especially in space-conscious homes like Singapore apartments. By utilizing wall-mounted standards and adjustable brackets, these systems allow you to customize your storage layout as your needs change. Achieving a safe, level, and durable installation requires careful preparation, precise measurement, and the correct choice of wall fasteners. Whether you are mounting onto a solid concrete wall in a standard HDB flat or a drywall partition in a modern condominium, following a systematic DIY process ensures your shelves remain secure under load.
Assess Your Space and Wall Suitability
Before purchasing any shelving components, you must identify the composition of your walls. In Singapore, residential walls are typically either solid concrete (structural walls and HDB internal partitions) or hollow drywall (often found in newer condominium partitions or office spaces). Tap the wall gently; a hollow, echoing sound indicates drywall, while a dull, solid thud points to concrete or brick. For drywall, you must use a stud finder to locate the internal timber or metal studs, as mounting heavy shelves directly into unsupported plasterboard can lead to structural failure.
Next, measure your available vertical and horizontal wall space. Take note of nearby door swings, window frames, ceiling heights, and electrical outlets to ensure the shelving system will not obstruct daily movement or access to utilities. Compare these measurements against the fully assembled dimensions of the modular system you plan to install.
Products mentioned in this guide
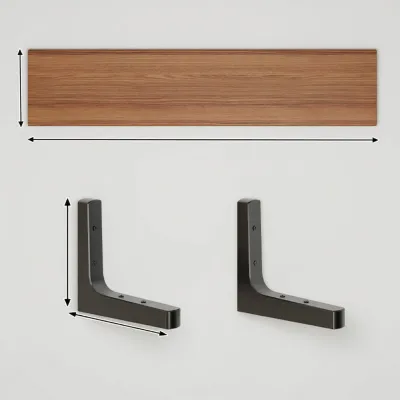
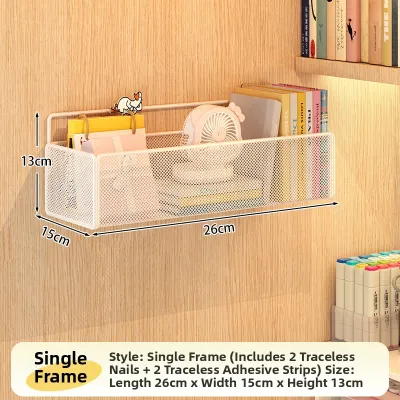
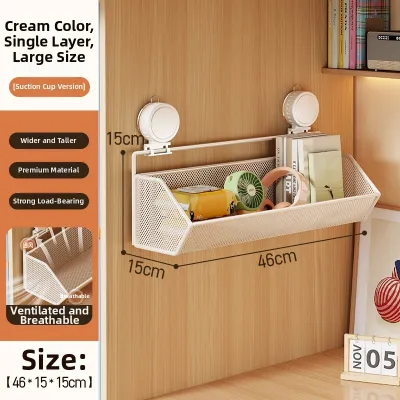
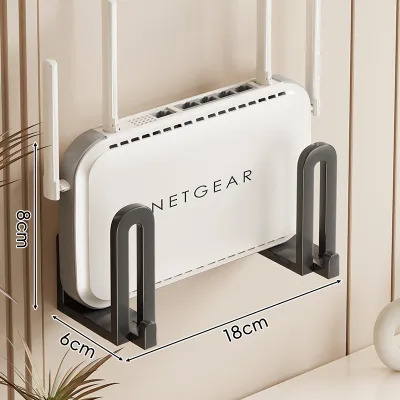
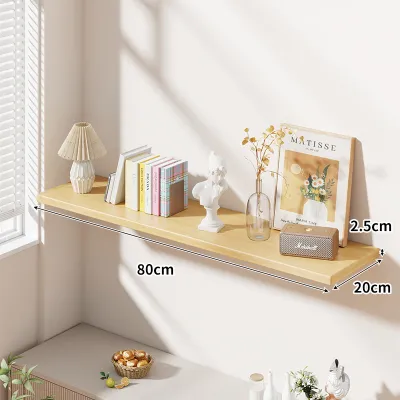
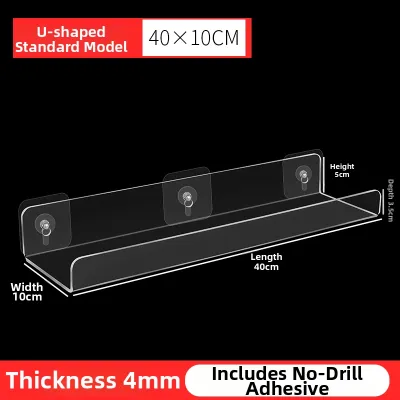
Prices are valid at publication and may change. Please refer to the product page for the latest price.
Verify the manufacturer’s specified weight capacity for both the shelving unit and the individual brackets. Remember that the overall weight limit is heavily dependent on the wall type and the fasteners used. A bracket rated for 50 kilograms on solid concrete may support only a fraction of that weight on drywall if not anchored directly into a stud.
If you discover that your wall is structurally compromised, exhibits deep cracks, consists of crumbling plaster, or is a hollow partition without accessible studs for a heavy-load setup, do not proceed. In these situations, stop the installation immediately and consult a qualified professional contractor to assess the wall or reinforce the structure.
Gather the Necessary Tools and Hardware
Having the correct tools on hand prevents interruptions and ensures a precise installation. Begin by thoroughly reviewing the manufacturer’s instruction manual to identify the exact hardware required. Many modular systems include standard screws, but these may not be suitable for your specific wall type. For example, solid concrete walls require plastic wall plugs or masonry anchors, while drywall installations require toggle bolts or heavy-duty hollow-wall anchors if studs are unavailable.

Prepare your toolkit with the essential equipment: a reliable stud finder, a spirit level (at least 60 centimeters long for accuracy), a power drill, a measuring tape, and a sharp pencil. Ensure you have the correct drill bits; a masonry bit is essential for concrete walls, while a standard wood or metal bit is suitable for drywall and studs.
Unpack all modular components, including the top suspension rails, vertical standards, brackets, and shelf boards. Lay them out on a clean, flat surface and verify them against the manufacturer’s parts list to ensure no components are missing or damaged before you begin drilling.
Mark and Drill the Mounting Points
The foundation of a straight modular shelf system lies in the alignment of the top horizontal rail or the primary vertical standards. Hold the top rail against the wall at your desired height. Place your spirit level on top of the rail, adjusting it until the bubble is perfectly centered. Using your pencil, draw a clear horizontal line along the top edge of the rail, and mark the exact center of each pre-drilled screw hole.
If your system uses individual vertical standards instead of a top rail, measure the distance between the standards carefully as specified in the product manual. Use the spirit level to ensure each vertical line is perfectly plumb (straight up and down) and that the top mounting holes of all standards align horizontally.
Before you pull the trigger on your power drill, you must verify what lies behind the wall surface. Use a multi-scanner or stud finder with live-wire detection to check for hidden electrical wiring or plumbing pipes. This step is critical in Singapore homes, where utility conduits are often embedded directly within concrete walls or run behind drywall partitions.
Once you are certain the path is clear, select a drill bit that matches the diameter of your wall anchors. Drill pilot holes straight into the marked points. For concrete walls, use the hammer drill setting with a masonry bit, drilling slightly deeper than the length of the wall plug to accommodate any accumulated dust. For drywall, drill clean, precise holes without using the hammer function to avoid tearing the plasterboard.
Install the Main Support Rails and Brackets
With the holes drilled, prepare to secure the foundational structure. If you are mounting on concrete or drywall without direct stud contact, insert the appropriate wall anchors into the pilot holes. Tap plastic wall plugs gently with a hammer until they sit completely flush with the wall surface. For drywall toggle bolts, thread the bolt through the rail hole first, attach the toggle wing, and compress the wing as you push it through the drilled hole until you hear it spring open behind the plasterboard.
Align the main support rail or vertical standards with the installed anchors. Insert the mounting screws and drive them in using your power drill or a manual screwdriver. Tighten the screws securely, but avoid over-tightening, which can strip the threads in plastic plugs or crush the core of drywall.
Place your spirit level back onto the rail or against the vertical standards to verify that nothing shifted during the tightening process. The components must sit perfectly straight and completely flush against the wall surface without any gaps.
Before proceeding to the shelf assembly, test the stability of the mounted rails. Apply gentle but firm downward pressure on the rails and brackets. There should be absolutely no movement, wobbling, or pulling away from the wall. If you notice any play, tighten the screws further or inspect the integrity of the wall anchors.
Assemble and Hang the Modular Shelves
Once the vertical standards are securely anchored, you can begin assembling the modular components. Insert the shelf brackets into the slots along the vertical standards at your desired heights. Ensure that corresponding brackets on adjacent standards are placed in the exact same slot level so the shelf will sit perfectly horizontal.
Place the shelf boards onto the brackets. Depending on the design of your modular system, the shelves may slide into place, clip onto the bracket hooks, or rest flat on top of the brackets. Always refer to the manufacturer’s specific mechanism to ensure proper engagement.
Secure each shelf board using the provided locking pins, safety clips, or small retaining screws underneath the brackets. This step is vital to prevent the shelves from accidentally sliding forward or tipping if they are bumped from below during daily use.
Take advantage of the modular design by adjusting the shelf heights to accommodate your stored items. Ensure there is adequate clearance between shelves for easy access, keeping heavier or taller items in mind for the lower sections.
Load Testing and Final Safety Checks
Before placing your valued possessions on the new shelves, perform a systematic load test. Begin by placing lighter items on the shelves, gradually introducing heavier objects over several hours. Always distribute the weight evenly across the entire length of each shelf rather than concentrating heavy items in the center or on one outer edge.
Carefully inspect the installation points under load. Look closely at the wall anchors, the vertical standards, and the surrounding wall surface. Check for any signs of pulling away from the wall, bending of the brackets, or cracking in the plasterboard or concrete finish.
If you observe any shifting, sagging, or if the wall material shows signs of stress or cracking, remove all items immediately. Do not attempt to use the shelves. Reassess your anchoring method, verify that you did not exceed the manufacturer’s weight limits, or consult a professional handyman to rectify the installation.
Frequently Asked Questions (FAQ)
Can I install a hanging shelf on a plasterboard wall without studs?
Yes, you can install a hanging shelf on a plasterboard wall without studs, but you must use specialized hollow-wall fasteners such as toggle bolts or heavy-duty steel hollow-wall anchors. Standard plastic wall plugs or wood screws will not hold in plasterboard and will pull out under minimal weight. Always check the manufacturer’s maximum weight limits for hollow-wall installations, as they are significantly lower than stud-mounted setups. Keep the stored items lightweight, and avoid placing heavy books or dense equipment on shelves supported only by plasterboard.
How do I prevent the shelves from sagging over time?
To prevent shelves from sagging, always distribute weight evenly across the surface and place the heaviest items closest to the vertical standards and wall brackets where support is strongest. Regularly check and tighten the mounting screws and bracket connections, as daily use and temperature changes can cause minor loosening. Additionally, never exceed the manufacturer’s stated weight capacity for individual shelf boards, and consider adding an extra vertical standard in the center if you plan to store heavy items over a span wider than 80 centimeters.

Community discussion
Share your experience or ask a question. Comments are reviewed before publication.