
Maximising storage in a kitchen or utility room often leads directly to the challenge of the corner cabinet. These deep, recessed spaces are notoriously difficult to access, frequently becoming dead zones where items are forgotten. Installing a corner cabinet rack yourself is a highly practical DIY project that can transform these awkward areas into highly functional, organized storage zones. By taking on this project, you can customize your shelving layout, save on professional installation fees, and gain a thorough understanding of your cabinetry’s structural setup.
Achieving a successful installation requires a systematic approach that balances precise measurement, proper tool selection, and careful alignment. Whether you are fitting a rotating carousel, a blind corner pull-out basket, or a simple set of fixed modular shelves, the core principles of stability and clearance remain the same. This guide walks you through the entire process, from initial space assessment to final adjustments, ensuring your new rack operates smoothly and securely.
Assess Your Space and Rack Type
Before purchasing any hardware, you must thoroughly evaluate the physical dimensions and structural integrity of your corner cabinet. Begin by measuring the internal width, depth, and height of the cabinet opening, as well as the clear space inside the unit. It is crucial to check these finished dimensions against the entryways, hallways, and lift doors of your home to ensure the packaged rack can be delivered to the installation site without obstruction. Even a minor discrepancy of a few millimeters can prevent a pre-assembled frame from fitting through a narrow cabinet door opening.
Products mentioned in this guide

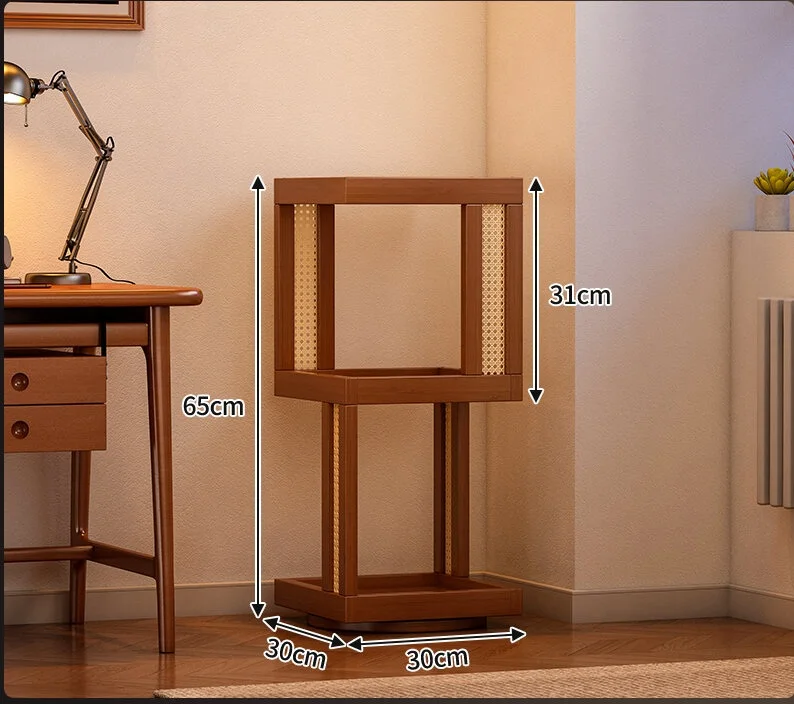

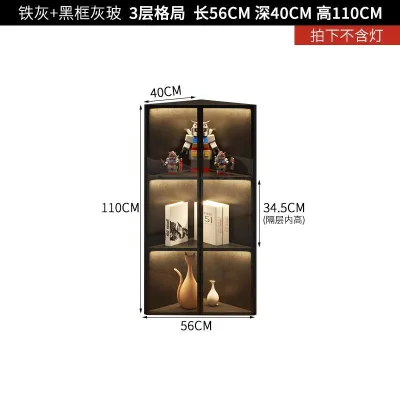
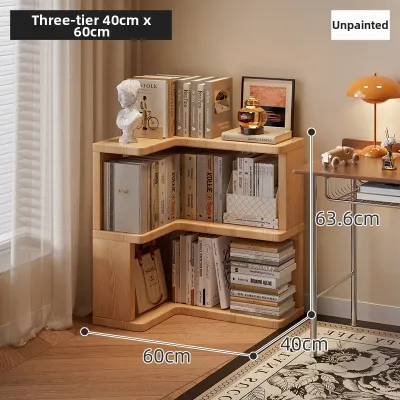
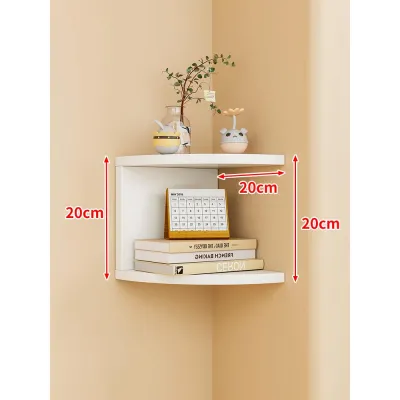

Prices are valid at publication and may change. Please refer to the product page for the latest price.
Next, identify the specific type of corner cabinet rack that matches your layout and storage needs. Common configurations include rotating carousels, blind corner pull-out baskets that slide forward and swing to the side, and simple freestanding or tension-mounted corner units. Each type carries distinct load-bearing capacities and mounting requirements. For instance, heavy-duty pull-out baskets require robust base or side-mounting tracks, whereas lightweight carousels might rely on a central vertical pole anchored to the top and bottom panels of the cabinet.
Finally, inspect the material of your cabinet’s backboard and side panels. Many modern kitchen cabinets are constructed from medium-density fibreboard (MDF), particleboard, or plywood, each of which responds differently to drilling and fastening. Solid wood panels offer excellent screw retention, while thinner MDF or particleboard backboards may require specialized wood screws or reinforcing brackets to prevent stripping. If your corner rack anchors directly into an adjacent masonry wall behind a thin cabinet backing, you must prepare appropriate wall plugs and masonry drill bits to ensure a secure hold.
Gather the Right Tools and Materials
Having the correct tools organized and ready before you begin prevents unnecessary delays and ensures a cleaner, more precise installation. For measuring and marking, you will need a reliable metal tape measure, a sharp pencil, and a high-quality spirit level. The spirit level is particularly critical; even a slight tilt in the mounting brackets can cause sliding mechanisms to bind or rotating shelves to drift under the weight of stored items.

For the physical assembly and fastening, prepare a variable-speed power drill, a set of wood and masonry drill bits, and hand screwdrivers. A manual screwdriver is often preferred for the final tightening stages to avoid stripping the threads in softer cabinet materials. Depending on the rack design, you may also need a small adjustable wrench or a hex key set to secure the structural bolts and pivot points.
Before unpacking the rack components, locate the manufacturer’s hardware checklist and cross-reference it with the supplied parts. Lay out all screws, brackets, washers, and dowels systematically. If the supplied wall anchors or screws appear unsuitable for your specific cabinet material—such as short screws that may not grip thin particleboard securely—purchase appropriate hardware from a local home improvement store before starting the assembly.
Step-by-Step Installation Process
The installation of a corner cabinet rack can be broken down into three distinct phases: assembling the main frame, mounting the structure securely inside the cabinet, and adjusting the moving parts for optimal clearance. Keeping the manufacturer’s instruction manual open and visible throughout the process is essential, as minor design variations can alter the order of these steps.
Assembling the Rack Components
Begin by assembling the main structural frame of the rack outside the cabinet, where you have ample space to maneuver. Follow the manufacturer’s specified sequence to connect the vertical supports, horizontal frames, and any rotating axes or slide runners. If your rack features a pull-out mechanism, assemble the slide tracks first, ensuring they are parallel and free of debris.
As you connect the components, check the tightness of every joint and bolt. The goal is to achieve structural stability without over-tightening the fasteners; leaving a tiny amount of play in the frame can make it easier to align the unit once it is placed inside the cabinet. You can fully tighten these connections once the entire assembly is positioned and leveled.
Additionally, verify that all anti-slip pads, rubber bumpers, or protective plastic covers are correctly positioned on the contact surfaces. These small components prevent the metal frame from scratching the interior laminate of your cabinets or damaging your flooring during the installation process. They also help dampen operational noise when sliding or rotating the shelves later on.
Mounting and Securing the Rack
Carefully lift the assembled frame or mounting brackets into the corner cabinet. Use your spirit level to check that the unit is perfectly horizontal across its width and depth, as well as vertically plumb. Use a pencil to mark the exact center of each screw hole on the cabinet floor, side walls, or backboard. Double-check these marks against your initial measurements to ensure the rack sits squarely within the space.
Once the mounting points are marked, remove the frame if necessary to create room for drilling. Select a drill bit that is slightly smaller than the core diameter of your mounting screws to create precise pilot holes. Pre-drilling pilot holes is a critical step; it prevents the cabinet wood from splitting and guides the screws straight into the material. If you are mounting into a concrete or brick wall behind the cabinet, drill to the depth of your wall plugs and insert them flush with the surface.
Reposition the rack frame over the pilot holes and begin driving the mounting screws. It is highly recommended to insert all screws loosely at first, rather than tightening them one by one. This approach allows you to make minor adjustments to the frame’s position to ensure it remains perfectly level. Once all screws are in place and the level is verified, tighten them securely using a hand screwdriver to avoid over-torqueing.
Adjusting and Testing the Mechanism
With the rack securely mounted, it is time to test and fine-tune its movement. If you have installed a pull-out basket or a rotating carousel, operate the mechanism slowly through its full range of motion. Listen closely for any scraping, grinding, or friction noises, and watch for any points where the metal frame might rub against the cabinet opening or the door hinges.
Most modular corner racks feature adjustable shelf heights, limiters, or soft-close tension screws. Adjust these components so that the shelves sit at convenient heights for your storage items while ensuring they do not obstruct the cabinet door from closing completely. If the rack features a swing-out mechanism, adjust the path of travel so that the baskets clear the door frame with a safe margin of space.
Finally, conduct a gradual load test to verify the structural integrity of your installation. Begin by placing lightweight items on the shelves, then gradually add heavier kitchenware, such as pots, pans, or canned goods, up to the manufacturer’s recommended limit. Observe the mounting points and the frame for any signs of sagging, flexing, or loosening under weight, ensuring the entire system remains stable and smooth to operate.
Common Installation Mistakes to Avoid
One of the most frequent errors in DIY corner rack installation is neglecting to use a spirit level during the mounting phase. A rack that is even slightly out of level will experience uneven weight distribution, causing rotating carousels to drift to one side or sliding tracks to bind and jam. Taking the extra time to verify level alignment before drilling will save significant frustration later.
Another common mistake is using the wrong size or type of screws. Using screws that are too long can pierce through the exterior of your cabinet panels, damaging the visible finish of your kitchen island or adjacent walls. Conversely, using screws that are too short or thin will fail to grip the cabinet material securely, leading to the eventual collapse of the rack under a heavy load. Always match the screw length to the thickness of your cabinet panels, leaving a safe margin.
Additionally, many DIYers fail to account for the clearance required by cabinet doors, hinges, and adjacent drawer handles. A pull-out rack may clear the cabinet opening perfectly on paper, but in practice, protruding door hinges or decorative handles can block its path. Always measure the clear opening width with the cabinet door fully open, taking into account the space occupied by the door panel itself and its hardware.
Maintenance and Safety Checks
To keep your corner cabinet rack operating smoothly over the long term, establish a simple routine of periodic maintenance and safety checks. Every few months, open the cabinet and inspect the mounting screws for any signs of loosening, especially if the rack is frequently loaded to its capacity. Tighten any loose fasteners immediately to prevent structural strain on the cabinet walls.
Keep the sliding tracks, rollers, and rotating axes clean and free of dust, food crumbs, or spilled liquids. Wipe down the metal frames with a damp cloth and mild detergent, avoiding abrasive cleaners that could damage the protective finish. If the mechanism begins to squeak or feel stiff, consult the manufacturer’s instructions regarding the use of appropriate lubricants, such as silicone spray or light machine oil, ensuring you do not apply products that could attract dust or contaminate food storage areas.
Lastly, be aware of the signs that indicate the rack requires professional attention or replacement. If you observe permanent structural deformation, severe metal fatigue, cracking joints, or mounting points that have pulled away from the cabinet wood, stop using the rack immediately. Unload all items to prevent a sudden collapse, and consult a professional carpenter or the rack manufacturer to assess whether the unit can be safely re-anchored or if a replacement is necessary.
Frequently Asked Questions (FAQ)
Can I install a corner cabinet rack without drilling?
Tension-mounted corner racks and freestanding units can be installed without drilling, making them excellent options for rental properties where permanent modifications are restricted. However, these non-drilling options have strict weight limits and require flat, stable surfaces to remain secure. Heavy-duty pull-out baskets and rotating carousels must be anchored with screws; attempting to mount these dynamic, load-bearing systems with adhesives or tension alone poses a significant safety risk, as they can easily tip over or detach when fully extended.
How much weight can a typical corner rack hold?
The weight capacity of a corner cabinet rack varies significantly depending on its design, materials, and installation quality. To find the exact limit, always check the manufacturer’s specification label or instruction manual. Keep in mind that the actual safe capacity is heavily influenced by how the weight is distributed across the shelves and the strength of the mounting surface. Distributing heavy items evenly and anchoring the rack to solid wood or reinforced cabinet panels will maximize its stability and load-bearing performance.
What should I do if the rack doesn't fit my cabinet doors?
If you find that the rack obstructs your cabinet doors or collides with the hinges after installation, start by checking the door hinges for built-in adjustment screws. Many modern cabinet hinges allow you to adjust the door’s angle, depth, and lateral position by a few millimeters, which may resolve minor clearance issues. If hinge adjustment is insufficient, evaluate whether you can shift the mounting position of the rack slightly deeper or further to one side within the cabinet. If the clearance conflict remains unresolved, you may need to exchange the unit for a rack with a different profile or a more compact swing path.

Community discussion
Share your experience or ask a question. Comments are reviewed before publication.