
Assembling a modular shelf rack is one of the most practical and cost-effective ways to optimize vertical space in your home. Whether you are organizing a utility room, setting up a home pantry, or maximizing storage in a household bomb shelter, building your own shelving unit is a highly manageable DIY project. By following a systematic, bottom-up approach, you can construct a stable, heavy-duty storage system without the need for professional installation services. Success lies in careful preparation, methodical assembly, and verifying structural integrity at every stage.
To achieve a professional-grade result, you must understand how the components lock together and how to secure the unit against tipping. This guide walks you through the entire process, from preparing your workspace to executing safety checks and organizing your items for optimal weight distribution.
Pre-Assembly Preparation and Space Planning
Before opening any packaging, you must prepare your workspace and verify that you have all the necessary components. Begin by clearing a flat, spacious area on the floor that is larger than the fully assembled dimensions of the shelf rack. To protect your flooring—especially sensitive surfaces like vinyl, laminate, or polished tiles—lay down a large piece of clean cardboard from the shipping box or a protective moving blanket. This prevents accidental scratches on both your floor and the powder-coated or galvanized finish of the shelving parts.
Products mentioned in this guide
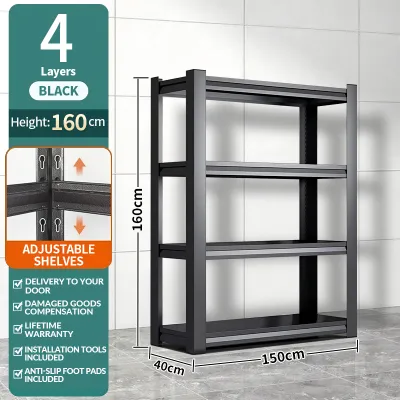
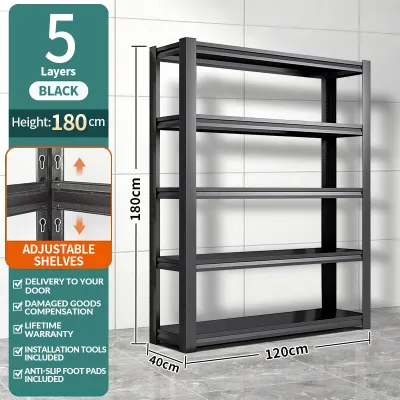
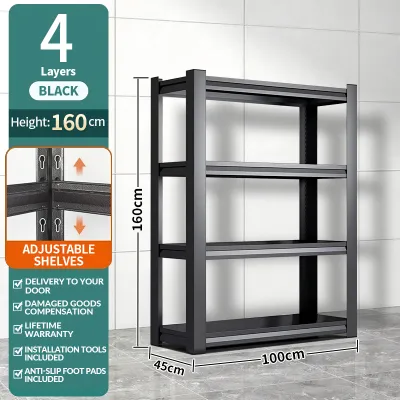
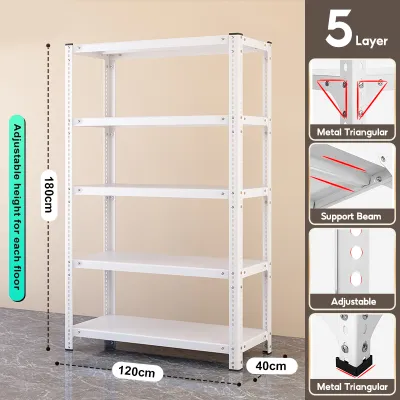
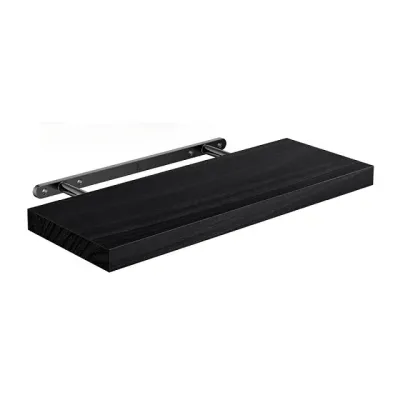
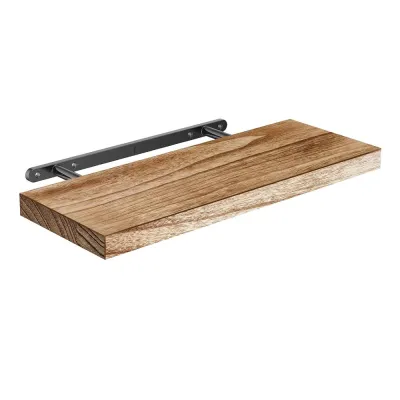

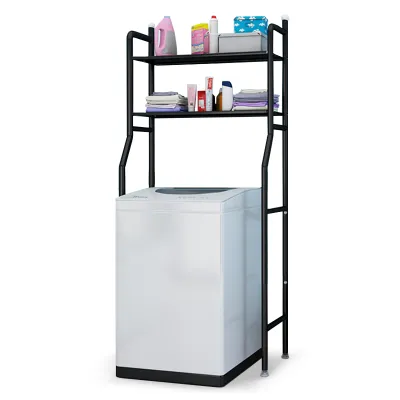
Prices are valid at publication and may change. Please refer to the product page for the latest price.
Unbox all components carefully and group similar items together, such as upright posts, horizontal beams, shelf panels, and hardware packets. Conduct a thorough inventory check against the manufacturer’s parts list to ensure no pieces are missing. If you discover bent metal edges, chipped finishes, or missing locking clips, address these issues before starting assembly, as damaged structural components can compromise the safety of the entire rack.
Gather your tools beforehand so you do not have to interrupt your momentum mid-build. While many modular systems are advertised as boltless or tool-free, having a few basic tools on hand makes the process significantly smoother. You will typically need a rubber mallet to seat the beams securely without denting the metal, a flat-head screwdriver to assist with adjusting clips, a measuring tape to verify shelf heights, and a spirit level to ensure the structure is perfectly plumb. If you plan to anchor the rack to a wall, prepare a drill with bits suitable for your wall type.
Finally, verify the finished dimensions of the rack against your target space. Ensure there is sufficient clearance from ceiling fixtures, light switches, and electrical outlets. If you are assembling the unit in a spacious living area with plans to move it into a tight closet or utility room later, measure your doorways, hallways, and lift access to guarantee the fully built frame can pass through without getting stuck.
Step-by-Step Assembly Process
Assembling a modular shelf rack follows a strict bottom-up sequence to ensure structural alignment and stability. Attempting to build sections out of order can result in a twisted frame that is difficult to square and unsafe to load. Throughout the entire build, keep the manufacturer’s instruction manual open and visible to verify orientation details, as some modular parts have subtle top-and-bottom indicators that are easy to overlook.

Building the Base and Vertical Supports
The foundation of your shelf rack dictates the stability of the entire structure. Begin by identifying the bottom ends of your vertical upright posts. If your kit includes adjustable leveling feet, threaded inserts, or protective plastic base caps, install them onto the bottom of each post now. If you are using casters for a mobile unit, ensure the locking casters are positioned on the side you will access most frequently so you can easily secure the rack in place.
Stand two vertical posts upright and connect them using the lowest horizontal side beam. If your system uses a boltless keyhole design, ensure the rivets on the beam point downward and slide fully into the narrow slot of the keyhole. For systems utilizing plastic slip-sleeves on round poles, snap the sleeves together at the desired height marker, ensuring the arrow on the sleeve points upward, then slide the shelf collar down over them until it wedges firmly.
Because holding multiple upright posts steady can be challenging for a single person, consider using a temporary brace or asking a second person to assist during this initial stage. If you are working alone, you can lean the first pair of posts against a wall for support while you attach the front and back crossbeams. Ensure the very first tier of beams is positioned as close to the floor as the design allows, as a low base tier significantly lowers the center of gravity and prevents the unit from becoming top-heavy.
Installing the Shelves and Crossbars
Once the base frame is stable and standing on its own, you can begin building upward and installing the remaining shelf levels. Measure and plan your shelf spacing based on the items you intend to store. It is generally best to space the lower shelves further apart for bulky items and keep the upper shelves closer together for smaller containers. Use your measuring tape to count the slots or ridges on each upright post, ensuring that all four corners of each shelf level are aligned at the exact same height.
Slide or clip the horizontal support beams into their designated slots at your chosen heights. Use your rubber mallet to tap the corners of the beams downward until they are fully seated in the slots. If your modular rack uses wire decking or solid wood/metal shelf panels that sit inside the beam recesses, place them onto the beams only after the horizontal frame for that level is completely locked in. This ensures the frame does not shift or warp while you are trying to fit the panels.
If your modular design includes diagonal cross-braces, tension rods, or solid back panels, install them as you progress upward. These components are vital for preventing lateral sway, also known as racking. Check each locking mechanism, safety pin, or tension clip as you complete each level to confirm they are fully engaged and have not popped loose from the vibrations of your mallet taps.
Securing the Top Tier and Final Hardware
With the lower and middle tiers established, you can now install the top shelf or top caps to complete the vertical assembly. If your upright posts come in two sections joined by a middle coupler, ensure the coupler is fully seated and that the upper posts are perfectly aligned with the lower ones before mounting the top shelf. Install the final set of horizontal beams and place the top shelf panel into position.
Once all structural components are in place, go over the entire unit to tighten all connections. If your rack uses a bolted design, use a wrench or hex key to tighten all nuts and bolts to the manufacturer’s recommended torque, taking care not to over-tighten and strip the threads. For boltless systems, perform a final pass with the rubber mallet on all beam connections to ensure they are driven completely home.
Before placing any items on the shelves, perform a physical structural shake test. Gently grasp the rack at chest height and give it a moderate shake from side to side and front to back. Listen for any rattling, look for loose joints, and observe if the feet remain flat on the floor. If you detect any instability or movement within the joints, re-examine the connections and tighten or reseat the affected hardware before proceeding.
Safety Checks and Wall Anchoring
Safety is the most critical aspect of any shelving installation. A fully loaded shelf rack carries significant weight, and an accidental tip-over can cause severe injury or property damage. Begin your safety check by placing a spirit level on the top and middle shelves. Check both the left-to-right and front-to-back axes to ensure the unit is perfectly plumb and level. If your floor is uneven, adjust the threaded leveling feet until the bubble on the spirit level is centered.
Wall anchoring is strongly recommended for all tall shelving units, especially those with a height-to-depth ratio greater than 3:1. Anchoring is also essential if the rack is placed on carpeted floors, in high-traffic areas, or in homes with young children and pets who might attempt to climb the structure. Even a heavy steel rack can tip forward if a child pulls on a middle shelf or if heavy items shift during use.
To install wall anchors correctly, you must match the anchoring hardware to your specific wall material. For concrete, brick, or masonry walls common in many solid-structure homes, you will need to use a hammer drill to create pilot holes, insert plastic wall plugs or expansion anchors, and secure the bracket with heavy-duty screws. For drywall or plasterboard walls, locate the wooden studs behind the wall using a stud finder and screw the anchor bracket directly into the center of the stud. If no stud is available at the desired location, use high-quality toggle bolts or hollow-wall anchors rather than standard plastic plugs, which can easily pull out of drywall under tension.
Loading and Organizing Your New Shelf Rack
How you load your shelf rack is just as important as how you assemble it. Proper weight distribution ensures the long-term stability of the unit and prevents structural failure. Always apply the principle of placing the heaviest items on the bottom shelves. This lowers the overall center of gravity of the unit, making it much more stable and resistant to tipping. Lighter items, such as plastic storage bins, paper goods, or seasonal decorations, should be reserved for the upper tiers.
Locate the manufacturer’s maximum load limits, which are typically printed on the product packaging, instruction manual, or a label on the rack itself. Note that these weight capacities are almost always rated for “evenly distributed weight.” This means you should spread items across the entire surface of each shelf rather than concentrating heavy objects in the center, which can cause the shelf panel or support beams to bow and eventually fail over time.
As your storage needs change, take advantage of the modular nature of your rack by adjusting the shelf heights. If you acquire taller items, raise a shelf level rather than trying to squeeze the items in horizontally, which can lead to awkward loading angles and accidental impacts against the frame. Always unload the shelves completely before attempting to adjust any shelf heights, and re-verify that all locking clips are secure after making any modifications.
Frequently Asked Questions (FAQ)
What should I do if the shelves do not sit flat?
If a shelf panel is uneven or wobbles within the frame, first check the levelness of your floor. If the floor is sloped, use the adjustable leveling feet at the base of the upright posts to compensate for the uneven surface. Next, verify that all horizontal support beams and shelf clips are installed at the exact same height marker on all four upright posts. Even a single slot difference can cause a noticeable tilt and prevent the shelf panel from seating flat. Finally, inspect the shelf panel itself for warping or manufacturing defects; if the metal or wood panel is bowed, try flipping it over or contact the manufacturer for a replacement.
Can I disassemble and move the modular shelf rack later?
Yes, one of the primary benefits of a modular shelf rack is its portability and ease of disassembly. To move the unit safely, always empty all contents first and work in the exact reverse order of assembly, starting from the top shelf and working your way down. Use a rubber mallet to gently tap the underside of the horizontal beams upward to release them from the post slots, taking care not to use excessive force that could bend the metal connectors. Store all small hardware, safety pins, and leveling feet in a labeled plastic bag, and wrap the upright posts and shelf panels in moving blankets to protect their finish during transit.
Community discussion
Share your experience or ask a question. Comments are reviewed before publication.