
Choosing the right shoe rack requires more than picking a standard size; it demands matching your household’s total footwear count, daily rotation habits, and available floor space. An undersized rack leads to cluttered floors and tripped-over sneakers, while an oversized cabinet can block vital pathways and make your entrance feel cramped. By calculating your capacity needs and measuring your space accurately before buying, you can find a storage solution that keeps your home organized and welcoming. This guide walks you through a practical calculation method to determine the exact capacity, tier configuration, and physical dimensions you need before making a purchase, ensuring your entryway remains organized and unobstructed.
Step 1: Audit Your Current and Future Shoe Collection
To establish a realistic baseline, start by gathering every pair of shoes currently owned by your household. It is easy to underestimate your collection when shoes are scattered across different rooms, closets, or left piled by the front door. Group the footwear into distinct categories: daily wear, athletic gear, seasonal or formal shoes, and guest slippers. Daily wear shoes need the most accessible slots, while seasonal or formal pairs can often be stored elsewhere.
Pay close attention to the physical dimensions of different shoe types. Standard sneakers and flats lie relatively flat, but high heels, high-top boots, and bulky running shoes require significantly more vertical and horizontal space. If your collection includes ankle boots or platform shoes, you will need to plan for taller shelf clearances or look for racks with adjustable shelving.
Products mentioned in this guide
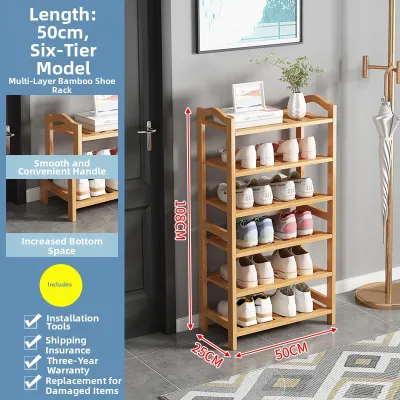
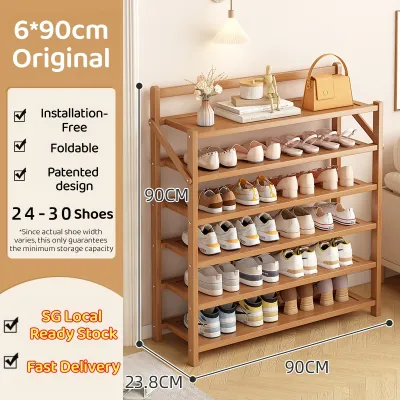
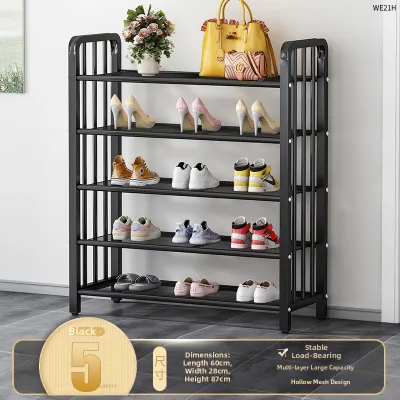
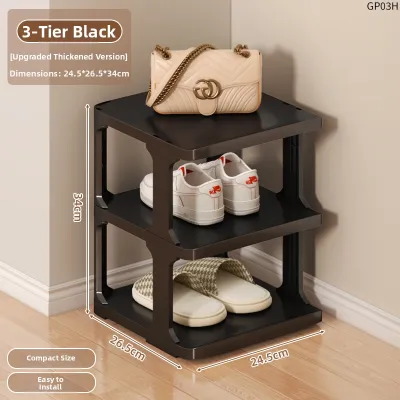
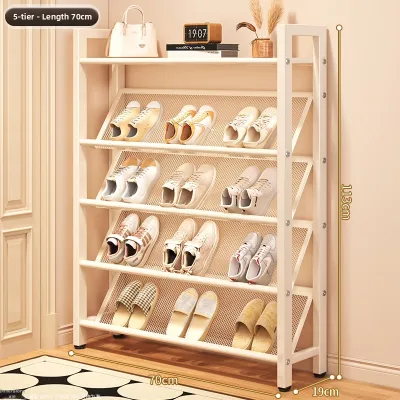
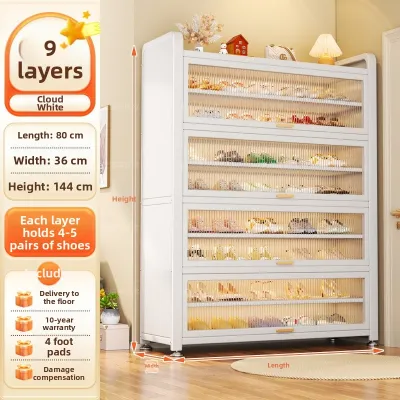
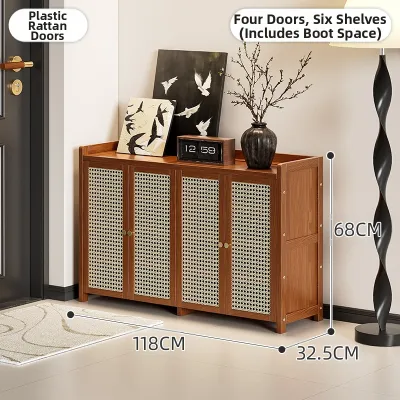
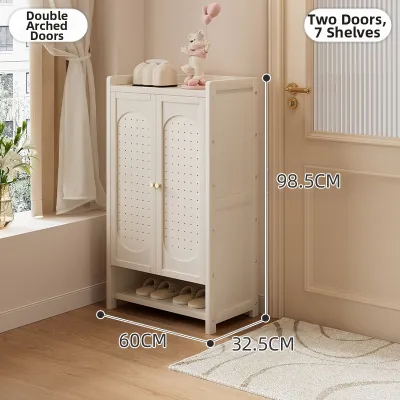
Prices are valid at publication and may change. Please refer to the product page for the latest price.
Finally, always build a buffer into your calculations. A good rule of thumb is to add a 15% to 20% capacity buffer to your current total. This extra space accommodates future purchases, prevents overcrowding, and provides dedicated slots for guests to place their shoes when visiting. If your household currently has 20 pairs of shoes, aim for a rack that can hold at least 23 to 24 pairs.
Step 2: Measure Your Available Space and Clearances
Before browsing online marketplaces or visiting furniture showrooms, you must precisely measure the designated area for your shoe rack. Use a metal measuring tape to record the maximum width, depth, and height available in your entryway, corridor, or closet. If you plan to place the rack behind a door, measure the door swing clearance to ensure the door can open fully without striking the furniture.

Walkway clearance is another critical factor, especially in compact apartments or narrow entryways. In Singapore, where space is often at a premium, maintaining an unobstructed path is essential for both daily comfort and safety. Ensure that there is at least 90 to 100 cm of clear walkway space in front of the shoe rack so family members can comfortably walk past, even when someone is standing there selecting their shoes.
Do not overlook the depth of the rack. Standard shoe racks typically range from 30 to 35 cm in depth, which accommodates most shoe sizes up to a men’s US 10 or 11. However, if anyone in your household wears larger sizes, standard shelves may cause the heels or toes of the shoes to overhang. This overhang not only looks untidy but can also catch on clothing or cause tripping. For larger shoes, look for a rack with a depth of at least 38 cm, or consider slanted shelves that store shoes at an angle to save horizontal depth.
Step 3: Match Capacity to Rack Configurations
Once you have your total shoe count and spatial measurements, you can determine the ideal rack configuration. To calculate the number of tiers you need, divide your total shoe count by the number of pairs that can fit on a single shelf. A standard pair of adult shoes requires about 20 to 25 cm of shelf width. Therefore, a rack that is 80 cm wide can comfortably hold three to four pairs of shoes per tier. If you need to store 20 pairs, a 4-tier rack of this width will fall short, meaning you will need to look for a 5-tier or 6-tier unit, or opt for a wider design.
The choice between freestanding, stackable, and wall-mounted configurations depends heavily on your floor space. Freestanding racks are highly versatile and easy to move, making them ideal if you rent or like to rearrange your layout. Stackable modular racks offer excellent flexibility, allowing you to start with a low 2-tier unit and add more tiers vertically as your collection grows. Wall-mounted racks or floating shelves are excellent for extremely tight entryways, as they keep the floor completely clear and make cleaning much easier.
Consider the trade-offs between fixed and adjustable shelves. Fixed shelves provide excellent structural rigidity but limit you to storing shoes of a uniform height. If you have a diverse collection of flats, sneakers, and boots, adjustable shelves are highly recommended. They allow you to move individual shelves up or down to match the height of your footwear, maximizing the usable vertical space and preventing wasted gaps above low-profile shoes.
Step 4: Evaluate Stability, Materials, and Safety
A high-capacity shoe rack must be structurally sound to handle the weight of dozens of pairs of shoes. Fully loaded racks, especially those made of lightweight plastics or thin metal tubes, can become top-heavy and prone to wobbling. Always check the manufacturer’s specified weight limits per shelf and ensure the frame is sturdy. If you are opting for a tall unit—typically anything over 1 meter in height—it is highly recommended to secure it to the wall using anti-tip safety brackets, particularly in homes with young children or active pets who might try to climb or pull on the shelves.
Material selection is crucial for long-term durability, especially in humid tropical climates like Singapore’s. Entryways are often exposed to ambient moisture, damp umbrellas, and wet shoes. Engineered wood like standard particle board is highly susceptible to moisture absorption, which can cause the shelves to sag, swell, or develop mold over time. If choosing wood, look for high-quality MDF with a water-resistant laminate finish, or opt for solid hardwoods like teak or treated bamboo.
Metal and plastic racks offer excellent moisture resistance and are easy to wipe clean. However, ensure that metal frames have a rust-resistant powder coating or are made of stainless steel to prevent corrosion from wet soles. Open-slat designs in wood or metal are highly beneficial as they promote natural airflow, allowing damp shoes to dry quickly and preventing unpleasant odors from building up in enclosed spaces.
Common Sizing Mistakes to Avoid
One of the most common mistakes is ignoring the actual depth of your shoes and purchasing a cabinet with doors that cannot close fully. Many closed shoe cabinets have a shallow profile to save space, but this often means longer shoes must be placed sideways, drastically reducing the overall capacity of the unit. Always measure your longest pair of shoes from heel to toe and compare it to the internal depth of the cabinet before buying.
Another frequent oversight is forgetting to measure the delivery pathway. A large, fully assembled shoe cabinet might fit perfectly in your entryway, but it could be impossible to maneuver through narrow apartment corridors, tight stairwells, or standard passenger lifts. Always verify the packaged or assembled dimensions of the product and compare them against your building’s entry points to avoid delivery day complications.
Lastly, do not assume that all tiers can accommodate every type of footwear. Many buyers purchase a standard 5-tier rack assuming it will hold 15 pairs of any shoe type, only to find that their boots or high-top sneakers only fit on the very top shelf. If the shelves are fixed and the clearance is low, you will end up with wasted space and shoes piled on the floor. Always verify the vertical clearance between shelves before making your final decision.
Frequently Asked Questions (FAQ)
How many pairs of shoes should a standard rack hold per person?
There is no single rule, but a practical baseline for planning is 4 to 6 pairs of frequently worn shoes per person on an entryway rack. This typically includes daily work or school shoes, a pair of athletic sneakers, casual sandals, and guest slippers. Less frequently worn footwear, such as formal shoes or seasonal boots, should ideally be stored in bedroom wardrobes or dedicated storage boxes to keep the main entryway rack clear and organized.
Can I place a standard shoe rack in a shared apartment corridor?
In Singapore, placing furniture in shared corridors is subject to strict local regulations, primarily governed by the Singapore Civil Defence Force (SCDF) fire safety guidelines. You must maintain a minimum clear escape passage of 1.2 meters along the corridor. Additionally, shoe racks must not obstruct fire hydrants, dry risers, or escape routes. Always check with your town council or building management before placing any storage units outside your main door to ensure compliance and maintain good relations with your neighbors.

Community discussion
Share your experience or ask a question. Comments are reviewed before publication.