
Designing a custom modular storage system allows you to maximize vertical space and tailor shelving to your exact organizational needs. By selecting compatible frames, shelves, and accessories, you can build a highly functional unit that fits seamlessly into tight corners, service yards, or living areas. The process requires careful spatial assessment, precise component selection, and systematic assembly to ensure structural integrity and safety. Taking the time to plan your layout ensures that the finished rack not only accommodates your belongings but also complements the flow of your home.
Assess Your Space and Storage Needs
Before purchasing any modular components, a comprehensive spatial assessment is essential to ensure your custom rack fits perfectly and functions safely. Begin by measuring the exact floor footprint where the unit will stand, taking note of any baseboards or wall trim that might push the frame forward. Measure the vertical clearance from the floor to the ceiling, especially if you plan to build a tall unit or utilize tension poles for added stability. It is equally important to check the swing clearance of nearby doors, cabinets, and windows, ensuring the assembled rack will not obstruct walkways or daily household activities.
In typical residential layouts, such as compact apartments or utility rooms, vertical space is highly valuable but often constrained by architectural features. Take note of wall outlets, light switches, and wall-mounted air conditioning units that could interfere with your planned configuration. If you are placing the rack inside a closet or a recessed niche, allow for a few centimeters of breathing room on either side to facilitate assembly and future adjustments.
Products mentioned in this guide
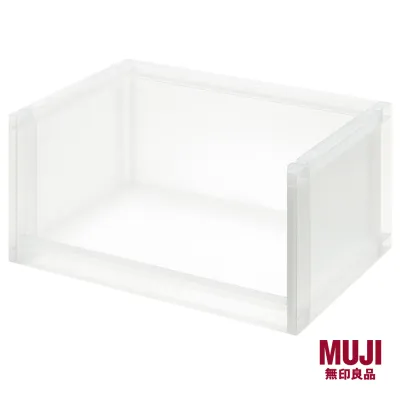
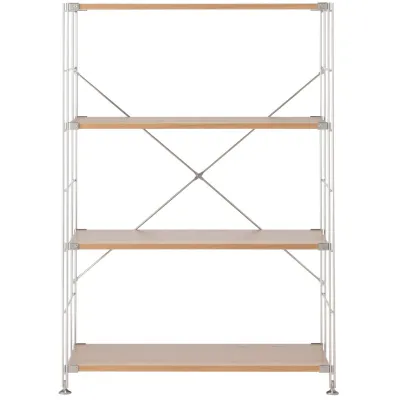
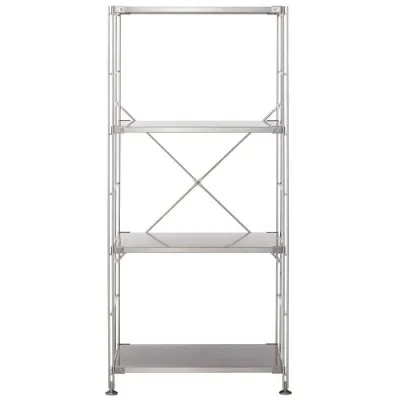
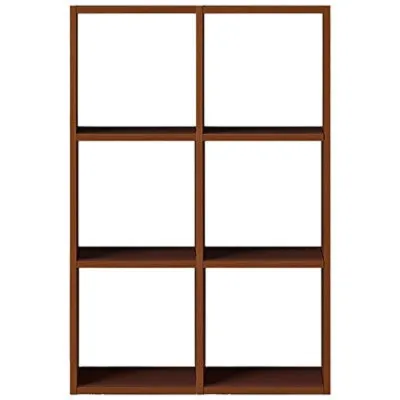
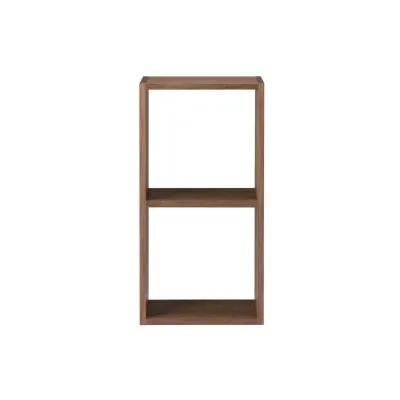
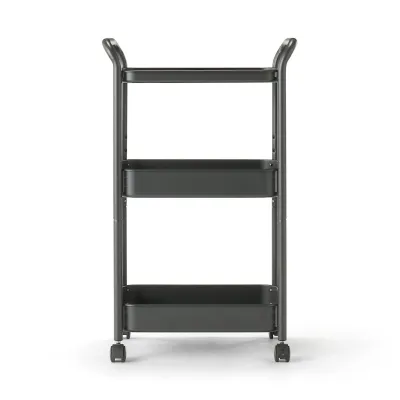
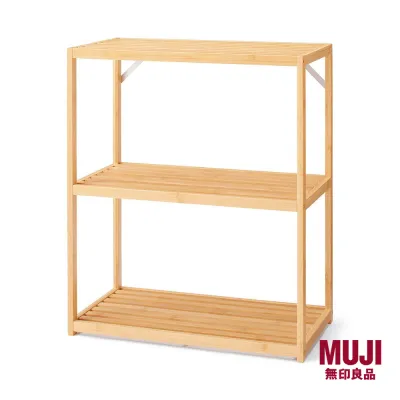
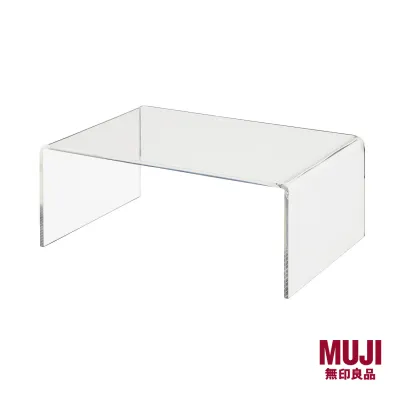
Prices are valid at publication and may change. Please refer to the product page for the latest price.
Next, evaluate the specific items you intend to store to determine the necessary shelf spacing and depth. Grouping your belongings by size and weight helps you estimate how many shelves you require and how far apart they should be positioned. For instance, bulky storage boxes, kitchen appliances, or heavy books demand deeper shelves and greater vertical clearance than folded clothing or small decorative items.
Finally, assess the condition of your flooring. Uneven tiles, sloped balcony floors, or thick carpeting can compromise the stability of a tall modular rack. Use a spirit level to check the floor’s levelness across the entire footprint of the planned unit. If you detect a noticeable slope, you will need to plan for adjustable leveling feet to compensate for the uneven surface. Alternatively, if you require mobility for cleaning or reconfiguring your space, verify whether the floor surface is suitable for casters and ensure you select locking options to keep the unit secure when stationary.
Select the Right MUJI Modular Components
Choosing the correct components requires a careful look at compatibility, materials, and structural limits. The foundation of any modular system relies on selecting frames that match your height and depth requirements. Compare the available frame heights and widths using the manufacturer’s official specifications to map out a configuration that fits your measured space. Avoid mixing incompatible product lines, as modular systems are engineered with specific hole spacings and connector types unique to their respective designs.

The choice of shelf material should align with both your aesthetic preferences and the environmental conditions of the room. For high-humidity areas like service yards, kitchens, or bathrooms, stainless steel shelves offer excellent resistance to moisture and are easy to wipe clean. For living areas or bedrooms, wooden shelves such as oak or pine veneers provide a warm, natural look, though they require careful monitoring to avoid prolonged exposure to dampness. Always check the care instructions and finish specifications provided by the manufacturer to ensure the material is suitable for your intended environment.
Before finalizing your purchase, verify the maximum load limits for both individual shelves and the overall unit. These limits are typically printed on product labels or detailed in the official assembly guides. Never assume a shelf can support heavy items without checking these specifications first, as overloading can lead to sagging, frame distortion, or structural failure. If you plan to store exceptionally heavy items, look for reinforced shelves or plan to distribute the weight across multiple smaller units rather than a single tall tower.
Additionally, consider the integration of functional accessories to maximize the utility of your custom rack. Modular systems often accommodate add-ons such as wire baskets, wooden drawers, hanging rods, and side panels. Ensure that any accessory you select is explicitly certified as compatible with your chosen frame depth and width. Checking these compatibility details on the official product sheets before purchasing prevents the frustration of mismatched parts during assembly.
Step-by-Step Assembly Guide
Assembling your custom modular rack requires a systematic approach to ensure safety and structural stability. Begin by preparing a clean, spacious work area near the final location of the rack. Lay down a soft blanket, large pieces of cardboard, or a protective mat to shield your flooring and the modular components from scratches or dents during the build process. Unpack all boxes carefully and organize the parts, including frames, shelves, cross braces, screws, and connector clips, into distinct groups. Cross-reference the parts with the included instruction manual to confirm that you have all the necessary hardware before starting.
The first physical step is to assemble the base and the vertical frames. Position the side frames parallel to each other and connect them using the bottom-most support bars or shelves as indicated in the manual. It is crucial to secure these initial joints tightly, but avoid overtightening the screws completely at this stage; leaving a small amount of play allows you to align the entire structure more easily as you add higher components. If your configuration includes adjustable leveling feet, install them onto the bottom of the frames now and adjust them until the base sits perfectly level on your floor.
Once the base is stable, begin installing the shelves from the bottom up. Working from the lower levels upward keeps the center of gravity low during assembly, reducing the risk of the frame tipping over while you work. Carefully align each shelf with the corresponding attachment points on the vertical frames, ensuring that the shelf is level and fully seated in its mounting brackets. Engage any locking mechanisms, clips, or pins provided by the manufacturer to secure the shelf in place. Check the alignment with a spirit level after installing each tier to ensure the frame remains square and upright.
After all the main shelves are securely in place, install the diagonal cross braces on the back of the unit. These braces are critical for lateral stability, preventing the rack from swaying or leaning sideways under load. Tighten all screws and fasteners across the entire frame, working systematically from the bottom to the top. Ensure every joint is rigid and there is no visible play in the connections.
Finally, attach any specialized accessories such as drawers, sliding baskets, or hanging rods. These components should only be installed once the main structural frame is fully erected, leveled, and tightened. If you opted for casters instead of leveling feet, ensure the locking casters are engaged before you begin loading items onto the shelves. Take a moment to inspect the completed assembly, gently shaking the frame to verify that it feels solid and secure before placing any weight on it.
Secure, Stabilize, and Maintain Your Rack
Ensuring the long-term safety and durability of your modular storage rack involves proper loading, anchoring, and routine maintenance. Tall modular units, particularly those with a narrow footprint, present a potential tipping hazard if they are bumped or if someone attempts to climb them. To mitigate this risk, anchor the rack to the wall using the manufacturer-approved brackets or safety straps. This step is highly recommended in households with young children or pets, as well as in areas prone to minor vibrations or high foot traffic. Ensure the wall anchors you use are appropriate for your specific wall type, whether concrete, drywall, or brick.
Proper weight distribution is another fundamental factor in maintaining stability. Always place your heaviest items, such as storage crates, heavy books, or kitchen appliances, on the lowest shelves of the unit. This practice keeps the center of gravity low, which significantly reduces the risk of tipping. As you move up the rack, transition to lighter items, reserving the top shelves for lightweight decorative pieces, linens, or infrequently used goods. Avoid overloading any single shelf beyond the weight limit specified on the product label.
Over time, daily use and environmental factors can cause modular joints to loosen slightly. Singapore’s humid climate can also cause subtle expansion and contraction in wooden components, which may affect the tightness of the fasteners. Establish a routine to inspect your storage rack periodically. Gently wiggle the frame to check for any new sway or wobble. If you notice any movement, use the appropriate tools to retighten all screws, bolts, and cross-brace connectors. Keeping the hardware secure ensures the rack remains safe and functional for years to come.
Frequently Asked Questions (FAQ)
Can I mix different MUJI frame materials in one rack?
Mixing different frame materials, such as combining stainless steel side frames with wooden shelves, depends entirely on the specific modular system you are using. MUJI designs its storage lines, such as the Unit Shelf series, with precise dimensions and connection mechanisms that may not be interchangeable across different product families. Before attempting to combine different materials, consult the manufacturer’s official compatibility charts or product catalogs. These resources clearly outline which frames, shelves, and connectors are engineered to work together safely. Never force incompatible parts together, as this can compromise the structural integrity of the rack and void any product warranties.
How do I adjust the shelf heights after assembly?
To adjust the shelf heights safely after your modular rack has been fully assembled, you must first completely unload all items from the shelf you wish to move, as well as any adjacent shelves that might be affected. Attempting to adjust a loaded shelf can cause injury or damage the frame. Once the shelf is empty, locate the locking clips, pins, or screws securing it to the vertical frame. Carefully release these fasteners according to the instructions in your manual. Gently lift the shelf out of its current position, taking care not to scratch or scrape the finish of the vertical frames. Reposition the shelf to your desired height, ensure it is perfectly level, and re-engage the locking mechanisms securely before reloading your items.

Community discussion
Share your experience or ask a question. Comments are reviewed before publication.