
Designing a modular bookcase layout that fits your exact wall space is the ultimate way to achieve a built-in look without the premium price tag of custom carpentry. By selecting individual components—such as open shelves, drawers, and cabinets—you can work around architectural quirks while maximizing every square centimeter of your room. The process requires a systematic approach that balances precise physical measurements, structural safety, and visual harmony. Whether you want to display a massive home library or create a multi-functional storage wall, planning your layout step-by-step ensures a seamless fit and a professional finish.
Measure Your Wall Space and Identify Obstacles
Before browsing online marketplaces or visiting a local showroom, you must establish the exact physical boundaries of your target wall. Grab a steel measuring tape and record the width, height, and depth of the space at three different points—the top, middle, and bottom—as floors, walls, and ceilings are rarely perfectly straight. Use the smallest of these three measurements as your maximum limit to ensure your modular units do not get wedged during installation.
Pay close attention to baseboards, crown molding, chair rails, and any decorative trim, as these protrusions can prevent a modular unit from sitting flush against the wall. If you live in a typical Singapore apartment, such as an HDB flat or condominium, look out for structural columns or overhead beams that might reduce your available vertical clearance. You must subtract the thickness of these architectural elements from your total available space to determine the true depth and height limits for your shelving.
Products mentioned in this guide
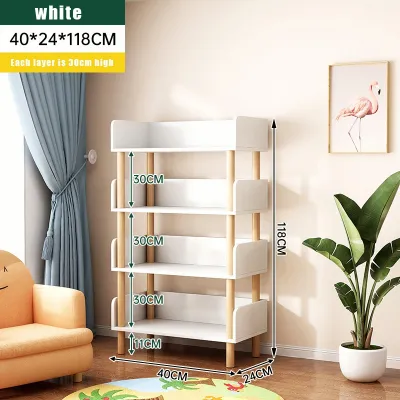

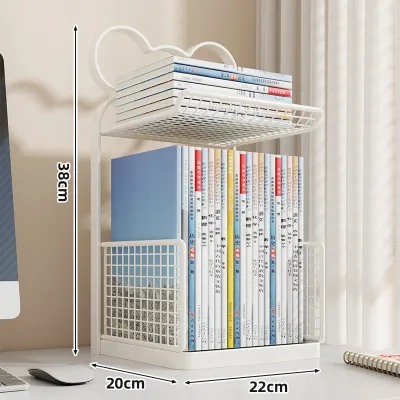
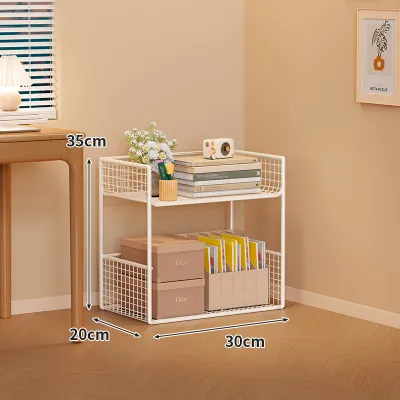
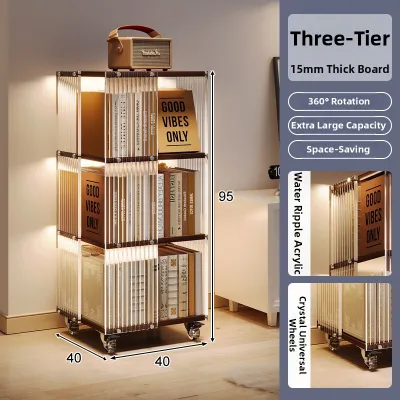
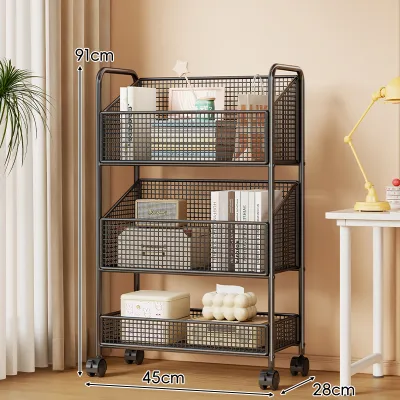
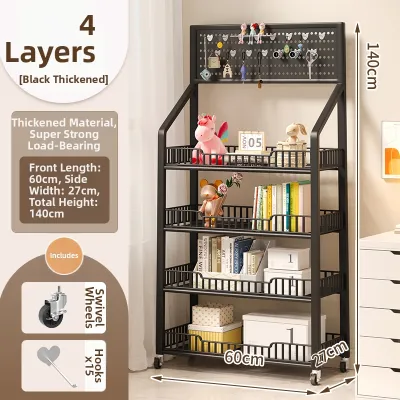
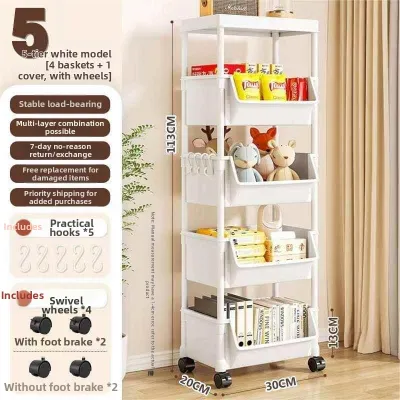
Prices are valid at publication and may change. Please refer to the product page for the latest price.
Next, map out the location of permanent fixtures that cannot be blocked or covered. Mark all electrical outlets, light switches, internet ports, telephone jacks, and air conditioning vents on a rough sketch of your wall. You must ensure that any modular component placed in front of an outlet either features an open back or can be easily modified without compromising its structural integrity. Additionally, verify that the depth of your proposed shelving does not encroach on door frames, window openings, or high-traffic walkways.
Finally, consider the logistics of getting the furniture into your home. If your building has tight lift access, narrow corridors, or low doorways, confirm that the individual flat-pack boxes or pre-assembled modules can be safely transported up to your unit. Measuring the clearance of your entryways and hallways beforehand prevents the frustration of ordering a system that cannot physically enter your living space.
Select Modular Shelving Components for Your Layout
Once you have your exact dimensions, you can begin selecting the modular components that will make up your layout. Most modular systems rely on standard cube sizes or adjustable shelving units that can be stacked vertically and expanded horizontally. Compare these manufacturer specifications against your wall measurements to determine how many columns and rows will fit. Remember to leave a small buffer of at least two to three centimeters on either side to allow for easy assembly and positioning.

Material selection is another critical factor, especially when considering the local climate. In humid environments, check the manufacturer’s care instructions and finish specifications to ensure the materials can withstand moisture without warping or peeling. Look for robust joints and verify the official load capacity labels provided by the brand. Storing heavy academic textbooks, vinyl records, or ceramic pots requires sturdier shelves with a higher weight rating than displaying lightweight decorative items or photo frames.
You should also decide on the ratio of open shelving to closed storage based on your organizational needs. Open shelves are excellent for displaying curated book collections and art pieces, creating an airy and spacious feel in smaller rooms. Closed modules, such as drawers or cabinet doors, are essential for concealing clutter, paperwork, and items you prefer to keep out of sight. Mixing these elements allows you to customize the functionality of the bookcase to match your daily lifestyle.
Pay attention to the span of individual shelves to prevent unsightly sagging over time. Longer shelves without central support are highly susceptible to bending under the weight of heavy books. If you plan to store dense volumes, opt for narrower modular columns or systems that include reinforced metal supports or thick solid wood shelves. Checking these structural details during the selection phase ensures your bookcase remains beautiful and functional for years to come.
Map Out Your Custom Bookcase Configuration
Visualizing your configuration before purchasing any components prevents costly layout mistakes. Use a sheet of graph paper to draw a scaled grid of your wall, or utilize a digital room planning tool to experiment with different arrangements. This step allows you to play with various heights and widths, ensuring the final design complements the scale of your room rather than overwhelming it.
To create a visually balanced and structurally sound bookcase, distribute the visual weight carefully. Place heavier, deeper, and closed modules at the bottom of the configuration to anchor the unit. This placement not only lowers the center of gravity for better stability but also keeps bulky items within easy reach. As you move upward, transition to lighter, open shelving units to keep the top of the bookcase looking clean and uncluttered.
When mapping out your layout, plan for future adaptability. Choose modular systems that feature adjustable shelf slots, allowing you to change the height of individual shelves as your book collection grows or changes. Opting for interchangeable cube inserts, such as removable drawers or wine racks, gives you the flexibility to reconfigure the storage functions down the road without needing to replace the entire framework.
Do not feel pressured to fill every single square centimeter of your wall with shelving. Incorporating “negative space”—empty areas on the shelves or gaps between modules—can prevent the room from feeling cramped. An asymmetrical layout, where some sections are left open or staggered, can create a modern, dynamic look that doubles as a focal point for your interior design.
Install and Secure the Modular Shelving Safely
Safe installation is the most crucial step in bringing your modular bookcase design to life. Always follow the manufacturer’s specific assembly sequence to connect the individual modules securely before attempting to position them against the wall. Attempting to skip steps or use alternative joining methods can compromise the structural integrity of the entire system, leading to sagging or joint failure over time.
Because tall furniture poses a serious tip-over hazard, anchoring your modular bookcase to the wall is non-negotiable. The type of wall anchor you use must match your specific wall material. In Singapore, most residential walls are made of solid concrete or brick, which require masonry wall plugs and a hammer drill for secure installation. If you are mounting to a drywall partition, locate the wooden or metal studs using a stud finder, and secure the anti-tip brackets directly into those studs using appropriate drywall anchors.
During the installation process, constantly verify that the units are level (perfectly horizontal) and plumb (perfectly vertical). Uneven floors can cause modular units to lean, putting unnecessary stress on the connectors and preventing doors or drawers from aligning correctly. Use a spirit level to check your progress, and adjust the leveling feet if your modular system includes them. If your units do not have adjustable feet, insert plastic or wooden shims under the base until the entire assembly is perfectly level and stable before tightening the wall anchors.
If your baseboards prevent the bookcase from sitting flush against the wall, do not simply leave a large gap behind the unit. This gap can weaken the effectiveness of your anti-tip brackets and allow small items to fall behind. Instead, use specialized spacer blocks provided by the manufacturer, or consider removing a small section of the baseboard where the bookcase meets the wall for a seamless, built-in appearance.
Frequently Asked Questions (FAQ)
Can I mix different brands of modular shelving?
Mining different brands of modular shelving is generally not recommended due to compatibility and safety risks. Even if two brands offer cubes that look identical, slight variations in millimeter measurements can prevent them from aligning flush, resulting in an unstable stack. Furthermore, different manufacturers use proprietary connector brackets, peg holes, and locking mechanisms that do not fit together securely. Stacking incompatible units can compromise the overall load-bearing capacity and increase the risk of structural failure, so it is best to stick to a single modular system for your entire layout.
How do I hide cords and cables in a modular bookcase?
Integrating electronics like lamps, speakers, or charging stations into your modular bookcase requires careful cable management to maintain a clean look. Look for modular units that feature built-in cable routing holes or removable back panels. If your shelves do not have these features, you can use adhesive cable clips or fabric sleeves to run cords neatly along the back edges of the vertical supports. Always ensure that cables are not pinched between heavy modules, pressed tightly against sharp metal brackets, or stretched taut, as this can damage the cords and create electrical hazards.

Community discussion
Share your experience or ask a question. Comments are reviewed before publication.