
Configuring modular shelving into a combined table and bookshelf unit is an efficient way to maximize floor space, especially in compact urban apartments where every square meter counts. By integrating a dedicated workspace directly into a vertical storage system, you eliminate the need for separate bulky furniture pieces while keeping your books, files, and daily essentials within arm’s reach. This DIY assembly approach allows you to customize the desk height, shelf intervals, and overall footprint to match your specific room layout and working habits. Success relies on careful planning, selecting compatible structural components, and securing the entire assembly to prevent stability issues.
Planning Your Space and Ergonomic Layout
Before purchasing any modular components, you must thoroughly assess your room’s physical dimensions and layout constraints. Begin by measuring the available floor space, taking into account wall clearance, baseboard thickness, and the swing path of nearby doors or wardrobe panels. In many Singapore apartments, high-rise concrete walls and structural pillars can restrict where a wide unit can sit flush, so check for any wall protrusions or electrical outlets that must remain accessible. Measure the ceiling height as well, particularly if you plan to use tall vertical uprights that extend near the top of the room.
Ergonomics should dictate the height and depth of your integrated desk surface. A standard desk height typically ranges between 70 and 76 centimeters, which accommodates most office chairs and allows your elbows to rest at a comfortable 90-degree angle. The depth of the desktop should be at least 60 centimeters to provide adequate clearance for a computer monitor, keyboard, and paperwork without forcing you to sit too close to the screen. Ensure there is sufficient legroom beneath the desk surface, keeping horizontal shelf supports or crossbeams clear of your knees and feet.
Products mentioned in this guide
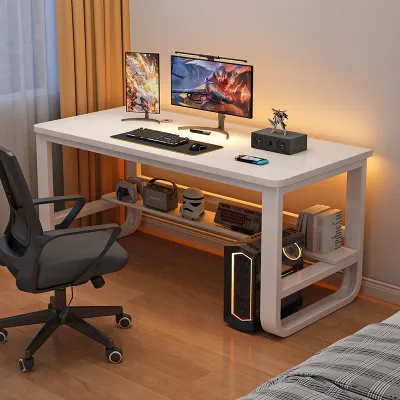
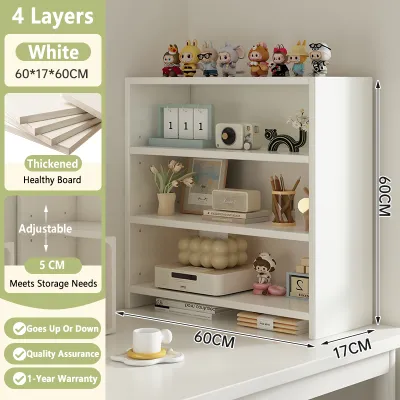
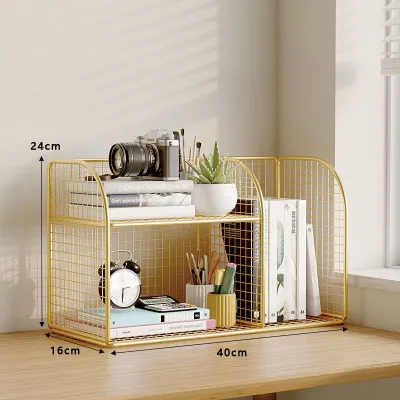
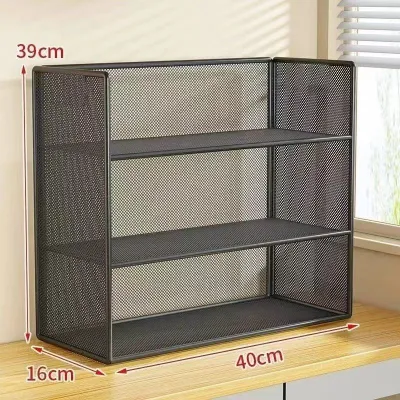
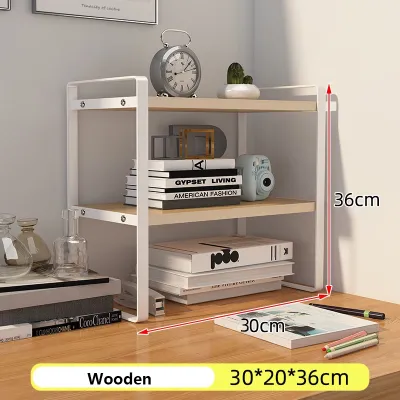
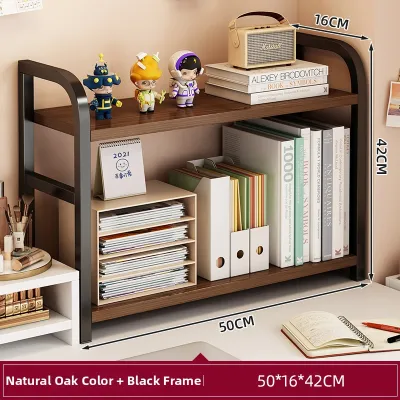
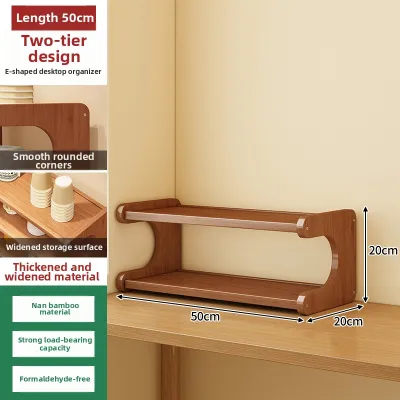
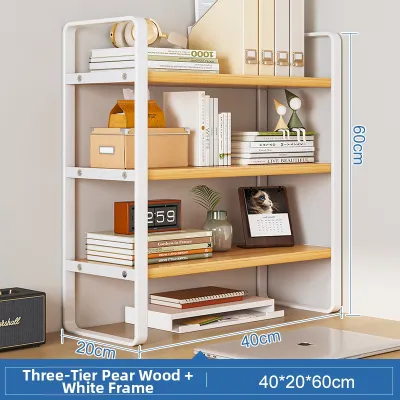
Prices are valid at publication and may change. Please refer to the product page for the latest price.
Finally, plan the logistics of moving the materials into your home. Measure the dimensions of your building’s lift, stairwells, entryways, and internal hallways to ensure the longest uprights and the desktop panel can be transported safely without damaging walls or the furniture itself. If you live in a high-rise estate, verifying these clearance paths beforehand prevents the frustration of receiving components that are too large to navigate through tight corners or standard doorways.
Choosing Compatible Modules and Hardware
Building a stable table-bookshelf combo requires selecting modular components designed to work together under load. The vertical uprights form the backbone of the entire system and must be robust enough to support both the dead weight of the shelving and the dynamic forces applied to the desk surface. When choosing brackets, ensure they are specifically rated for the depth of your shelves and the desktop. Using brackets that are too short for a deep desktop creates an unstable lever effect that can bend the hardware or pull the uprights away from the wall.

Always verify the load-bearing limits printed on the manufacturer’s product labels rather than estimating capacity. The desktop material itself must be rigid enough to resist bending; solid wood, high-density fiberboard, or thick plywood are generally more reliable than thin hollow-core panels for load-bearing work surfaces. Check the specifications for both the shelving framework and the desktop to ensure they can handle the combined weight of your computer equipment, books, and desk accessories.
The choice of joining hardware is equally critical and must match the specific modular system and your home’s wall construction. For concrete or brick walls common in local apartments, you will need heavy-duty wall plugs or masonry anchors, whereas drywall installations require toggle bolts or finding the underlying timber studs. Gather appropriate L-brackets, wood screws of the correct length to avoid piercing the desktop surface, and dedicated anti-tip wall anchoring kits. Mixing incompatible hardware from different brands can compromise the structural integrity of the joint, so stick to verified compatible fasteners.
Gathering Essential Tools and Materials
Having the correct tools on hand before starting ensures a smooth, uninterrupted assembly process and prevents damage to the modular components. A reliable power drill with a clutch setting is essential for driving screws without stripping the heads or cracking the wood. You will also need a selection of drill bits, including masonry bits for concrete walls or wood bits for pre-drilling pilot holes in the desktop. A high-quality spirit level is indispensable for keeping all shelves and the desk surface level.
Accurate measurements require a steel tape measure and a pencil for marking placement lines on the wall. If you are mounting the unit to a drywall partition, a stud finder is necessary to locate the structural framing behind the plaster. Additionally, organize all fasteners, brackets, and connectors into separate trays so you can easily identify them during assembly.
Do not overlook safety gear and workspace preparation. Clear a wide area on the floor and lay down cardboard or a protective blanket to prevent scratching the floor tiles or the furniture panels. Wear safety glasses when drilling into walls or wood, and ensure the room is well-lit and adequately ventilated, especially if you are using any adhesives or touch-up finishes during the build.
Assembling the Shelving Frame and Base
The assembly begins with the vertical uprights, which must be positioned and secured with absolute precision. Position the first upright against the wall, use your spirit level to ensure it is plumb, and mark the mounting holes. If your system relies on floor-standing uprights, ensure they sit flat on the floor surface; use leveling feet if your floor is slightly uneven to prevent the frame from leaning. Secure the uprights to the wall using the appropriate anchors for your wall type, tightening the fasteners firmly but avoiding over-tightening, which can strip the wall plugs.
Once the main uprights are securely anchored, install the lower and upper shelf brackets. Use the spirit level across adjacent brackets to verify they are precisely aligned horizontally before locking them into place. Even a minor misalignment of a few millimeters can cause shelves to wobble, items to slide, or the desk surface to sit at an uncomfortable angle.
Place the shelf boards onto the brackets, securing them with the locking mechanisms or screws provided by the manufacturer. Before moving on to the desk integration, perform a preliminary stability check by gently shaking the frame. The structure should feel rigid, with no noticeable sway or play in the joints. If you detect any movement, re-check the wall anchors and bracket connections to ensure everything is fully seated and tightened.
Integrating and Securing the Desk Surface
Integrating the desktop requires careful positioning to maintain both ergonomic comfort and structural balance. Lift the desktop panel onto its designated brackets, aligning it flush with the vertical shelving frame or the back wall depending on your design. If you are using a deep desktop, ensure the supporting brackets extend at least two-thirds of the desktop’s depth to prevent the front edge from tipping downward when you lean on it.
Secure the desktop to the brackets from underneath using wood screws. It is vital to measure the thickness of your desktop and compare it to the length of the screws; using screws that are too long will puncture and ruin the finished work surface. Pre-drill shallow pilot holes using a drill bit slightly smaller than the screw shank to prevent the wood from splitting as you drive the fasteners home.
With the desktop secured, plan your cable management to keep the workspace organized and safe. Many modular systems leave a small gap between the shelf and the wall, which is ideal for routing power cords and monitor cables. If your desktop sits completely flush against the wall, consider installing a cable grommet or using adhesive cable clips underneath the desk to route wires neatly to the nearest power outlet. Ensure all edges of the desk are smooth and free of sharp corners or protruding hardware that could catch on clothing or cause scratches.
Performing Safety Checks and Final Stabilization
A combined table-bookshelf unit carries a significant amount of top-heavy weight once loaded with books and equipment, making final safety checks non-negotiable. Installing an anti-tip kit or securing the top of the shelving unit directly to structural wall elements is essential. This step is particularly critical in households with children or pets, where climbing or pulling on the shelves could cause a catastrophic tip-over accident.
Test the weight distribution by gradually placing items on the shelves and desk. Position heavier items, such as reference books or printers, on the lower shelves or closer to the vertical uprights to keep the center of gravity low. Avoid overloading the upper shelves, which increases the risk of instability. After loading the unit with a typical amount of weight, use your spirit level one final time to check for any sagging or shifting.
Conduct a thorough physical inspection of the entire assembly. Check every screw, bracket, and wall anchor to ensure nothing has loosened under the initial load, and tighten any connections as needed. Run your hand along the joints and edges to verify there are no exposed screw heads, sharp metal edges, or wobbly components that could pose a hazard during daily use.
Frequently Asked Questions (FAQ)
Can I disassemble and reconfigure the table-bookshelf combo later?
Yes, one of the primary benefits of modular shelving is its adaptability, but you must take precautions during disassembly to preserve the system’s structural integrity. When taking the unit apart, carefully back out all screws to avoid stripping the threads or damaging the pre-drilled holes in the wood panels. Inspect all hardware, brackets, and wall anchors for signs of wear, bending, or fatigue before attempting to reassemble them in a new configuration. Always consult the manufacturer’s guidelines to ensure your new layout complies with the recommended load limits and structural configurations, as altering the original design can affect stability and void any product warranties.
How do I prevent the desk surface from sagging under heavy loads?
To prevent a wide desktop from sagging over time, you should distribute heavy equipment evenly and avoid placing concentrated loads in the center of the span. If your desk surface spans more than 1.2 meters without intermediate support, install a mid-span support bracket or attach a sturdy metal or wood crossbeam underneath the desktop to increase its rigidity. Choosing a thicker, high-density material like solid hardwood or structural plywood also offers greater resistance to bending than standard particleboard. Additionally, store heavy reference books and files on the lower shelving tiers of the frame rather than stacking them directly on the active workspace.

Community discussion
Share your experience or ask a question. Comments are reviewed before publication.