
Maximizing the floor plan of a compact Housing & Development Board (HDB) flat requires a thoughtful approach to vertical and horizontal space. Modular wooden rack storage systems offer an adaptable solution, allowing you to design a custom layout that fits the unique dimensions of your home. By combining individual modules, you can transform empty walls, awkward corners, or open areas into highly functional storage zones tailored to your daily needs.
Successfully configuring these units involves more than just stacking shelves together. You must carefully assess your available space, understand the physical connection mechanisms of your chosen furniture system, and implement safe assembly practices. This guide outlines how to plan your layout, connect modular units securely, and maintain structural stability while navigating the specific architectural features of Singapore apartments.
Assessing Your HDB Space and Modular Rack Compatibility
Before purchasing or assembling any modular components, you must take precise measurements of your designated storage area. Use a steel measuring tape to record the floor footprint, the total vertical clearance, and the depth of the space. It is crucial to account for skirting boards running along the base of your walls, as these often prevent furniture from sitting completely flush against the wall, creating a gap of one to two centimeters. Additionally, identify the locations of wall-mounted power outlets, light switches, and internet data points to ensure your modular configuration does not block access to essential utilities.
Products mentioned in this guide
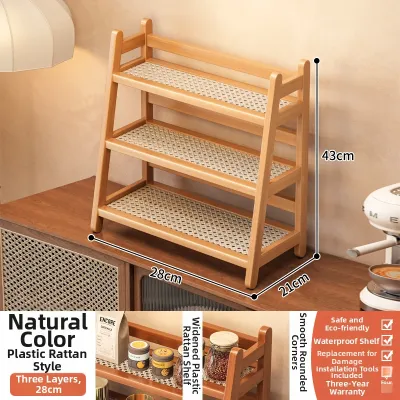
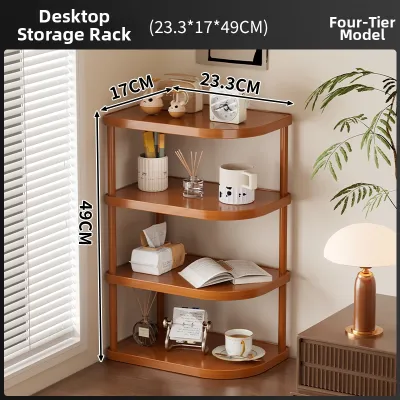
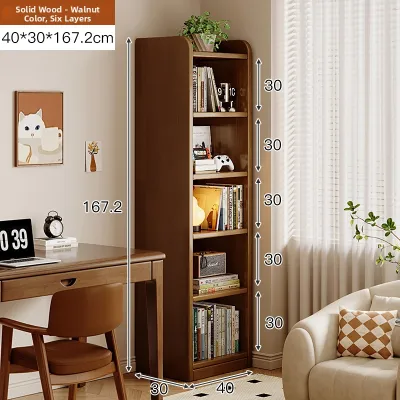
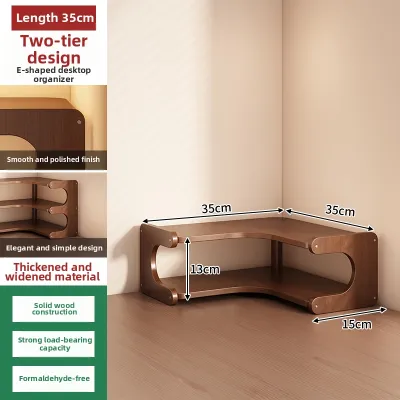
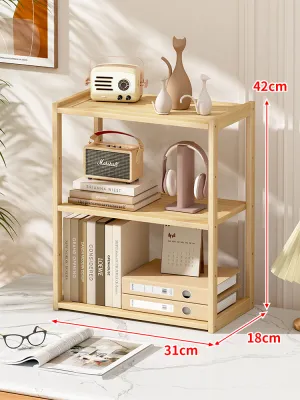
Prices are valid at publication and may change. Please refer to the product page for the latest price.
Once you have your measurements, verify the physical compatibility of the modular wooden rack units you plan to combine. Examine the manufacturer’s specifications to understand how the units connect. Standard modular systems rely on pre-drilled alignment holes, interlocking wooden joints, or dedicated steel connector plates. If you plan to combine units side-by-side or vertically, confirm that the specific models you select are engineered to link together. Never assume that two racks of similar appearance will align perfectly without verifying their connection hardware and dimensions.
HDB flats present unique layout constraints that you must respect when planning your storage. For instance, the heavy steel door of your household shelter (bomb shelter) must always remain fully accessible and capable of opening to its maximum angle without interference. Similarly, if you are placing modular racks in narrow corridors or near entryways, ensure the combined depth leaves sufficient clearance for daily foot traffic and complies with local fire safety regulations regarding unobstructed escape routes.
Space-Saving Layout Configurations for Compact Apartments
Vertical Stacking to Maximize Height
Utilizing the vertical volume of your room is one of the most effective ways to free up valuable floor space in a small flat. When stacking modular wooden rack units upward, you must use the manufacturer-provided stacking pins, dowels, or vertical brackets to lock the units in place. Aligning the base and top units precisely ensures that the downward force is distributed evenly through the vertical support posts rather than putting stress on individual shelves.

To maintain structural stability, always arrange your stored items to keep the center of gravity as low as possible. Place heavy items, such as books, storage boxes filled with documents, or kitchen appliances, on the lowest modules. Reserve the higher shelves for lighter items like decorative pieces, folded linens, or seasonal accessories. When planning a tall vertical stack, look upward to ensure the units will not interfere with ceiling fans, lighting fixtures, or the air conditioning trunking that frequently runs along the upper walls of HDB flats.
Horizontal Linking for Wide Walls or Room Dividers
For wide living areas or open-concept dining rooms, linking modular racks horizontally creates a clean, continuous storage run that can also serve as a functional zone divider. Securely bolt adjacent wooden frames together using the connector bolts or mending plates specified by the manufacturer. This physical connection prevents the units from shifting, sliding apart, or creating uneven gaps over time, which can compromise both safety and visual appeal.
Achieving a level alignment across all linked units is essential for maintaining structural integrity. If one unit sits slightly higher than the next due to uneven flooring, the connecting joints will experience constant shear stress, which can split the wood or loosen the hardware. If you are using lower-profile horizontal combinations as open-backed room dividers—for example, separating a living room from a study nook—ensure the units are stable and do not block natural light or ventilation from reaching the inner parts of your home.
Corner and L-Shaped Arrangements
Awkward corners in bedrooms, kitchens, or service yards often become dead space, but they can be fully utilized with an L-shaped modular configuration. To build into a corner, you can overlap two standard rectangular racks at a right angle or utilize specialized corner connector modules if offered by the manufacturer. If you overlap standard units, pay close attention to the depth of each rack; the overlapping section will create a partially hidden area that requires careful organization to ensure stored items remain accessible.
When configuring corner storage, take care not to block window frames, window handles, or natural ventilation paths. In Singapore’s humid climate, blocking airflow in corners can create stagnant air pockets that encourage the growth of mold on both the wooden furniture and the adjacent walls. Maintain a small gap between the back of the racks and the corner walls to facilitate continuous air circulation.
Step-by-Step Assembly and Connection Guide
- Preparation: Begin by unboxing your modular components in a clear, spacious area of your flat. Sort all assembly hardware, including screws, dowels, connector plates, and bracket pieces, into separate containers so they are easily identifiable. Inspect each wooden panel for any transport damage or manufacturing defects. Use a clean, dry microfiber cloth to wipe down all surfaces to remove any residual sawdust or packing debris. Before proceeding, review the manufacturer's care and assembly instructions to verify if any specific tools or protective measures are required for your particular wood finish.
- Base Assembly: Construct the bottom or foundational modules first, as these will bear the weight of the entire combined structure. Assemble the outer frame and secure the internal shelves according to the provided manual. Once the base units are assembled, place them in their final position and use a spirit level to check their alignment both from left to right and front to back. If the floor is uneven, do not proceed with stacking or linking until the base is perfectly level, as any minor tilt at the bottom will become significantly magnified as you build upward.
- Linking: With the base units leveled and positioned, begin attaching adjacent or stacked modules using the designated hardware. Insert connector bolts through the pre-drilled alignment holes or secure the steel mending plates across the adjoining frames. Tighten all screws and bolts firmly to ensure a rigid connection, but exercise caution to avoid over-tightening. Applying excessive torque can easily strip the threads in wooden panels or cause the natural wood fibers to split, permanently damaging the structural integrity of the joint.
- Final Adjustments: After completing the physical connection of all modules, make the final adjustments to stabilize the setup. Attach adjustable leveling feet to the base of the racks to compensate for any slight slopes in your HDB flooring, which is common near drainage areas or older tiled surfaces. If your modular system does not feature adjustable feet, use high-density felt pads or specialized furniture shims. These accessories not only level the structure but also protect your floor finishes—such as vinyl, laminate, or parquet—from scratches and indentation marks.
Safety Limits and Combination Mistakes to Avoid
- Anti-Tip Precautions: Ensuring the stability of tall, vertically stacked wooden racks is a critical safety requirement. Any configuration that exceeds the manufacturer's recommended freestanding height must be secured to prevent accidental tip-overs. However, drilling into walls in HDB flats requires careful consideration; drilling into the reinforced concrete walls of a household shelter is strictly prohibited, and other structural walls may have specific drilling guidelines. If wall anchoring is not permitted or possible, you must rely on freestanding stability methods. These include loading the heaviest items at the very bottom, using wider base modules to create a broader footprint, or utilizing specialized anti-tip furniture straps that attach to non-structural surfaces. Always consult HDB guidelines or a qualified professional if you are unsure about the structural composition of your walls.
- Weight Distribution: To preserve the lifespan of your modular wooden racks, never exceed the manufacturer's stated load capacity for individual shelves or the overall combined unit. Distribute the weight of your belongings evenly across the horizontal span of each shelf rather than concentrating heavy items in the center. Concentrated loads put immense stress on the center of the wooden panels, which can lead to permanent bowing, cracking, or sudden joint failure.
- Incompatible Mixing: Avoid the temptation to force-fit modular components from different brands or product lines, even if they appear to have similar dimensions. Mismatched joint depths, differing screw thread pitches, and misaligned pre-drilled holes will compromise the structural integrity of the combined setup. Forcing incompatible frames together can cause the wood to split and will almost certainly void any manufacturer warranties. If you wish to expand your storage, always stick to compatible units within the same modular ecosystem. If instructions conflict or compatibility is unclear, stop and consult the manufacturer.
- Moisture and Environment: Singapore's tropical climate, characterized by high relative humidity, poses a constant challenge for wooden furniture. Wooden racks placed in kitchens, service yards, or near bathroom entrances are highly susceptible to moisture absorption. This can cause the wood to swell, warp, or develop mold over time. To protect your furniture, ensure the room remains well-ventilated, and wipe up any liquid spills or condensation immediately with a dry cloth. Regularly inspect the joints and finish of your wooden racks, and refer to the manufacturer's care instructions for the appropriate cleaning methods and humidity-safe placements.
Frequently Asked Questions (FAQ)
Can I mix different wood finishes in one modular setup?
Yes, mixing different wood finishes—such as pairing oak modules with walnut accents—is a popular aesthetic choice that can add visual interest to your home. However, while you can experiment with colors and finishes, the physical connection points, dimensions, and hardware must remain identical. You must ensure that every unit you combine belongs to the exact same modular system so that the structural joints align perfectly and connect securely.
Do I need to anchor my combined wooden rack to the wall?
Any vertical modular configuration that exceeds the manufacturer’s recommended freestanding height, or any setup that feels unstable when gently shaken, should be anchored. You must verify your HDB wall type before drilling, as structural walls and household shelters have strict drilling restrictions. If drilling is prohibited, use heavy base-loading to keep the center of gravity low, or look for non-drilling safety straps and brackets designed to secure furniture without damaging the wall surface.

Community discussion
Share your experience or ask a question. Comments are reviewed before publication.