
Choosing the right slim shoe rack capacity depends on matching your household’s daily active shoe count with the specific physical constraints of a shallow-depth unit. In compact living environments, such as Singapore’s HDB flats and condominiums, foyer space is highly optimized, making a slim shoe rack an excellent choice to declutter the entryway. However, selecting a unit based solely on a manufacturer’s advertised pair capacity often leads to overhanging shoes, jammed cabinet doors, or blocked pathways.
To find the perfect balance, you must analyze the physical dimensions of your footwear, understand how slim furniture designs compress storage space, and measure your entryway clearances. By aligning your actual storage habits with the correct rack configuration, you can maintain a clean, organized home entrance without sacrificing floor space.
Assess Your Shoe Collection Size and Footwear Types
Before browsing for new furniture, perform a realistic audit of your current footwear collection. Many homeowners purchase storage based on their entire shoe inventory, which often results in unnecessarily bulky cabinets that crowd the entryway. Instead, divide your collection into daily rotation shoes and long-term storage shoes.
Products mentioned in this guide
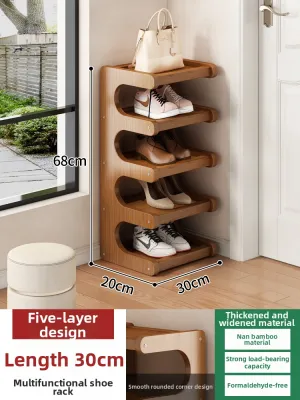
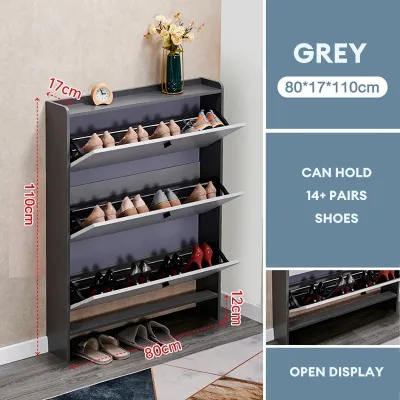
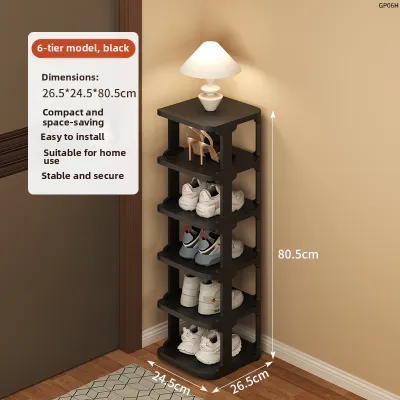
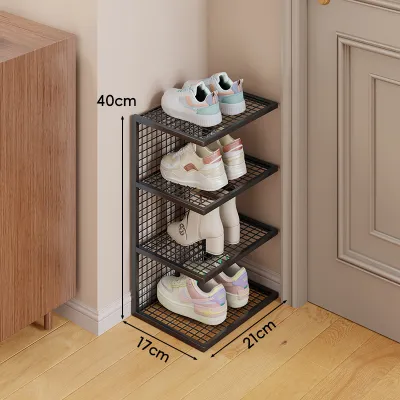
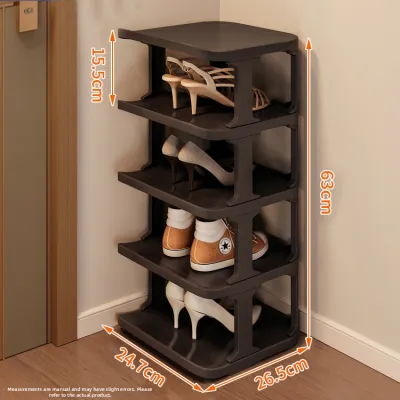
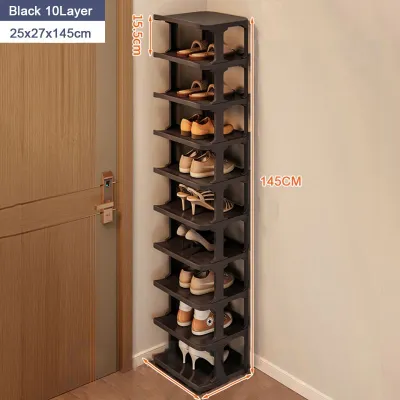
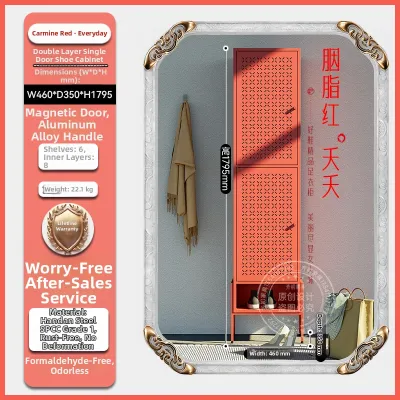
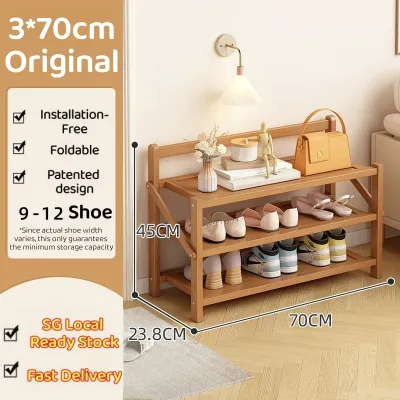
Prices are valid at publication and may change. Please refer to the product page for the latest price.
Your daily rotation should consist only of the pairs you wear multiple times a week, such as work shoes, school shoes, or daily running sneakers. Long-term storage shoes—including seasonal footwear, formal dress shoes, or collectible sneakers—should be kept in bedroom closets, under-bed storage boxes, or dedicated wardrobe shelves. Keeping these occasional pairs out of the foyer allows you to opt for a much sleeker, lower-capacity entryway rack.
Next, categorize your daily shoes by their physical shape and size. Different footwear types consume space in vastly different ways. Lightweight flats, sandals, and thin home slippers take up minimal vertical and horizontal space, allowing them to be packed closely together.
In contrast, structured running shoes, high heels, platform sandals, and ankle boots require significantly more clearance. A single pair of wide-soled sneakers or high-top boots can easily occupy the physical space of two or three pairs of lightweight flats. If your daily rotation consists primarily of bulky or structured footwear, you will need to plan for a larger physical rack footprint than someone who mostly wears low-profile flats.
To calculate your target pair capacity, use a simple household formula. Multiply the number of family members by their average daily shoe rotation (typically two to three pairs per person), then add two extra slots for guests. This calculation gives you a functional capacity target that keeps your entryway tidy without requiring an oversized cabinet.
Decode Slim Shoe Rack Capacity Metrics and Design Limits
When shopping for a shoe rack slim, manufacturer capacity ratings can be highly misleading. A unit advertised as a “12-pair shoe rack” is typically tested using small, narrow footwear, such as women’s flats or children’s shoes. To understand the actual capacity, you must analyze the tier counts, shelf width, and depth specifications.

Slim shoe racks generally feature depths ranging from 15 cm to 25 cm. Because a standard adult shoe is often longer than 25 cm, manufacturers use clever design mechanisms to fit shoes into these ultra-shallow profiles.
One common design is the angled tier, where shelves tilt downward at an angle. While this reduces the required depth of the unit, it also reduces the vertical clearance between shelves. This design makes it difficult to store high-top sneakers or high heels, which may hit the shelf above them.
Another popular configuration is the drop-down compartment, often called a tipping bucket cabinet. In these units, shoes are placed vertically into pockets inside a drawer that swings open. When closed, the shoes sit completely upright. This design is incredibly space-efficient, but it requires you to slide shoes in heel-first or toe-first, which can compress soft materials or cause wide outsoles to jam.
Some open-style slim racks rely on staggered shelving or heel-to-toe alternating placement to maximize horizontal space. These design choices create strict physical trade-offs. If your collection consists of wide, structured shoes, they may overhang the edges of an open slim rack or prevent a drop-down door from closing completely. Always check the manufacturer’s internal compartment dimensions rather than relying on the advertised pair count.
Measure Your Entryway and Space Constraints
Precise physical measurements of your entryway are essential to ensure your slim shoe rack fits safely and functions properly. In high-density housing, entryways are often narrow corridors or shared lift lobbies where every centimeter of clearance matters.
Begin by measuring the available width, height, and maximum allowable depth of your designated wall space using a metal measuring tape. Do not rely on visual estimation. Pay close attention to door swing clearances; open your front door, bedroom doors, or utility closet doors fully to ensure they will not strike the shoe rack.
Measure the remaining walkway width with the shoe rack in place. For comfortable movement and safe passage, ensure the remaining walkway is wide enough for daily foot traffic and does not obstruct designated fire escape routes.
Examine the floor and wall conditions. Many entryways feature skirting boards or uneven floor tiles that can prevent a flat-backed cabinet from sitting flush against the wall. If your walls have skirting boards, look for a shoe rack with a base cutout that accommodates the skirting, or factor the skirting thickness into your depth measurements.
Finally, verify the delivery and assembly conditions. Tall, narrow shoe cabinets have a high center of gravity and are prone to tipping, meaning they almost always require secure anchoring to the wall. Before purchasing, check the manufacturer’s installation instructions to ensure you can safely anchor the unit to your specific wall material, whether it is concrete, drywall, or brick.
Match Rack Capacity to Your Household Needs
Once you have audited your shoes and measured your space, you can select a configuration that balances capacity and daily convenience. Implementing a strict daily rotation strategy allows you to choose a much smaller, sleeker slim rack.
For a single professional or a couple, a 2-tier or 3-tier slim cabinet with a capacity of 6 to 9 pairs is often sufficient to keep the floor clear. For larger families, you must scale the capacity while keeping accessibility in mind. Children need easy access to lower tiers, while adults can utilize the higher shelves or upper drop-down compartments.
Consider modular or stackable slim racks. These systems allow you to expand your storage vertically as your household or shoe collection grows, without expanding the furniture’s footprint on your floor.
You must also decide between open-tiered racks and closed slim cabinets with drop-down doors:
- Open-Tiered Racks: These offer immediate access and excellent ventilation, which is highly beneficial in humid climates to prevent mold and odor buildup. However, they expose your shoes to dust and can look visually cluttered.
- Closed Slim Cabinets: These offer a clean, minimalist aesthetic and protect shoes from dust, but they require extra depth to allow the doors to swing open and may trap moisture if they lack ventilation slots.
When choosing materials, remember that a material name alone does not prove durability or moisture resistance. If you choose an engineered wood or wood veneer cabinet for a humid entryway, check the manufacturer’s care instructions and verify that the finish is moisture-resistant. Inspect the joints and hinges to ensure they can withstand daily opening and closing.
Common Sizing and Capacity Mistakes to Avoid
One of the most frequent mistakes is assuming all shoe pairs are equal in size. Buying a rack rated for 15 pairs based on standard dimensions often results in only holding 8 to 10 pairs of larger men’s running shoes or structured work boots. Always check the actual shelf width against the average width of your shoes to calculate how many pairs will realistically fit side-by-side.
Another critical error is neglecting the physical stability and anti-tip requirements of tall, high-capacity slim units. A tall cabinet packed with heavy shoes becomes top-heavy and presents a severe tipping hazard, especially in households with active children or pets. Never skip the step of anchoring the unit to the wall as directed by the manufacturer’s instructions.
Finally, do not forget to account for non-shoe entryway items. If you plan to store shoe horns, cleaning brushes, umbrellas, keys, or daily mail on or inside the rack, ensure you select a model with a dedicated top shelf, drawer, or side hooks so these items do not reduce your actual shoe storage capacity.
Frequently Asked Questions (FAQ)
Can a slim shoe rack hold heavy boots or large sneakers?
Standard slim shoe racks under 20 cm deep are generally not designed to hold large boots or chunky sneakers flat. If you need to store bulkier footwear, look for models with adjustable or removable internal shelves, or specific deep-tier hybrid models designed with taller clearances. Alternatively, you can store heavy boots on the bottom open shelf of a tiered rack where vertical space is less restricted.
How do I keep a tall, slim shoe rack from tipping over?
To prevent a tall, narrow shoe rack from tipping, you must anchor it securely to the wall. Always follow the manufacturer’s anti-tip kit instructions and use hardware compatible with your wall type, such as masonry plugs for concrete walls or toggle bolts for drywall. Additionally, place your heaviest shoes on the bottom tiers to lower the center of gravity and improve overall stability.

Community discussion
Share your experience or ask a question. Comments are reviewed before publication.