
Choosing the right size storage shelf rack depends on three core dimensions: your floor footprint, vertical clearance, and the specific items you intend to store. For most homes, a rack depth of 30 to 45 cm is ideal for standard items like books and small storage boxes, while depths of 50 to 60 cm are necessary for bulky storage tubs, kitchen appliances, or heavy equipment. Balancing your storage needs with the physical limits of your room ensures you maximize your vertical space without creating a cramped, safety-prone environment.
Assess Your Available Space and Room Layout
To avoid buying a rack that is too large or too small, start with a comprehensive physical assessment of your room. Walls and floors are rarely perfectly straight or level, especially in older residential buildings. Measuring at a single point can lead to a rack that wedges tightly against a wall or fails to fit into a designated alcove.
First, measure the floor footprint where the rack will stand. Take three separate width measurements: one near the floor, one at the midpoint of the wall, and one near the ceiling. Use the smallest of these three measurements as your maximum width limit. Repeat this process for the depth, measuring how far the rack can safely extend into the room without blocking nearby features. Even a tiny 5 mm discrepancy can prevent a rigid metal rack from sliding into a tight alcove.
Products mentioned in this guide
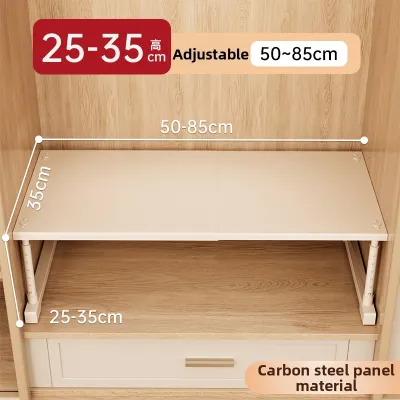
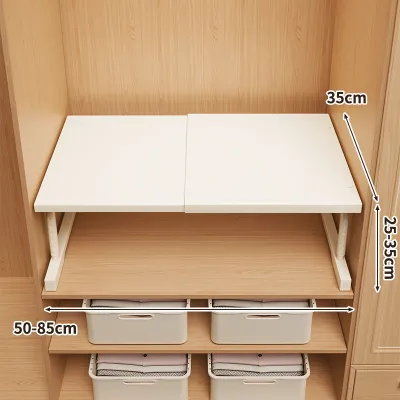
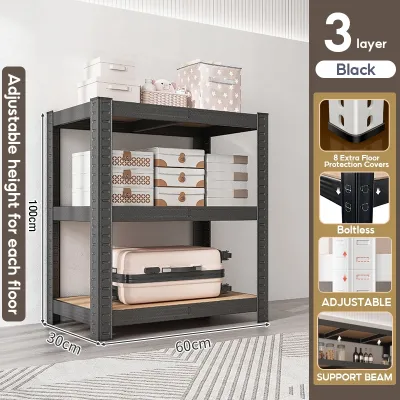
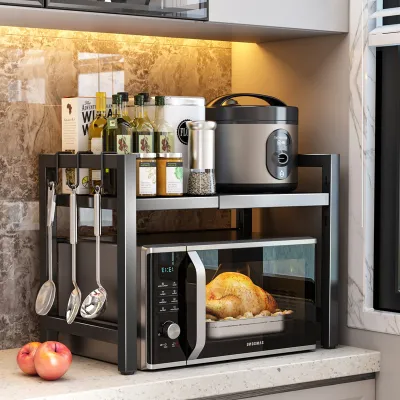
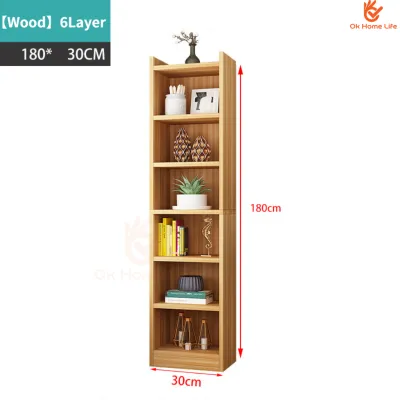
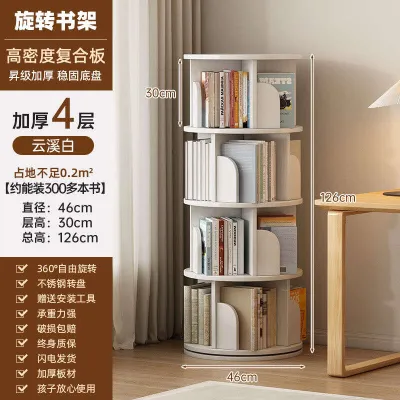
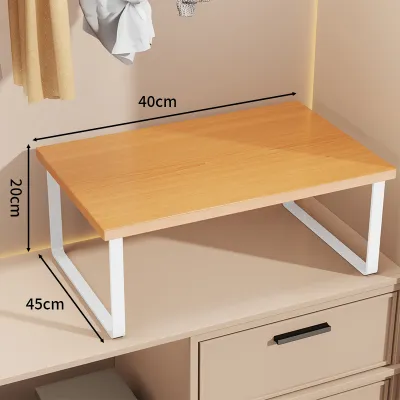
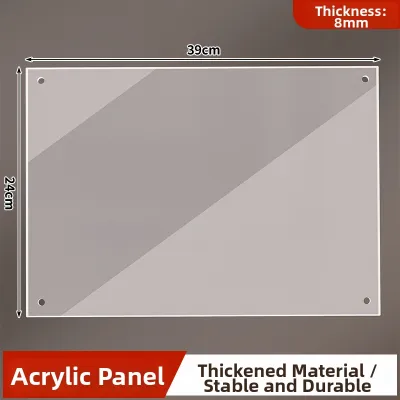
Prices are valid at publication and may change. Please refer to the product page for the latest price.
Next, determine the vertical clearance. Measure from the floor to the ceiling, but also take note of any low-hanging fixtures. In many homes, ceiling fans, light fixtures, structural beams, or air-conditioning trunking run along the upper portions of walls. If your storage shelf rack is too tall, it may block the airflow of an air conditioner or interfere with light distribution. Additionally, check the levelness of your flooring. Uneven floor tiles or sloping balcony floors can cause a tall rack to lean significantly at the top, magnifying any minor structural deviations.
Architectural details often present unexpected obstacles. Skirting boards run along the bottom of walls and typically protrude by 1 to 2 cm. If you do not account for this, a rack with a flush back will be pushed away from the wall at the bottom, causing it to lean forward dangerously or preventing you from mounting it flush against the wall. Additionally, locate all power outlets, light switches, and internet data points. A heavy utility rack blocking a main power outlet can make daily tasks highly inconvenient and may bend plug pins if pushed too close.
Traffic flow is equally critical. A storage unit should never turn a comfortable room into a cramped maze. Ensure there is enough space for walkways, door swings, and the movement of nearby furniture. For standard household walkways, maintain a clear path of at least 90 cm. If the storage shelf rack is placed in a tight utility room or a household shelter, ensure the heavy steel door can open fully to its safety limit without striking the rack. You must also account for the space required to stand in front of the rack and comfortably load or unload heavy boxes.
Finally, plan the delivery and assembly route. High-rise living environments require careful logistical planning. Measure the height and width of your apartment entryway, the front metal gate, and the internal dimensions of the passenger lift. If you purchase a pre-assembled or fully welded steel rack, it must fit inside the lift cabin and navigate tight corridor turns. Even for flat-pack units that you assemble at home, ensure you have a clear floor area in the room that is at least twice the footprint of the rack to allow for safe assembly without scratching your floors or walls.
Match Shelf Dimensions to Your Storage Needs
A storage shelf rack must be tailored to the specific items you plan to store. Buying a rack with generic dimensions often leads to wasted vertical space or shelves that are too shallow to hold your belongings securely.

Item dimensions dictate the ideal shelf depth. To optimize your storage, categorize your items by size:
- Shallow items (20 to 30 cm depth): Best for standard novels, paperbacks, decorative items, and small storage boxes. Using deep shelves for these items often leads to "double-rowing," where items are placed behind one another, making them difficult to see and retrieve.
- Medium items (35 to 45 cm depth): Ideal for office ring files, board games, folded linens, and standard plastic storage containers. This is the most versatile depth for general household storage.
- Large or bulky items (50 to 60 cm depth): Necessary for large plastic storage tubs, camping gear, travel luggage, and kitchen appliances like microwave ovens or air fryers.
Modularity is a key feature to look for. Fixed-shelf units limit your storage options and often leave large gaps of empty air above shorter items. Choosing a storage shelf rack with adjustable shelf heights allows you to customize the distance between tiers. This flexibility ensures you can maximize vertical space and adapt the rack as your storage needs change over time, such as transitioning a nursery bookshelf into a study rack.
Load capacity is a critical safety and functional consideration. Never rely solely on the material name to judge weight capacity. A rack labeled “heavy-duty metal” or “solid wood” can still sag or buckle if the engineering or material thickness is insufficient. For instance, wire shelving behaves differently under load compared to solid wood or medium-density fibreboard (MDF) panels. Always check the manufacturer’s official specifications for the weight limit per tier and the total weight capacity of the unit. These limits are typically expressed as a Uniform Distributed Load (UDL), which assumes the weight is spread evenly across the entire shelf surface rather than concentrated in one spot.
To maintain stability and prevent structural failure, practice smart weight distribution. Always place your heaviest items, such as bulk liquids, heavy tools, or large storage tubs, on the lowest shelves. This lowers the overall center of gravity of the rack, making it much more stable and significantly reducing the risk of accidental tipping. Reserve the upper shelves for lighter, less frequently used items, and never exceed the specified tier limits.
Select the Right Rack Configuration for Tight Spaces
When dealing with small rooms, narrow corridors, or awkward layouts, a standard rectangular freestanding rack may not be practical. Specialized configurations can help you utilize underused spaces without overcrowding your home.
Narrow and Tiered Racks for Small Gaps
In compact kitchens, service yards, or study rooms, there are often narrow gaps between appliances or furniture that go unused. Slim-profile or tiered storage racks, ranging from 15 to 30 cm in width, are designed specifically to fit into these tight spaces.
These narrow units are highly effective for storing spices, cleaning supplies, or slim document folders. Many narrow racks feature wheels or castors, allowing you to slide the rack out when needed and tuck it away when finished. If you place a narrow rack next to a heat-emitting appliance like a refrigerator or washing machine, ensure you leave a small gap for heat dissipation as recommended by the appliance manufacturer.
However, the physics of narrow furniture requires extra caution. Because these racks have a very small base footprint relative to their height, they have a high center of gravity and are inherently prone to tipping over if pulled, overloaded, or placed on an uneven surface. If you use a tall, narrow rack, always place the heaviest items on the bottom shelf and consider securing it to an adjacent wall or cabinet to ensure stability.
Corner and Wall-Mounted Options
Corners are often wasted spaces in home design. A dedicated corner storage shelf rack can transform an empty angle into a highly functional storage zone. Before purchasing, measure the exact corner angle. While most corners appear to be a perfect 90 degrees, minor wall bowing or plaster build-up can create slight variances that prevent a rigid corner unit from sitting flush against both walls.
If floor space is extremely limited, wall-mounted or floating shelves offer an excellent alternative. By lifting your storage off the floor, you create a more open visual environment and make floor cleaning much easier.
Before installing wall-mounted shelving, you must verify your wall type. Solid concrete or brick walls, which are standard structural walls in Singapore, can support substantial weight when paired with high-quality masonry wall plugs and screws. Conversely, hollow drywall partitions or light brick walls have much lower weight capacities and require specialized toggle bolts or heavy-duty anchors. Always check the manufacturer’s instructions for wall compatibility and maximum load limits before drilling. If you are unsure of the wall material or the location of hidden utility pipes and electrical wiring, consult a professional installer.
Common Sizing and Installation Mistakes to Avoid
Avoiding common installation and sizing errors can save you from costly returns, damaged walls, and safety hazards.
- Mistake 1: Ignoring the baseboard: Many homeowners measure the wall-to-wall distance at chest height, forgetting that skirting boards at the floor level reduce the actual usable width and depth. If a storage shelf rack has a rigid, flush-back design, the baseboard will push the bottom of the frame forward. This creates a gap at the top, causing the rack to lean away from the wall. This misalignment places extra stress on the frame and makes wall anchoring difficult. Always measure from the face of the baseboard, not the bare wall.
- Mistake 2: Overlooking anti-tip clearance: Anchoring a tall storage shelf rack to the wall is a critical safety step, especially in homes with children, pets, or in high-traffic areas. However, securing brackets, straps, or safety anchors requires physical space behind or above the unit. If you choose a rack that fits exactly flush against the ceiling or matches the room depth to the millimeter, you may not have enough space to install the safety hardware. Always leave a buffer of at least 1 to 2 cm for safe installation of anti-tip devices.
- Mistake 3: Assuming standard sizes fit everywhere: Relying on visual estimation or generic labels like "standard medium rack" is a frequent cause of installation failure. Standard dimensions vary widely between manufacturers and regions. A rack that looks compact in a spacious showroom or on an online marketplace can easily overwhelm a small bedroom or utility space. Always rely on exact physical measurements rather than visual scale.
Frequently Asked Questions (FAQ)
How much clearance should I leave around a freestanding storage shelf rack?
As a general rule, leave a clearance of at least 1 to 2 cm on the sides and back of a freestanding storage shelf rack. This small buffer accounts for minor wall irregularities, prevents the rack from scratching your paintwork during minor shifts, and allows for basic cleaning access. If you are placing the rack near appliances, electronics, or in areas prone to moisture (such as a kitchen or service yard), check the manufacturer’s guidelines for specific ventilation clearances to prevent heat buildup, dampness, or mold growth.
Do I need to anchor a short storage shelf rack to the wall?
While shorter racks (typically under 1.2 meters) have a lower center of gravity and are naturally more stable than tall units, anchoring is still highly recommended under certain conditions. If the rack is top-heavy, placed on carpet or uneven flooring, or located in a household with active pets or young children who might climb on it, anchoring is essential. Always consult the manufacturer’s safety instructions and use the recommended anchoring hardware to secure the unit firmly.

Community discussion
Share your experience or ask a question. Comments are reviewed before publication.