
Finding the correct size for a hanging organizer in compact spaces requires matching the product’s physical dimensions and weight limits to your specific wardrobe door measurements and internal clearances, rather than relying on generic sizing standards. In typical Singapore apartments, where bedroom square footage is premium, maximizing vertical storage is a practical necessity. However, a mismatch in dimensions can lead to doors that will not shut, damaged hinges, or crushed clothing. By systematically measuring your setup and understanding how organizer dimensions translate to real-world use, you can optimize your wardrobe without compromising its structural integrity.
How to Measure HDB Wardrobe Doors and Tight Clearances
Before purchasing any hanging organizer, you must establish the physical boundaries of your wardrobe door. Begin by measuring the door’s total width from the left edge to the right edge. Standard HDB built-in wardrobe doors often range from 45 to 60 centimeters in width, but custom carpentry can vary significantly. An organizer that is too wide will overlap with the door frame or adjacent doors, preventing smooth operation.
Next, measure the thickness of the door panel itself. Most over-the-door hooks are designed for standard door thicknesses, typically around 3.5 to 4 centimeters. If your wardrobe door is thinner—which is common for lightweight modern laminates—the hooks may wobble or sit at an angle. Conversely, if the door is thicker, the hooks will not slide over the top edge at all.
Products mentioned in this guide
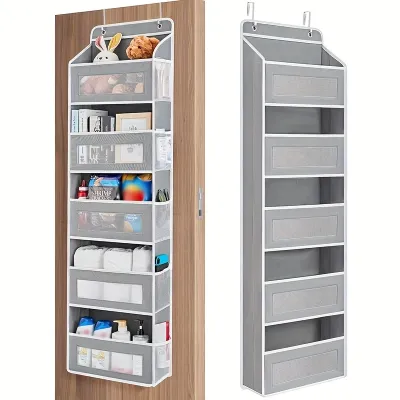
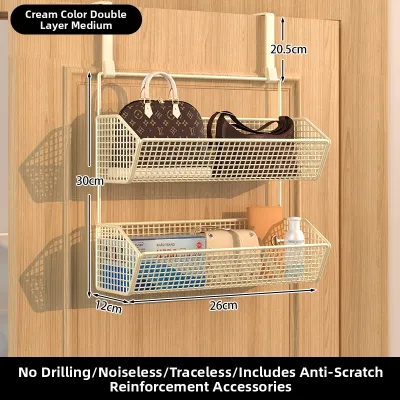
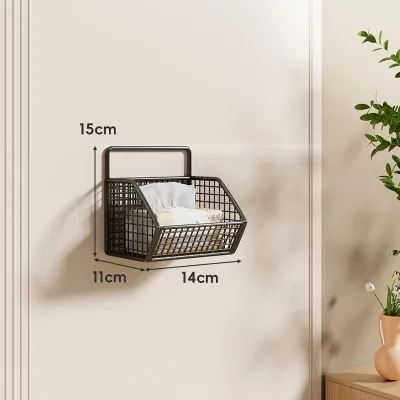
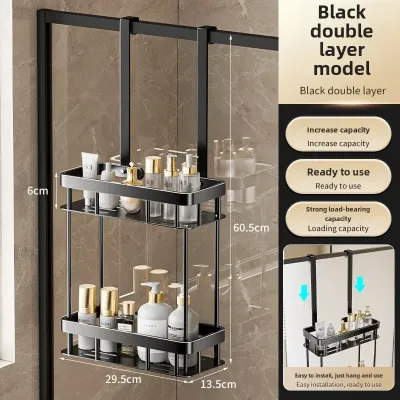
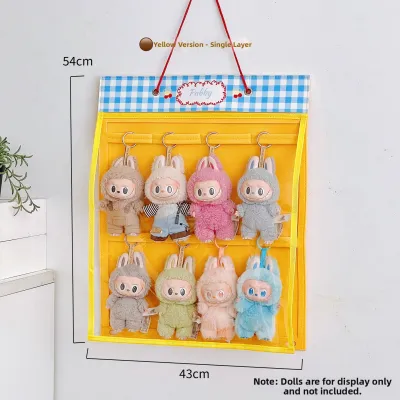
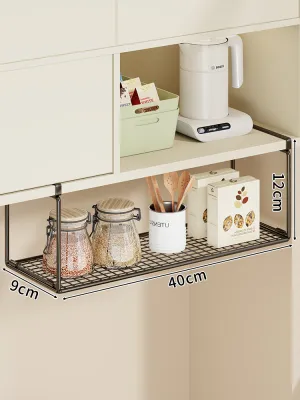
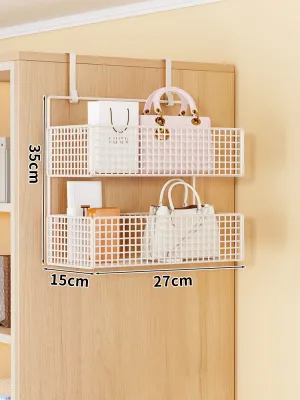
Prices are valid at publication and may change. Please refer to the product page for the latest price.
The clearance gap at the top of the door is another critical measurement. Close the wardrobe door and inspect the space between the top edge of the door panel and the upper frame. You need a gap of at least 2 to 3 millimeters to accommodate the thickness of metal hanging hooks. If the door fits too snugly against the frame, forcing a hook into this space will scrape the paint, damage the laminate, or prevent the door from latching shut.
Do not forget to measure the internal clearance depth. This is the distance between the inside face of the closed wardrobe door and the front edge of your hanging clothes or internal shelves. Many homeowners overlook this step, only to find that once the organizer is filled, it presses against the clothes rail, crushing garments or pushing the door open.
Finally, check for internal obstructions. Open the door fully and look for any protruding drawer handles, pull-out trouser racks, or low-hanging shelves. The organizer must hang in a position where it does not collide with these internal fixtures when the door is swung open or closed.
Translating Measurements into Organizer Dimensions
Once you have your physical measurements, you can evaluate product specifications to find a compatible hanging organizer. When looking at product listings, compare the overall width of the organizer against your door width. It is best to choose an organizer that is at least 10 centimeters narrower than the door panel. This safety margin ensures the organizer remains centered and does not catch on the door frame as you open and close the wardrobe.

The depth of the organizer’s compartments is just as important as its width. While a deeper pocket holds more items, it also requires more internal clearance. If your internal wardrobe depth is limited, look for slim-profile organizers with a depth of 10 to 15 centimeters. For extremely tight spaces, flat pocket organizers made of canvas or mesh are ideal, as they only expand to the thickness of the items placed inside them.
Consider the vertical length of the organizer as well. Measure from the top of the door down to the lowest point you want the organizer to reach. If you have low-lying shoe racks or drawers inside the wardrobe, a full-length organizer will block access to them. A half-length or three-quarter-length unit might be more appropriate, leaving the lower portion of the door free.
Pay close attention to the mounting mechanism. Some organizers use rigid metal hooks that hang over the top of the door, while others utilize adhesive hooks or screw-in brackets. If you are renting or want to avoid permanent modifications to your carpentry, over-the-door hooks or removable adhesive systems are the preferred choices. Ensure the hook design matches the top profile of your door.
Checking Weight Limits and Protecting Door Hinges
Hanging organizers add dead weight to your wardrobe doors, which can strain the hinges over time. Before loading your organizer with heavy accessories, check the manufacturer’s specified weight capacity. This limit is usually determined by the strength of the fabric, the stitching of the pockets, and the rigidity of the top hooks.
You must also evaluate the structural integrity of the wardrobe door itself. Solid wood or high-quality plywood doors can handle heavier loads than hollow-core doors or thin MDF panels. If your wardrobe doors feel lightweight or flex easily, keep the total weight of the organizer and its contents to a minimum to prevent warping.
Inspect the door hinges before installation. Standard concealed hinges (often called cup hinges) are designed to support the weight of the door panel itself, with only a small margin for extra load. If your hinges are already loose, squeaking, or showing signs of sagging, adding a heavy organizer will accelerate their wear. Tighten any loose screws and ensure the door is perfectly aligned before hanging the unit.
To protect your hinges, practice smart weight distribution. Place your lightest items, such as socks, scarves, or lightweight accessories, in the upper pockets closest to the hinges. Reserve the middle pockets for slightly heavier items, and avoid placing dense, heavy objects like heavy boots or large bottles in the organizer entirely. This distribution minimizes the leverage effect that pulls the door out of alignment.
Common Sizing Mistakes to Avoid in Narrow Spaces
One of the most common mistakes is failing to perform a ‘closed door’ test with an empty organizer before filling it. It is easy to assume an organizer fits because it hangs neatly when the door is open. However, the true test occurs when the door is closed; if the organizer is too thick, it will compress against your hanging clothes, making it difficult to latch the door.
Another frequent error is overstuffing fabric pockets. Fabric is flexible, and filling pockets to their absolute maximum capacity causes them to bulge outward significantly beyond their rated depth. This bulging not only reduces your internal wardrobe clearance but also puts unnecessary tension on the seams, leading to premature tearing.
Avoid choosing an organizer that hangs too close to the floor or the bottom of the wardrobe frame. If the bottom of the organizer drags along the floor or carpet when the door is opened, it creates friction that can fray the fabric and scratch your flooring. Always leave a clearance of at least 5 to 10 centimeters between the bottom of the organizer and the floor.
Lastly, do not ignore the thickness of the hanging hooks. Even if the organizer itself fits perfectly, thick or poorly shaped hooks can prevent the wardrobe door from closing flush. This can leave a gap that allows dust to enter your wardrobe, defeating the purpose of keeping your clothes clean and organized.
Frequently Asked Questions (FAQ)
Can I use a hanging organizer on a sliding wardrobe door?
Sliding wardrobe doors operate on tracks with very tight clearances, leaving no room for standard over-the-door hooks. A traditional hanging organizer will block the sliding mechanism or scratch the adjacent door panel. For sliding wardrobes, look for organizers designed to hang directly from the internal closet rod or consider adhesive-backed organizers if the track clearance permits.
How do I stop a door-hung organizer from swinging?
To prevent the organizer from shifting or banging against the door when opened, check if the product includes bottom anchor straps or adhesive tabs. You can also apply removable double-sided adhesive strips or hook-and-loop fasteners to the back of the organizer, ensuring they are compatible with your door’s finish to avoid peeling paint or laminate. Loading heavier items in the lower compartments also helps stabilize the unit by lowering its center of gravity.

Community discussion
Share your experience or ask a question. Comments are reviewed before publication.