
Selecting the right silicone bumper for your furniture requires matching the bumper’s shape to the contact surface, measuring the exact dimensions of the furniture piece, and choosing a thickness that provides adequate clearance and weight support. Whether you want to prevent cabinet doors from slamming, stop dining chairs from scratching hard floors, or keep heavy tabletop items from sliding, the correct bumper acts as a crucial protective barrier. By evaluating the specific contact points and weight requirements of your furniture, you can select accessories that preserve both your household items and your home’s surfaces.
Assess Your Furniture Protection Needs
To find the ideal silicone bumper, start by identifying the specific issue you need to resolve. Different furniture pieces subject surfaces to different types of stress, such as sharp impacts, continuous friction, or heavy downward pressure.
For example, lightweight cabinet doors and kitchen drawers primarily require sound dampening to eliminate the sharp clatter of daily closing. On the other hand, heavy dining chairs and table legs need robust scratch prevention to protect delicate flooring from friction during frequent movement.
Products mentioned in this guide
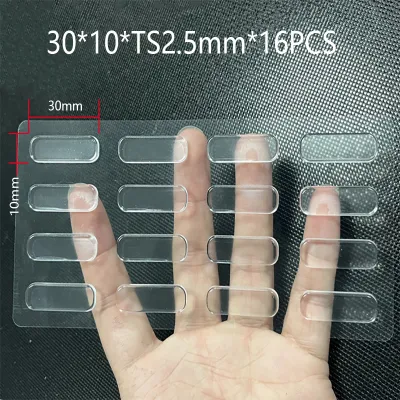
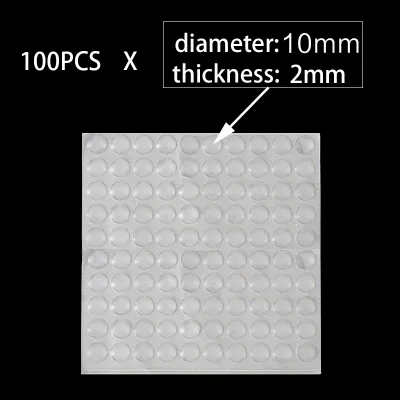
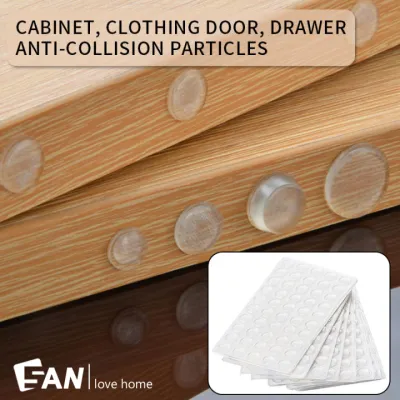
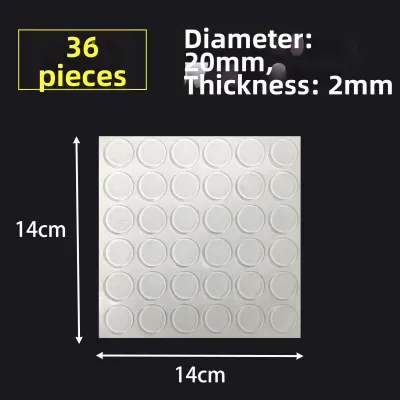
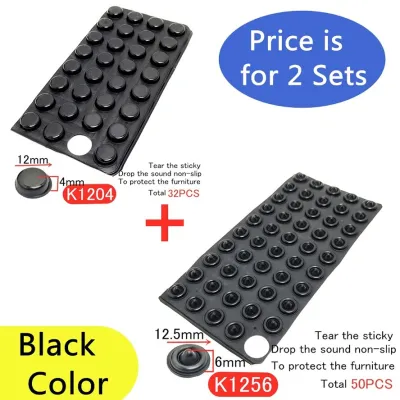
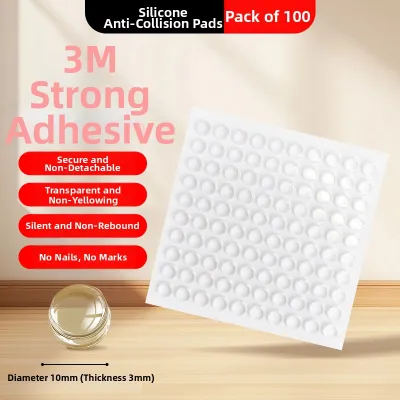
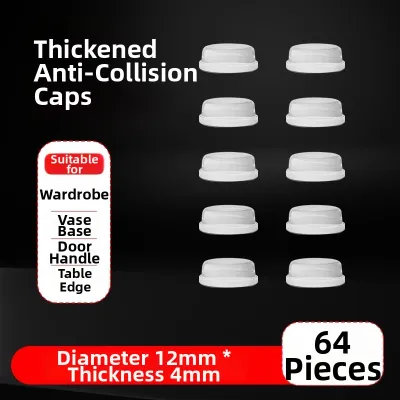
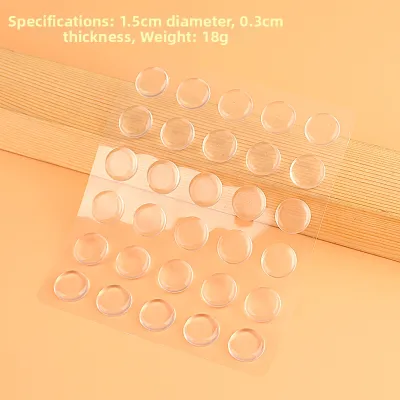
Prices are valid at publication and may change. Please refer to the product page for the latest price.
Evaluating the weight of your furniture and how often it moves helps determine the durability requirements of the bumper. Heavy items like solid wood sideboards exert constant downward pressure, which can compress thin or soft materials over time.
Frequently moved items, such as dining chairs or study stools, subject bumpers to lateral shear forces that can easily dislodge poorly fitted or weakly adhered protectors.
You must also check the surface materials of both the furniture and the contacting surface to ensure compatibility. Smooth, non-porous surfaces like finished wood, glass, metal, and laminate generally accept pressure-sensitive adhesives very well.
However, rough, oiled, or highly textured surfaces may prevent the adhesive backing from forming a secure bond. Understanding these material interactions beforehand prevents the frustration of bumpers peeling off prematurely.
Match Bumper Shapes to Furniture Surfaces
The geometry of your furniture’s contact points dictates the best bumper shape to use. Matching the bumper profile to the surface shape ensures even weight distribution and prevents the protector from slipping or wearing down unevenly.

Cylindrical or dome-shaped bumpers work exceptionally well for concentrated point loads, such as the bottom of chair and table legs. A dome shape provides a single, centralized contact point that minimizes friction when the furniture is nudged or shifted.
Cylindrical bumpers offer a flat bottom with vertical sides, providing a stable, upright profile that aligns perfectly with straight, square, or round furniture legs.
Flat or hemispherical shapes are the standard choice for broad, flush surfaces like cabinet doors, drawers, and toilet seats. Flat-topped bumpers distribute the impact force evenly across a wider surface area, which is ideal for preventing cabinet doors from bouncing back when closed.
Hemispherical bumpers, with their rounded tops, offer a soft landing that absorbs the initial impact of a closing drawer before it can make contact with the cabinet frame.
For angled joints, irregular hardware, or unique furniture contours, tapered or specialized shapes are often necessary. Tapered bumpers narrow toward the top, allowing them to fit into tight recesses or accommodate slightly angled legs without protruding awkwardly.
Selecting a shape that mirrors the contact angle of your furniture ensures the bumper remains discreet while providing maximum surface protection.
Determine the Correct Bumper Size and Thickness
Choosing the correct diameter and height for your silicone bumpers is essential to maintain the stability and alignment of your furniture. An oversized bumper can look unsightly and overhang the edges, while an undersized one may fail to support the weight or provide adequate clearance.
Begin by measuring the exact width or diameter of the furniture leg or contact point. The bumper should fit entirely within this boundary without any overhang.
Overhanging edges are highly susceptible to catching on rugs, dust, or passing feet, which quickly peels the bumper away from the furniture. For round legs, select a circular bumper with a slightly smaller diameter than the leg itself; for square legs, a square or circular bumper that fits comfortably within the perimeter is ideal.
Thickness, or height, is the key factor in determining clearance. For cabinet doors and drawers, the bumper must be thick enough to prevent the wood from striking the frame, yet thin enough to allow the door to close flush with the surrounding cabinetry.
If the bumper is too thick, it can cause doors to stand slightly open or bind against adjacent hardware. For tabletop items like cutting boards or decorative trays, a slightly thicker bumper provides useful clearance for easy lifting and cleaning.
Finally, verify the manufacturer’s specifications regarding weight capacity per bumper, especially when dealing with heavy furniture. While silicone is naturally resilient, excessive weight can cause thin bumpers to flatten completely, rendering them useless.
Distributing the weight across multiple, appropriately rated bumpers ensures that each contact point remains elevated and protected.
Step-by-Step Guide to Measuring and Applying Bumpers
Achieving a long-lasting bond and optimal protection requires a precise installation process. Taking the time to prepare the surface and apply the bumpers correctly prevents them from shifting or falling off during daily use.
First, clean and dry the application surface thoroughly to remove any dust, grease, wax, or old adhesive residue. Even a tiny amount of dust or oil can severely compromise the pressure-sensitive adhesive on the back of the bumper.
Wipe the area with a clean cloth dampened with rubbing alcohol or a mild, finish-safe cleaner, and allow it to dry completely before proceeding.
Next, measure and mark the placement area to ensure symmetrical alignment, particularly on multi-point furniture like chairs or tables. On chair legs, center the bumper precisely on the bottom of the foot.
For cabinet doors, place the bumper in the outer corner opposite the hinges, keeping the distance from the edges consistent across all doors for a neat, professional appearance.
Once the surface is prepared, peel the bumper from its backing sheet, taking care not to touch the adhesive surface with your fingers, as skin oils can weaken the bond. Place the bumper onto the marked spot and apply firm, even pressure directly downward for at least thirty seconds.
This pressure activates the adhesive, forcing it into the microscopic pores of the furniture surface.
After application, allow the adhesive to cure fully before subjecting the furniture to regular use or heavy weight. While the bumper may feel secure immediately, most pressure-sensitive adhesives require several hours to reach their maximum bonding strength.
Leaving the furniture undisturbed overnight ensures the bumpers remain firmly in place for the long term.
Maintenance and Replacement Signs
Silicone bumpers are durable, but they are not permanent fixtures. Regular inspection and simple maintenance will help you identify when they need to be replaced to ensure continuous protection for your floors and furniture.
Periodically inspect the bumpers for visible wear, flattening, or tearing. Over time, the constant weight of heavy furniture can compress the silicone, reducing its shock-absorbing capabilities.
If a bumper looks significantly thinner than when it was first installed, or if you notice cracks in the material, it is time to replace it.
Check for signs of adhesive failure, such as peeling edges or bumpers that have shifted from their original positions. If dust or pet hair accumulates under the edges of a bumper, the adhesive bond has been compromised, and the bumper will likely detach soon.
To extend the lifespan of your bumpers, clean them gently with a damp cloth during your regular household dusting. Removing accumulated dust and grit from the bottom of chair leg bumpers prevents them from acting like sandpaper on your hard floors, preserving both the protector and your flooring finish.
Frequently Asked Questions (FAQ)
Can I use silicone bumpers on uneven or textured surfaces?
Standard self-adhesive silicone bumpers generally require a smooth, flat surface to achieve a secure bond. Textured, rough, or highly porous surfaces reduce the effective contact area for pressure-sensitive adhesives, which often leads to premature peeling. If you must use bumpers on textured furniture, check the manufacturer’s guidelines for surface compatibility. In some cases, choosing a mechanical-fastener bumper or applying a specialized, finish-safe adhesive may be necessary to ensure the protector stays in place.
How do I safely remove old silicone bumpers without damaging the finish?
To remove worn silicone bumpers safely, start by gently peeling them back from one edge using your fingers or a plastic scraper. Avoid using sharp metal tools, utility knives, or harsh chemical solvents, as these can easily scratch, gouge, or strip the protective finish of your furniture. If stubborn adhesive residue remains on the surface, apply a small amount of a mild, finish-safe adhesive remover or rubbing alcohol to a soft cloth, rub the area gently until the residue softens, and wipe it clean.
Do clear silicone bumpers turn yellow over time?
High-quality silicone is naturally resistant to yellowing, but prolonged exposure to direct sunlight or certain household chemicals can cause gradual discoloration over time. If you plan to install clear bumpers on furniture located in sunlit areas, such as near large windows or on outdoor patios, check the product descriptions for UV-resistant properties. Regularly cleaning the bumpers to remove dust, oils, and cleaning product residue also helps maintain their clarity and prevents premature discoloration.

Community discussion
Share your experience or ask a question. Comments are reviewed before publication.