
Finding the perfect shoe rack organizer requires balancing the physical dimensions of your footwear collection with the actual footprint of your living space. To make an accurate choice, you must look beyond generic “pair capacity” labels and calculate your storage needs based on the physical width of your shoes, the height of your tallest pairs, and the clearance limits of your entryway or closet. Taking the time to measure both your shoes and your home prevents crowded entryways, crushed footwear, and the frustration of a rack that does not fit its designated spot.
Step 1: Audit Your Current and Future Shoe Collection
Before browsing online marketplaces or local furniture stores, you need an accurate inventory of your footwear. Begin by gathering every pair of shoes in your household and sorting them by category. Grouping your collection into everyday flats, high-top sneakers, heels, and bulky boots allows you to see exactly how much vertical and horizontal space each type requires. High-tops and boots need significantly more vertical clearance than sandals or loafers, which directly influences the shelf spacing you will need.
Next, take physical measurements of your largest or bulkiest shoes. Use a measuring tape to find the maximum width of your widest pair—typically running shoes or heavy work boots—when placed side by side. This measurement establishes the minimum shelf width required to store a complete pair without overlapping. Additionally, measure the length from heel to toe of your longest shoe to ensure the shelves of your chosen organizer are deep enough to prevent shoes from hanging over the edge.
Products mentioned in this guide
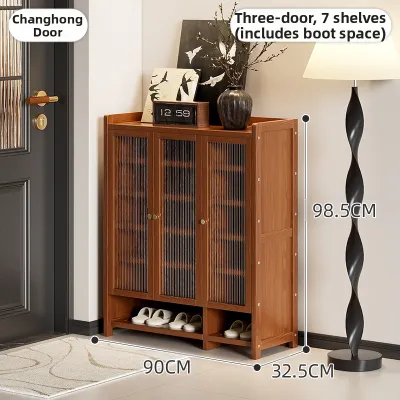
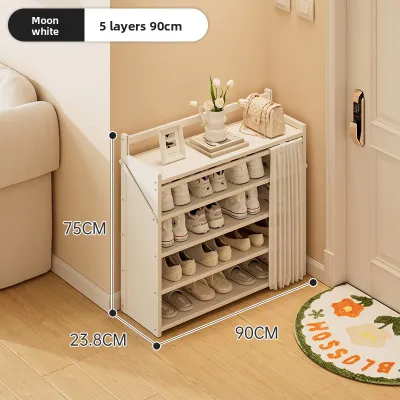
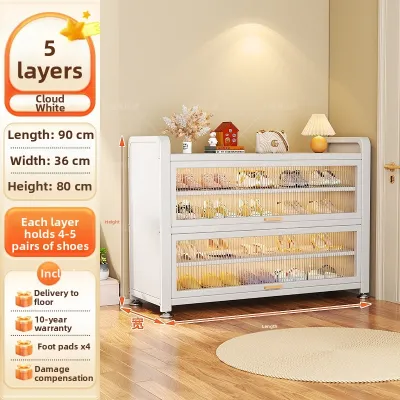
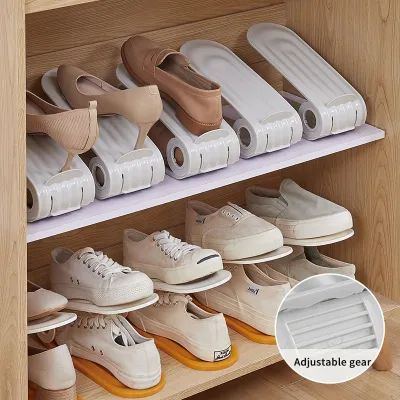
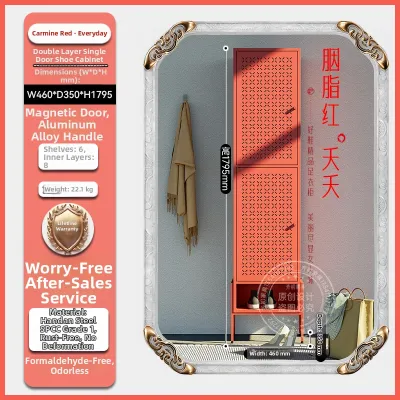
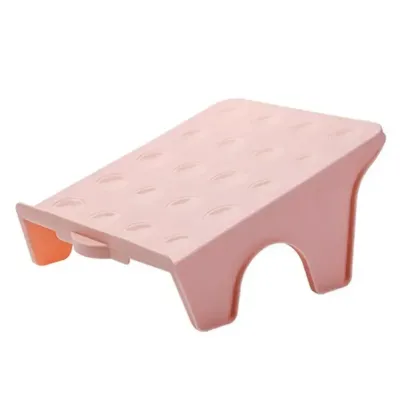
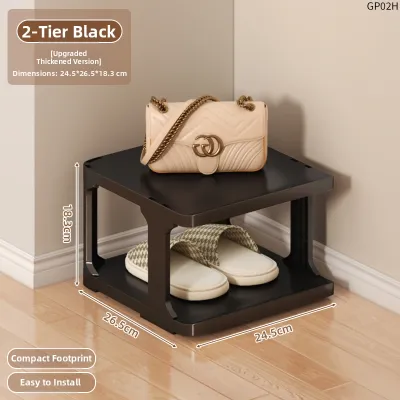
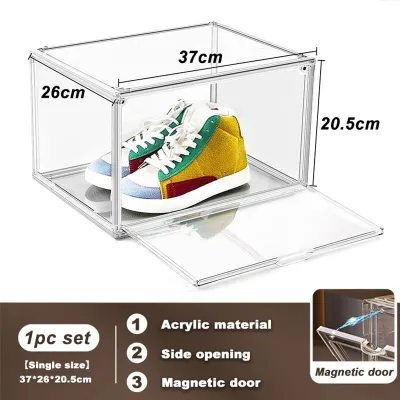
Prices are valid at publication and may change. Please refer to the product page for the latest price.
Finally, factor in a realistic buffer for future acquisitions. Whether you are investing S$20 or S$200 in a new storage system, purchasing an organizer that holds exactly your current number of shoes will lead to immediate overcrowding. Adding a twenty percent capacity buffer accommodates seasonal purchases, guest footwear, and lifestyle changes without requiring you to upgrade your entire storage system a few months down the road.
Step 2: Measure Your Available Space and Clearances
An organizer that fits your shoe collection is of little use if it blocks your hallway or prevents your front door from opening fully. Start by measuring the exact width, height, and depth of the floor area where you plan to place the shoe rack. Account for architectural details like baseboards, skirting boards, and wall trim, which can prevent a flat-backed organizer from sitting flush against the wall, reducing your usable floor space.

Next, evaluate the surrounding environment for potential obstructions. Open nearby doors completely to check their swing arcs, ensuring the door will not strike the shoe rack when opened. If you are placing the organizer in a narrow corridor or entryway, measure the remaining walkway clearance to ensure family members can pass comfortably. It is also wise to locate nearby electrical outlets, light switches, or thermostat controls to ensure the rack does not block access to essential home utilities.
Additionally, if you are purchasing a large, fully assembled cabinet, measure your doorways, hallways, and lift access to ensure you can physically transport the unit into your home. If you are considering a tall, vertical, or stackable shoe rack organizer to maximize vertical space, verify the ceiling height and look for overhead obstructions like low-hanging light fixtures or wall-mounted air conditioning units.
Step 3: Match Capacity to Shoe Rack Dimensions and Types
Once you have documented both your shoe inventory and your spatial limits, you can match these requirements to a specific style of shoe rack organizer. Different structural designs offer distinct advantages depending on whether you have ample floor space, unused wall areas, or a need to keep footwear out of sight. Understanding how each configuration utilizes space helps you select a model that maximizes storage efficiency without compromising your home’s layout.
Freestanding and Stackable Shoe Racks
Freestanding and stackable shoe racks are highly versatile options that allow you to expand your storage capacity vertically as your collection grows. However, as you increase the tier count, the unit’s center of gravity rises, which can affect its overall stability. Taller configurations are more prone to wobbling, especially when loaded with heavy footwear like boots or leather dress shoes on the upper shelves.
To ensure safety, check the manufacturer’s specified weight limits for each shelf and the entire unit before assembly. If you plan to stack multiple units or choose a model taller than four tiers, look for included anti-tip anchoring hardware. Securing the rack to the wall is a crucial step to prevent accidental tipping, particularly on carpeted surfaces or in high-traffic entryways.
Wall-Mounted and Over-Door Organizers
When floor space is exceptionally limited, wall-mounted and over-door organizers offer an excellent way to utilize vertical surfaces. Before purchasing a wall-mounted unit, verify your wall material and its load-bearing capacity. Mounting a heavy rack filled with shoes onto hollow drywall without locating studs or using the correct heavy-duty wall anchors can lead to structural failure and wall damage.
For over-door organizers, precise measurements of your door frame are essential. Check the gap between the top of the door and the frame, as well as the clearance near the hinges, to ensure the door closes smoothly once the hanging brackets are in place. Over-door models typically have strict weight limits and are best reserved for lightweight footwear, such as sandals, canvas sneakers, and slippers, rather than heavy winter boots.
Cabinet and Enclosed Shoe Storage
Enclosed cabinets provide a clean, minimalist look by keeping your shoe collection hidden from view, but they require careful internal dimension checks. Unlike open wire or slatted racks, cabinets have rigid back panels and doors that limit the maximum length of the shoes you can store inside. Verify that the internal usable depth of the cabinet is greater than the length of your longest pair of shoes so the doors close completely.
Additionally, look for cabinets with adjustable internal shelves, which allow you to customize the height of each compartment to fit boots, heels, or flats as your seasonal storage needs change. Because enclosed spaces trap moisture and odors, prioritize cabinets that feature built-in ventilation slots, mesh panels, or open backs to maintain airflow and protect your footwear.
Step 4: Avoid Common Capacity and Sizing Mistakes
One of the most frequent mistakes when buying a shoe rack organizer is relying solely on the manufacturer’s advertised “pair capacity.” These marketing numbers are often calculated using small, narrow shoes, such as flats or children’s footwear, placed tightly together. If you plan to store wide running shoes, men’s dress shoes, or bulky sneakers, the actual number of pairs that will fit on each shelf will be significantly lower than the advertised capacity.
Another common oversight is failing to distinguish between the external dimensions of the organizer and its internal usable space. The product specifications usually list the outer frame dimensions, which include thick side panels, legs, or decorative trim. Always look for the internal shelf width and depth in the product description to ensure your shoes will actually fit within the frame of the unit.
Finally, check the vertical clearance between individual tiers. Low-profile shoe racks often have very tight spacing between shelves, which can crush the tops of high-top sneakers, stiff leather shoes, or ankle boots. Ensuring there is adequate vertical clearance between shelves prevents damage to your footwear and makes it much easier to slide shoes in and out during daily use.
Frequently Asked Questions (FAQ)
How many pairs of shoes can a standard tiered shoe rack hold?
The actual capacity of a standard tiered shoe rack depends entirely on the internal width of the shelves and the specific style of your shoes rather than a fixed industry standard. A typical three-tier rack might be advertised to hold nine to twelve pairs of shoes, but this estimate assumes an average shoe width of about twenty centimeters per pair. If your collection consists of wider athletic shoes or heavy boots, you may only fit two pairs per shelf instead of three. To determine the true capacity, always check the manufacturer’s detailed internal width specifications and divide that number by the physical width of your widest shoes.
What is the best shoe rack depth for large shoe sizes?
For larger shoe sizes, the ideal shoe rack depth must accommodate the full length of your longest shoe without allowing the heels or toes to overhang and block walkways. To find the correct depth, measure your longest shoe from the back of the heel to the tip of the toe, then add a clearance buffer of at least two centimeters. When shopping, carefully review the product specifications to verify the internal usable depth of the shelves, as the external depth often includes the thickness of doors, back panels, and front frames that do not contribute to actual storage space.

Community discussion
Share your experience or ask a question. Comments are reviewed before publication.