
Finding the perfect shoe rack organizer capacity requires balancing your household’s actual footwear inventory with the physical constraints of your living space. Rather than choosing a generic rack, the most reliable method is to calculate your capacity based on a personalized formula: multiply the number of residents by their average active pairs, add a buffer for guests or future purchases, and cross-reference this with your entryway’s dimensions. By taking a systematic approach to auditing your collection, measuring your space, and understanding different organizer configurations, you can keep your home clutter-free while ensuring your footwear remains protected and accessible.
Assess Your Current Shoe Collection and Future Needs
To establish a realistic baseline capacity, begin with a thorough audit of every pair of shoes currently owned by your household. Divide your collection into daily-wear items that require immediate access near the front door and seasonal or occasional footwear that can be stored in secondary locations like closets or under-bed organizers. This distinction prevents your primary entryway organizer from becoming overcrowded with items you only wear a few times a year.
Next, pay close attention to the physical dimensions of your footwear. Standard shoe racks are often designed around flat, low-profile shoes, meaning that tall boots, high heels, and bulky athletic sneakers will consume significantly more vertical or horizontal space. If your household collection includes a high volume of these larger items, you will need to look for organizers with generous shelf spacing or modular designs that allow you to adjust the height of individual tiers.
Products mentioned in this guide
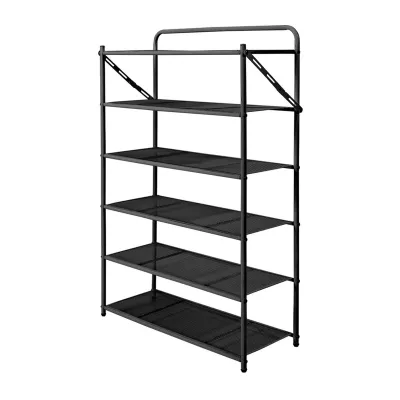
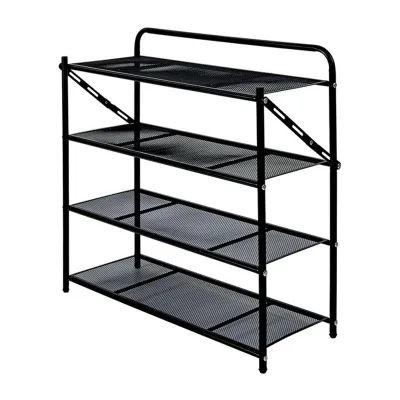
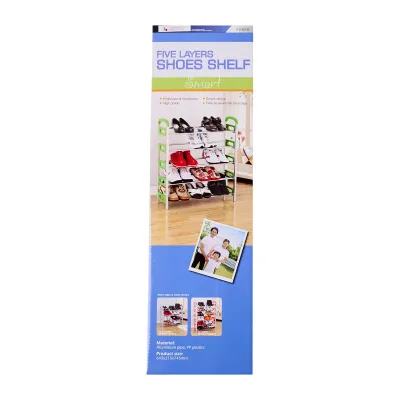
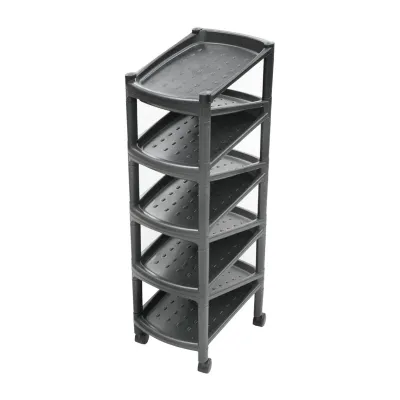
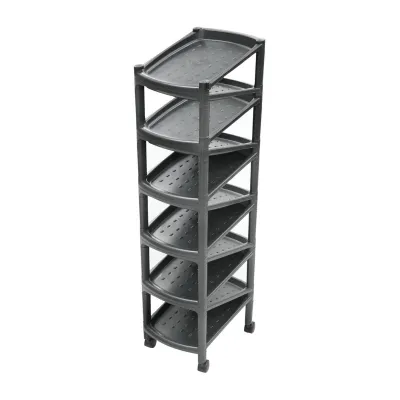
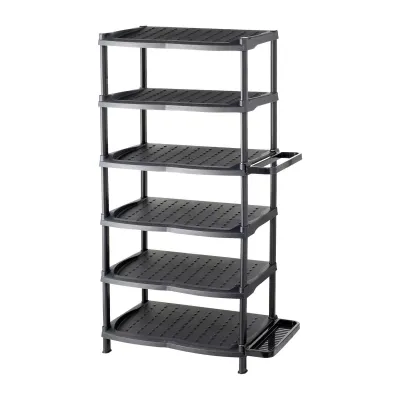
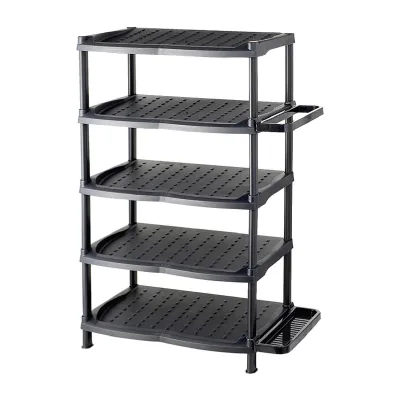
Prices are valid at publication and may change. Please refer to the product page for the latest price.
Finally, always build a buffer into your capacity calculations. A shoe rack that is perfectly filled on day one will quickly overflow when you purchase new pairs, welcome guests, or transition between different seasonal activities. Factoring in a buffer of at least fifteen to twenty percent beyond your current active count ensures your storage solution remains functional over the long term, accommodating family growth and lifestyle changes without requiring an immediate upgrade.
Match Capacity to Household Size and Lifestyle
Translating your household size into a specific storage tier is more accurate when you calculate a personalized baseline rather than relying on arbitrary product labels. For instance, a household of four where each person keeps four active pairs in rotation requires a minimum capacity of sixteen pairs. By multiplying the number of residents by their average active shoe count, you establish a clear starting point that reflects your actual daily habits.

You must also adjust this baseline to match your household’s specific lifestyle and storage philosophy. Minimalist households might only need space for two or three pairs per person, whereas high-collection households or fashion enthusiasts will require specialized, high-capacity organizers or dedicated cabinets. Additionally, if your household frequently hosts social gatherings, you should allocate a dedicated lower shelf or a separate basket specifically for guest slippers and visitor footwear to keep the entryway tidy.
Lifestyle dynamics also dictate your structural needs. Families with young children must account for rapidly changing shoe sizes and the eventual transition to larger, adult-sized footwear that takes up more physical space on the rack. Meanwhile, active households with athletes, runners, or outdoor enthusiasts will need to accommodate specialized, bulky footwear like hiking boots or running shoes, which often require sturdier shelving and more frequent cleaning access.
Measure Your Available Space and Entryway Clearance
Before purchasing any organizer, you must verify that its external dimensions align with your home’s physical layout. Measure the exact floor footprint, vertical height, and depth of the intended placement area using a reliable measuring tape. Be sure to account for architectural details such as protruding baseboards, electrical outlets, light switches, or wall-mounted intercom systems that could prevent the organizer from sitting flush against the wall.
In typical apartment or condominium layouts, entryway space is highly valuable and often narrow. You must verify that the depth of the shoe rack allows for comfortable walkway clearance and does not obstruct the swing arc of your main entrance door or nearby closet doors. Maintaining a clear, unobstructed path is essential for daily convenience and ensures a safe, code-compliant exit route during emergencies.
Additionally, consider the logistics of getting the organizer into your home. If you are purchasing a large, heavy, or pre-assembled unit, measure your building’s lift dimensions, corridor widths, and stairwell turns to ensure the delivery team can safely transport the item to your front door. Checking these access routes beforehand prevents the frustration of receiving a delivery that physically cannot fit through your building’s common areas or your apartment doorway.
Evaluate Shoe Rack Organizer Types and Configurations
Selecting the right physical format is key to maximizing storage capacity within your spatial limits. Freestanding racks and cabinets are highly popular for their versatility and ease of placement, but they require sufficient floor space. If floor space is limited, consider stackable modular units that expand vertically, or wall-mounted organizers that utilize vertical wall space, provided your walls are load-bearing and suitable for secure anchoring. Over-the-door organizers offer an alternative for tight spaces, though they are best suited for lightweight footwear.
To prevent wasted vertical space, look for organizers that feature adjustable or removable shelves. This flexibility allows you to customize the height of each tier, creating taller compartments for boots or high heels and narrower slots for flat sandals or slippers. Maximizing the usable volume of the organizer ensures you get the highest possible capacity out of the unit’s physical footprint.
Structural stability and load capacity are critical safety considerations, especially for high-capacity or tall vertical organizers. Always check the manufacturer’s specified weight limits for individual shelves and the overall unit to ensure it can support heavy leather shoes or work boots without sagging. For tall freestanding units or wall-mounted designs, proper anchoring to the wall is highly recommended to prevent accidental tip-overs, particularly in active households.
Common Capacity and Sizing Mistakes to Avoid
One of the most frequent errors is confusing the external dimensions of a shoe cabinet with its actual internal usable capacity. The outer frame, thick wooden panels, backboards, and door hardware all subtract from the interior space, meaning a cabinet that appears large on the outside may hold fewer pairs than expected. Always look for internal shelf measurements rather than relying solely on overall product dimensions.
Another common oversight is ignoring shoe depth. Standard shoe racks often feature a depth of around 30 to 35 centimeters, which may cause larger men’s shoes or bulky athletic trainers to overhang the front edge, preventing cabinet doors from closing properly. If members of your household wear larger shoe sizes, verify that the internal shelf depth can fully accommodate the length of their footwear.
Finally, do not overlook the importance of ventilation, especially in warm, humid climates. Enclosed shoe cabinets without adequate airflow can trap moisture from damp shoes, leading to mold growth, material degradation, and unpleasant odors. Opt for cabinets with slatted doors, open backs, or built-in ventilation grates, and ensure shoes are completely dry before placing them inside the organizer.
Frequently Asked Questions (FAQ)
How do I calculate the exact number of tiers I need for my shoe rack?
To calculate the required number of tiers, first divide your total audited shoe count by the number of pairs that can comfortably fit side-by-side on a single shelf. For example, if a standard shelf width of 80 centimeters fits four pairs of average-sized shoes, and you have twenty pairs to store, you will need a minimum of five tiers. It is highly recommended to add one or two extra tiers to this calculation to accommodate guest footwear, bulkier shoe profiles, and future purchases.
Can I use a standard shoe rack organizer for heavy boots and winter footwear?
Standard shoe organizers can be used for heavier footwear, but you must verify the manufacturer’s weight limits and shelf material strength beforehand to prevent bowing or structural failure. Look for units with reinforced metal support bars, thick wooden shelves, or heavy-duty plastic connectors. Additionally, ensure the organizer features adjustable or removable shelves so you can create the necessary vertical clearance for tall boots without bending or damaging the shoe shafts.

Community discussion
Share your experience or ask a question. Comments are reviewed before publication.