
Finding the right shelves rack size for a Singapore home requires balancing storage capacity with the realities of compact modern layouts. Whether you are organizing a household shelter in a new HDB flat, setting up a study room in a condominium, or maximizing utility in a service yard, selecting the wrong dimensions can lead to cramped walkways or unusable storage. By taking precise measurements and understanding your specific storage needs, you can select a unit that fits seamlessly into your living space.
Assess Your Available Space and Clearances
Before browsing online marketplaces or visiting local furniture showrooms, you must establish the exact physical boundaries of your intended installation area. Begin by measuring the floor footprint where the shelves rack will stand. Use a reliable metal measuring tape and record the width and depth of the floor space, making sure to measure from the baseboard or skirting board rather than the bare wall. Baseboards can push a rack forward by a few centimeters, which can disrupt alignment in tight corners.
Next, measure the vertical distance from the floor to the ceiling. In many Singapore homes, ceiling heights can vary between rooms, especially if you have false ceilings, exposed trunking, or low-hanging beams. Note the location of any ceiling fans, light fixtures, or air conditioning units, as these will restrict the maximum height of your rack and may interfere with accessing the top shelves.
Products mentioned in this guide
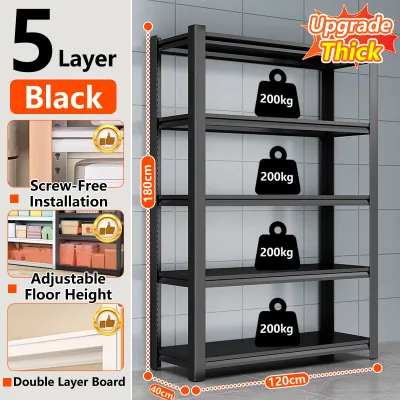
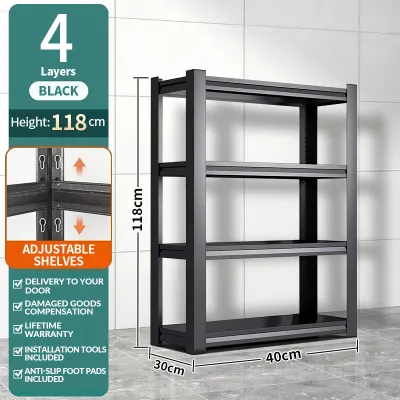
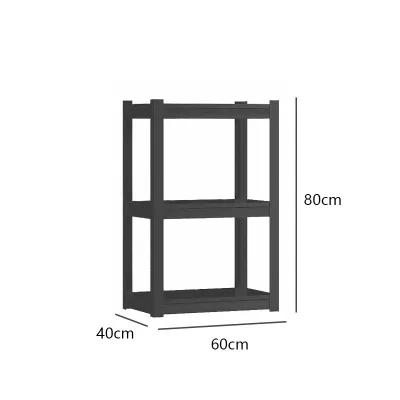
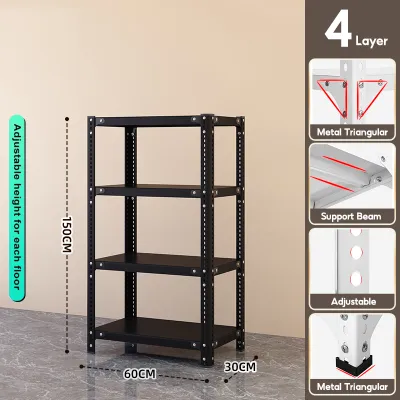
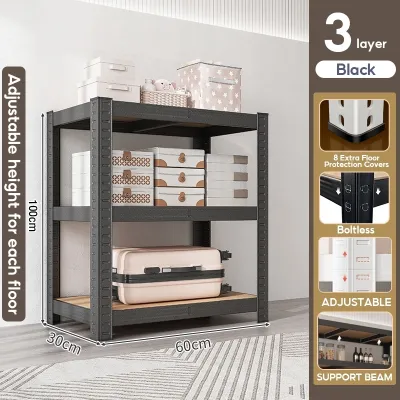
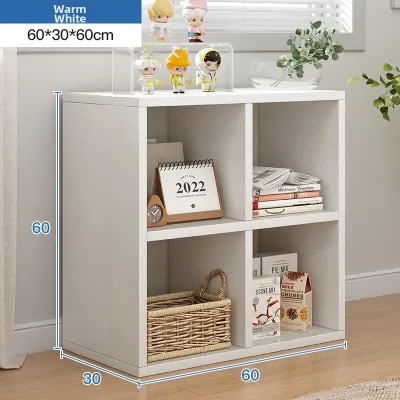
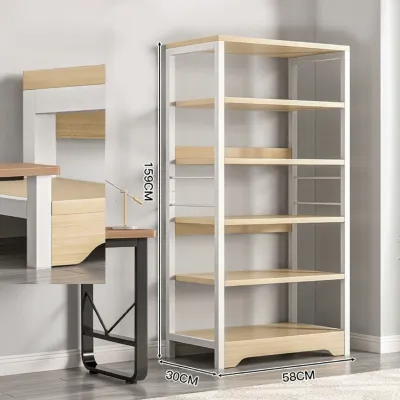
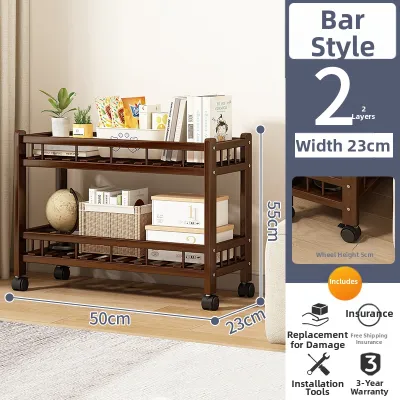
Prices are valid at publication and may change. Please refer to the product page for the latest price.
Physical clearance around the rack is just as critical as the footprint itself. Ensure that the depth of the rack does not obstruct the swing of nearby doors, wardrobe panels, or windows. Walkways should remain wide enough for comfortable daily movement; a general guideline is to maintain a clear path of at least 60 to 90 centimeters in high-traffic areas. Additionally, check the locations of wall-mounted power outlets, light switches, and distribution boards to ensure they remain accessible after the rack is installed. If you plan to place electronics or small appliances on the shelves, leave a ventilation gap of at least 5 centimeters between the back of the rack and the wall to prevent heat buildup.
Define Your Storage Requirements and Load Needs
A shelves rack is only as useful as its ability to hold your belongings. To determine the ideal shelf depth, gather the items or storage boxes you plan to store and measure their outer dimensions. Standard plastic storage tubs, suitcases, and kitchen appliances often require deeper shelves, whereas books, decorative items, and small pantry goods fit comfortably on shallower units. Choosing a shelf depth that matches your items prevents dangerous overhangs and maximizes spatial efficiency.

Opting for a shelves rack with adjustable shelf spacing is highly recommended for long-term flexibility. Storage needs inevitably change over time, and the ability to reposition individual shelves allows you to accommodate taller items, such as vacuum cleaners or large storage bins, without wasting vertical space. When planning your shelf layout, place the tallest and heaviest items on the bottom levels to keep the unit’s center of gravity low, which significantly improves overall stability.
While material names like steel, iron, or solid wood are often associated with durability, they do not guarantee a specific weight capacity. Structural integrity depends heavily on the thickness of the frame, the joint design, and the quality of the manufacturing. Always verify the load capacity by checking the manufacturer’s official specifications and product labels. Look for the maximum weight limit per shelf, and ensure that your planned storage items do not exceed these limits. If the manufacturer does not provide clear load ratings, treat the unit as light-duty and avoid storing heavy tools or bulk liquids on it.
Match Shelf Rack Dimensions to Your Room Layout
Choosing between a tall, narrow shelves rack and a wide, low unit depends on your room’s layout and visual balance. Tall racks are exceptionally efficient in compact rooms because they utilize vertical space that would otherwise go unused. They are ideal for narrow corridors, service yards, and household shelters where floor space is limited. However, a very tall rack can dominate a small room visually, making the space feel cramped.
In contrast, wide and low racks offer a more open, airy feel, making them suitable for living rooms, dining areas, and bedrooms. These units can also serve double duty as console tables, room dividers, or display areas for plants and artwork. If you plan to use a shelves rack as a freestanding room divider, ensure it is designed for this purpose. Many standard racks have unfinished backs or require wall support to remain stable, so a freestanding unit must have a wide, stable base and a finished aesthetic from all angles.
Regardless of the configuration you choose, stability must be a primary consideration. Any shelves rack that is tall, narrow, or top-heavy presents a potential tip-over hazard. Check the manufacturer’s instructions to see if wall anchoring is required. If you live in a rental property where drilling into walls is restricted, or if your walls are made of lightweight plasterboard, you should opt for a lower, wider rack with a deeper footprint to ensure it remains stable without wall anchors.
Common Sizing Mistakes to Avoid
One of the most frequent mistakes when purchasing a shelves rack is overlooking the delivery and assembly path. Even if a rack fits perfectly in your designated room, it must first get there. Measure the height and width of your building’s lift, stairwells, front entrance, and internal doorways. Flat-packed furniture is easier to transport, but fully assembled units or long structural posts may not clear tight corners or low elevator ceilings.
Another common oversight is ignoring floor unevenness. Many floors in utility areas, balconies, or older apartments have slight slopes for drainage or minor structural settling. A tall, rigid shelves rack placed on an uneven floor will wobble, compromising its safety and alignment. To prevent this, look for racks equipped with adjustable leveling feet, which allow you to compensate for floor variations and keep the unit perfectly upright.
Finally, remember to account for the physical space required during the assembly process. Many boltless racks and heavy-duty shelving units must be assembled horizontally on the floor before being lifted into their final upright position. If your room is small, you may not have enough floor space to lay the components out, or the diagonal height of the rack as you lift it upright might exceed your ceiling height. Always review the assembly manual beforehand to determine if you have sufficient clearance to build the unit safely.
Frequently Asked Questions (FAQ)
How much clearance should I leave above and around a shelves rack?
For safe and comfortable use, leave at least 10 to 15 centimeters of clearance between the top of the shelves rack and the ceiling. This gap allows you to easily retrieve items stored on the highest shelf and provides enough space for dusting and maintenance. On the sides, leave a clearance of 1 to 2 centimeters to prevent the frame from scraping against walls or adjacent furniture when placing or removing heavy items.
Can I use a tall shelves rack in a room with low ceilings?
You can use a tall shelves rack in a room with low ceilings, provided you verify the exact measurements beforehand. Check that the fully assembled height of the rack is at least 10 centimeters lower than your ceiling. Additionally, ensure that the assembly method does not require tilting the rack upward if the diagonal clearance is insufficient. If the rack must be anchored to the wall, confirm that you have enough physical space to access the top anchoring points with your tools.

Community discussion
Share your experience or ask a question. Comments are reviewed before publication.