
Choosing the right shelf rack size requires a systematic approach that aligns your physical room dimensions with your specific storage needs. To find the perfect fit, you must measure your floor area, account for architectural obstacles, evaluate the size of your items, and ensure the unit does not disrupt the flow of your home. Taking these steps prevents the frustration of buying a rack that is too bulky for your room or too shallow for your storage boxes.
By planning ahead and understanding how different dimensions impact both storage capacity and room aesthetics, you can select a shelving system that is both highly functional and visually balanced. Whether you are organizing a utility room, a living area, or a dedicated storeroom, the following guidelines will help you navigate the measurement and selection process with confidence.
Measure Your Available Space and Clearances
Begin by measuring the physical floor footprint where you plan to place the shelf rack. Use a metal measuring tape for accuracy, as fabric tapes can stretch over time and lead to incorrect readings. Measure the width and depth of the exact spot, taking care to measure the usable floor space in front of any skirting boards rather than wall-to-wall.
Products mentioned in this guide
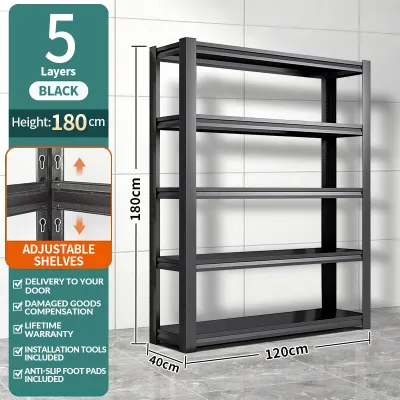
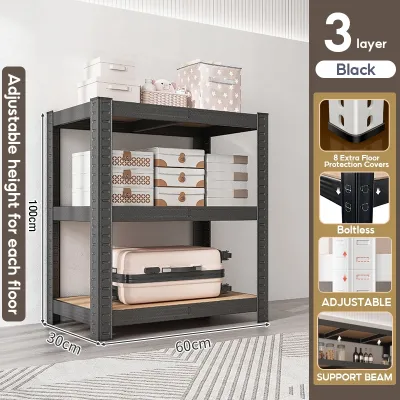
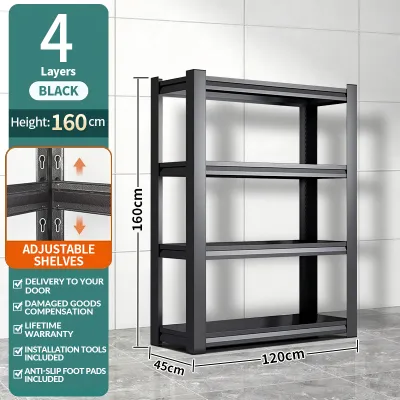
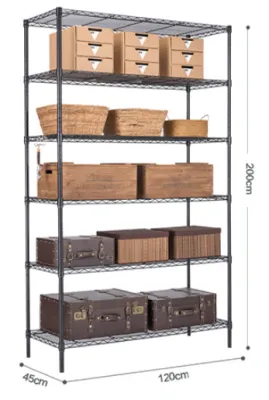
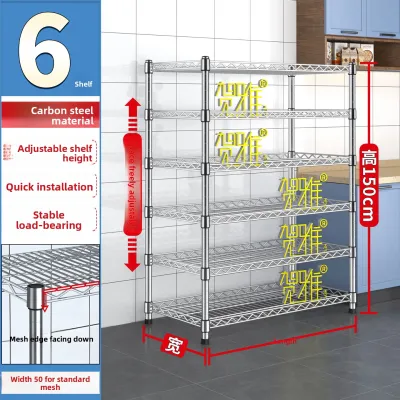
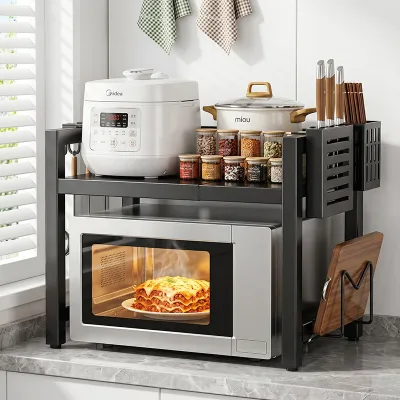
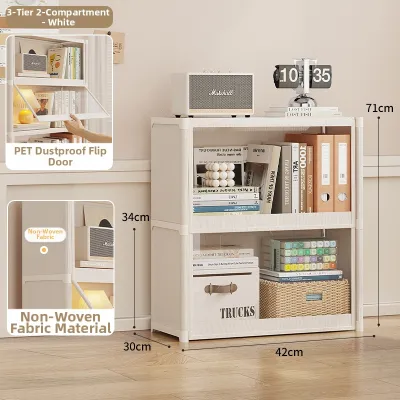

Prices are valid at publication and may change. Please refer to the product page for the latest price.
Uneven walls are a common issue in many residential properties. To account for this, take width measurements at three different heights: near the floor, at the midpoint, and near the top of where the rack will stand. Use the smallest of these three measurements as your maximum width to ensure the unit fits without scraping or damaging your walls during installation.
Vertical space is equally critical when planning your layout. Measure from the floor to the ceiling, but keep an eye out for overhead obstructions. Note the positions of wall-mounted air conditioning units, light fixtures, ceiling fans, and structural beams that could block a tall rack or make assembly difficult.
Do not forget wall fixtures that require regular access. Mark the locations of electrical outlets, light switches, and internet data ports on your layout plan. If your shelf rack blocks these, you may lose access to essential plugs or find yourself unable to turn on the lights without reaching awkwardly behind the frame.
Finally, factor in clearance zones around the unit. A shelf rack needs breathing room, particularly if it is placed near a doorway, window, or built-in wardrobe. Ensure there is enough space for doors to swing fully open and for people to walk past comfortably without bumping into the corners of the rack.
Match Shelf Rack Dimensions to Your Storage Items
The dimensions of your shelf rack must directly correspond to the items you intend to store. Begin by gathering your largest or heaviest items, such as plastic storage tubs, kitchen appliances, or heavy reference books. Measure their height, width, and depth to establish your minimum shelf requirements.

For bulky items, you will need a rack with greater depth, typically around 45 cm to 60 cm. If you use standard plastic storage boxes, measure the boxes first, as some have protruding lids or handles that require extra depth. Choosing a shelf that is too shallow will cause these boxes to overhang, creating a safety hazard and an untidy appearance.
For smaller items like books, decorative pieces, or pantry jars, a shallower rack of 30 cm to 35 cm is usually ideal. Deeper shelves for small items often lead to items getting lost or forgotten at the back of the shelf. Shallower units also preserve precious floor space in tight rooms.
Consider the vertical spacing between shelves. Fixed-height shelves limit your storage options, whereas units with adjustable tiers allow you to customize the spacing as your needs change. Look for models with closely spaced adjustment slots so you can minimize wasted vertical space above your items.
Plan for future storage needs by leaving a small buffer. If your current storage fills the rack completely, you will quickly run out of space. Opting for a modular system that allows you to add extra tiers or connect side units later is an excellent way to ensure your storage can grow alongside your household.
Plan for Room Layout and Traffic Flow
A shelf rack should enhance your room, not dominate it. Consider the visual weight of the unit before making a decision. A tall, solid-wood or heavy metal rack can make a small room feel cramped and dark. In contrast, an open-back design or a unit with slender wire shelves allows light to pass through, maintaining an airy and spacious feel.
Maintain clear walking paths throughout the room. In high-traffic areas like hallways, kitchens, or utility rooms, you should aim for a minimum clearance of 90 cm in front of the rack. This ensures that two people can pass each other or that you can carry laundry baskets and groceries past the unit without obstruction.
In tight spaces like household shelters or storerooms, space is at a premium. Here, a deep rack might block the entrance or restrict your movement inside. Measure the door’s swing radius carefully to ensure the door can open to its full angle without striking the shelf frame.
If the shelf rack is placed near other furniture, check the clearance for drawers and cabinet doors. You do not want a newly installed rack to prevent you from fully opening your wardrobe doors or pulling out desk drawers. Leave a comfortable buffer zone to accommodate these movements.
Verify Structural Limits and Installation Conditions
Safety must be your top priority when selecting a shelf rack. Always review the manufacturer’s specified load capacity, which is typically detailed per tier and as a total weight limit for the entire unit. Never assume a heavy-looking rack can support unlimited weight; check the product specifications carefully before purchasing.
Tall, narrow, or top-heavy units pose a significant tip-over risk, especially if they are loaded unevenly. Check if the manufacturer recommends or includes wall-anchoring hardware. If you are renting or cannot drill into your walls, you may need to opt for a lower, wider unit that has a naturally stable center of gravity.
Evaluate the floor surface where the rack will stand. Uneven tiles, warped floorboards, or thick carpeting can cause a rack to wobble or lean. Look for shelf racks equipped with adjustable leveling feet, which allow you to compensate for minor floor imperfections and ensure the unit remains perfectly upright.
Consider the material of your walls if anchoring is required. Concrete, brick, and drywall all require different types of wall plugs and screws. Ensuring you have the correct hardware for your specific wall type is essential for a secure and stable installation.
Common Shelf Rack Sizing Mistakes to Avoid
One of the most frequent mistakes is failing to measure the delivery path. A large, fully assembled shelf rack—or even flat-packed boxes containing long frame posts—must be able to fit through your building’s lift doors, up the stairwells, and through your front door. Always check these entry dimensions before ordering.
Another common oversight is ignoring the depth of skirting boards. If your skirting boards protrude significantly, a standard flat-backed rack will not sit flush against the wall. This creates a gap at the back, which can cause the rack to tilt forward or prevent you from securing it tightly to the wall anchors.
Finally, avoid the temptation to buy the largest possible rack just to maximize storage. Overloading a small room with a massive shelving unit ruins the room’s proportions and makes the living environment feel cluttered and stressful. Balance your storage capacity with the physical comfort of your living space.
Frequently Asked Questions (FAQ)
How much space should I leave between a shelf rack and the wall?
It is highly recommended to leave a small gap of about 2 cm to 5 cm between the back of the shelf rack and the wall. In humid climates, pushing furniture flush against the wall restricts airflow, which can lead to moisture buildup, peeling paint, and mold growth on both the wall and your stored items.
Additionally, this gap accommodates skirting boards and provides necessary clearance for electrical cables, plugs, and wall outlets. Leaving a small space ensures that cables are not pinched or bent at sharp angles, which can damage the cords and create electrical hazards.
Can I use a tall shelf rack in a room with low ceilings?
Yes, you can use a tall shelf rack in a room with low ceilings, but you must leave at least 10 cm to 15 cm of clearance at the top. This space is necessary to allow you to lift and slide items onto the top shelf, clean the top surface, and assemble the unit if it requires top-down fastening.
If the ceiling is exceptionally low, a very tall, solid unit can make the room feel claustrophobic. In these scenarios, opting for a wider, lower-profile unit or a rack with an open-frame design is a better choice, as it provides ample storage without overwhelming the vertical space of the room.

Community discussion
Share your experience or ask a question. Comments are reviewed before publication.