
Finding the perfect dustproof shoe cabinet requires balancing your household’s actual shoe collection with the physical limits of your entryway. To choose the right capacity, you must calculate your current inventory, account for future additions, and translate those numbers into precise internal cabinet dimensions. A well-planned cabinet keeps your foyer organized while protecting your footwear from dust, humidity, and clutter.
Assessing Your Household's Shoe Storage Needs
To establish a realistic baseline capacity, start by auditing your household’s current footwear. Group your shoes by user and primary function, separating daily wear, athletic shoes, formal footwear, and seasonal items. This categorization helps you see exactly how many pairs require prime real estate in your main entryway cabinet versus those that can be stored in secondary locations.
Do not just plan for the shoes you own today. Consider how your household might change over the next few years, such as welcoming new family members, accommodating growing children whose shoe sizes will increase, or taking up new sports that require specialized footwear. A cabinet bought with zero buffer space will quickly overflow, forcing you to leave shoes scattered on the floor.
Products mentioned in this guide
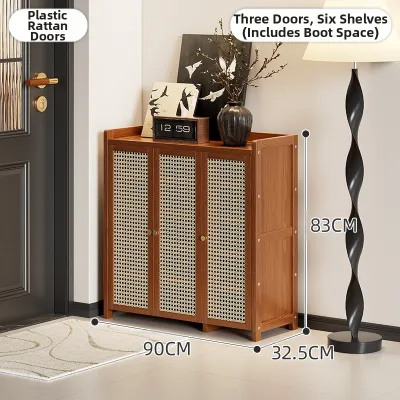
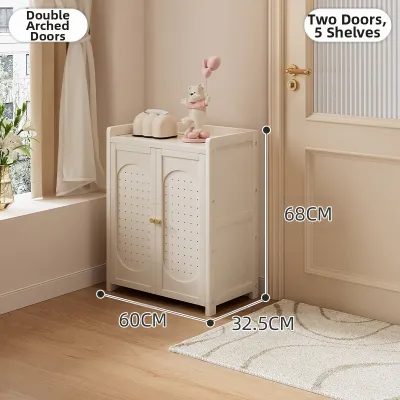
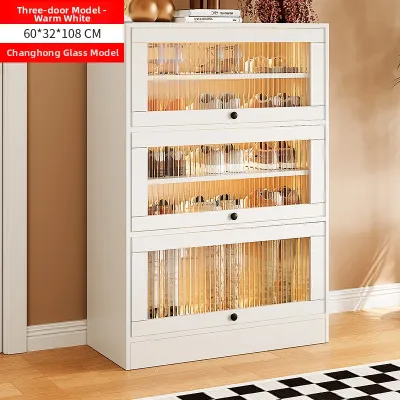
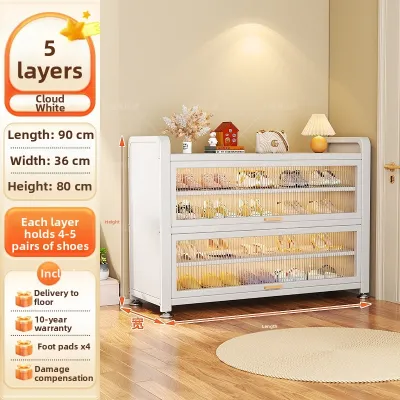
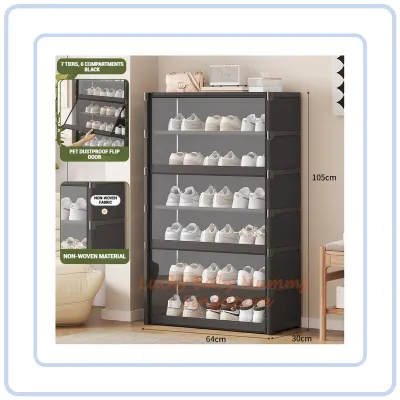
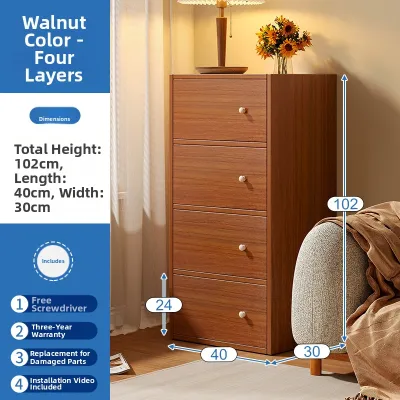
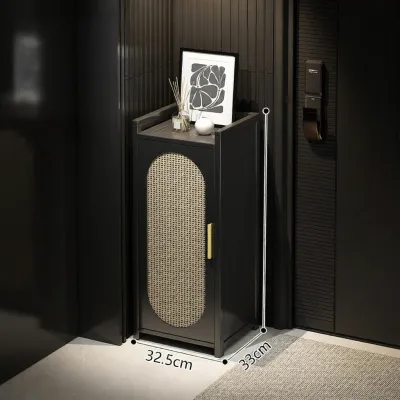
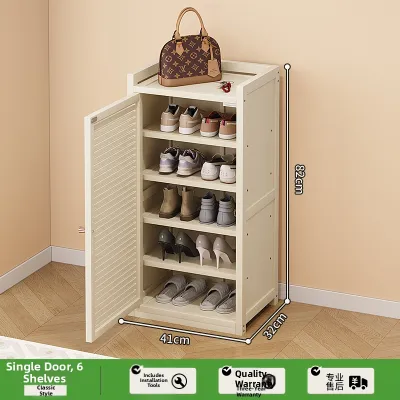
Prices are valid at publication and may change. Please refer to the product page for the latest price.
It is also essential to decide which specific pairs genuinely require enclosed dust protection. High-value leather shoes, suede heels, and formal dress shoes benefit immensely from a sealed, dustproof environment to prevent deterioration. Conversely, everyday plastic slides, wet sandals, or heavily soiled running shoes might be better suited for an open bottom rack or a secondary outdoor shelf where they can air out before being stored.
Translating Shoe Pairs into Cabinet Dimensions and Tiers
Once you have a target shoe count, you need to translate that number into physical cabinet specifications. Standard flat shelves are highly efficient for uniform footwear, but they can limit your options if your collection includes a mix of flats, high heels, and boots. Look for cabinets featuring adjustable or removable internal dividers, which allow you to customize the height of each tier to match seasonal wardrobe shifts.

Pay close attention to the depth and height requirements of your largest or bulkiest footwear. Standard cabinets often feature an internal depth of around 30 to 35 centimeters, which easily accommodates average shoe sizes. However, if anyone in your household wears larger shoe sizes, high-top sneakers, or ankle boots, you will need to verify that the internal clear depth can accommodate these longer soles without forcing you to store them sideways.
If you are dealing with a narrow hallway or limited foyer depth, alternative shelf designs can maximize your storage capacity. Slanted shelves and drop-down double-deck compartments allow shoes to sit at an angle, significantly reducing the external depth of the cabinet. Keep in mind, however, that these space-saving designs may limit the height of the shoes you can store, often making them unsuitable for high heels or thick-soled boots.
Evaluating Space and Placement Constraints in Your Home
A high-capacity shoe cabinet is only useful if it physically fits into your home without disrupting daily foot traffic. Before browsing online marketplaces, use a measuring tape to record the exact width, depth, and height available in your entryway or foyer. Remember to check the dimensions of your home’s lift, stairwells, and front doorway to ensure the delivery team can safely transport the fully assembled unit into your living space.
Look out for subtle physical obstacles along the wall where you plan to place the cabinet. Skirting boards can prevent a cabinet from sitting flush against the wall, while light switches, electrical outlets, and utility box doors must remain completely unobstructed and accessible. Measuring the height of these fixtures beforehand ensures your new furniture will not block vital household controls.
Additionally, you must calculate the clearance required to operate the cabinet doors comfortably. Hinged doors require a clear swing radius, which can easily block a narrow corridor when opened. If your entryway is tight, consider sliding doors or drop-down drawer mechanisms that minimize the outward clearance needed to access your shoes, keeping your walkways safe and functional.
Matching Cabinet Features to Dust Protection and Accessibility
To keep your footwear pristine, the cabinet’s structural design must offer reliable dust resistance. Fully enclosed wooden or composite panels equipped with magnetic door seals provide an excellent barrier against airborne dust and household pet hair. While louvered or slatted doors offer a classic look, they allow fine dust particles to settle on your shoes over time, making them less effective for long-term preservation.
However, achieving complete dust protection requires a careful balance with proper ventilation. In warm, humid climates, sealing damp or sweaty shoes inside an airtight compartment creates a breeding ground for mold, mildew, and unpleasant odors. To prevent this, look for cabinets that feature discreet ventilation slots on the back panel or plan to use moisture-absorbing sachets and charcoal deodorizers inside the tiers.
Finally, never overlook the structural stability of a fully loaded cabinet. A large-capacity unit filled with dozens of shoes carries significant weight, which can cause the furniture to wobble or tip forward when multiple doors are opened at once. Check the manufacturer’s specified load capacity for each shelf, and ensure the unit includes an anti-tip wall anchoring kit to secure the cabinet firmly to your wall, especially if you have young children or pets.
Common Sizing Mistakes to Avoid Before Purchasing
One of the most common mistakes is buying a cabinet based solely on your household’s headcount. A family of three does not simply own three pairs of shoes; when you factor in work shoes, school shoes, sports trainers, and home slippers, the actual count is often three to four times higher. Always base your purchase on a physical count of your active shoe collection rather than a generic estimate.
Another frequent oversight is relying on the external dimensions listed on product pages. The thickness of the cabinet’s external frame, back panel, and door hinges can reduce the internal usable width and depth by several centimeters. Always check the internal clear dimensions to ensure your shoes will actually fit side-by-side without being squeezed or bent out of shape.
Lastly, avoid purchasing a cabinet with fixed, non-adjustable shelves without measuring your tallest shoes first. If the distance between your shelves is fixed at 15 centimeters, your favorite ankle boots or high heels will end up lying flat on their sides, wasting valuable storage space and potentially damaging the shape of the footwear. Taking a few minutes to measure your tallest pairs beforehand will save you from post-purchase frustration.
Frequently Asked Questions (FAQ)
How many pairs of shoes can a standard tier hold?
To determine how many pairs will fit on a single tier, measure the internal clear width of the shelf rather than the external cabinet width. Next, measure the width of your widest pair of shoes placed side-by-side. Divide the internal shelf width by this shoe width to get an accurate estimate; for example, an internal width of 80 centimeters will comfortably hold about three to four pairs of standard adult shoes.
Should I leave empty space in a dustproof shoe cabinet for ventilation?
Yes, you should avoid packing your shoes tightly against one another inside an enclosed cabinet. Overstuffing blocks the natural airflow, trapping moisture from humid air or sweaty feet inside the sealed compartments, which can lead to mold growth. Leaving a small gap of one to two centimeters between each pair, combined with built-in back vents, helps maintain a fresh and dry environment for your footwear.

Community discussion
Share your experience or ask a question. Comments are reviewed before publication.