
Building a modular rack system from individual components allows you to design a storage solution tailored precisely to your home layout and storage needs. Instead of settling for a pre-packaged unit, selecting separate uprights, beams, and shelves gives you complete control over the final configuration. The process requires careful planning, precise measurements, and a systematic assembly approach to ensure the finished structure is stable and safe. By understanding how these components interact and following a logical build sequence, you can create a durable shelving system that maximizes your storage potential.
Planning Your Space and Rack Configuration
Before purchasing any components, thoroughly assess the physical space where the rack will stand. Begin by measuring the floor footprint, noting the exact width and depth available, and checking for baseboards, light switches, or wall moldings that might obstruct the installation. Measure the ceiling height carefully, especially if you plan to build a tall unit, and ensure there is sufficient clearance at the top to lift and position components during assembly. It is also wise to measure the clearances of doorways and lifts along the delivery route to avoid transport issues.
Next, define the functional requirements of your rack by identifying the types of items you intend to store. Heavy storage boxes, kitchen appliances, or bulky tools require deeper shelves and a higher weight capacity than lightweight decorative items. Determining these load types early helps you calculate the necessary shelf depth and overall structural strength. If you plan to store items of varying heights, a modular system with adjustable shelf intervals will offer the flexibility you need.
Products mentioned in this guide
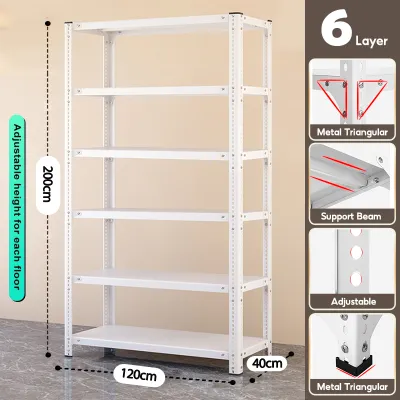
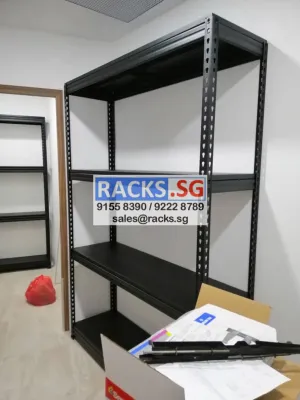
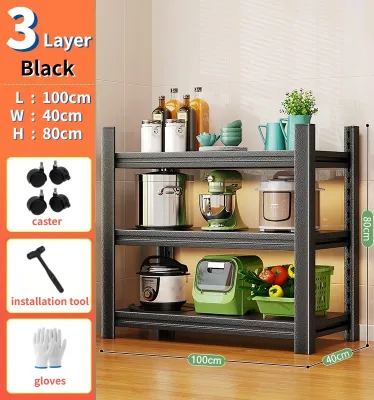
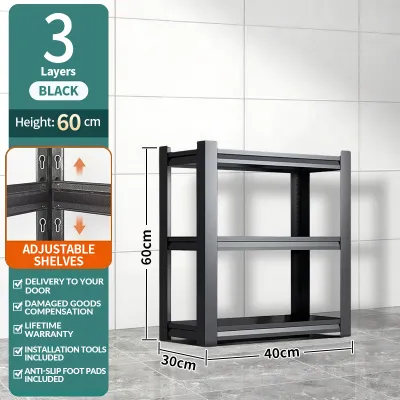
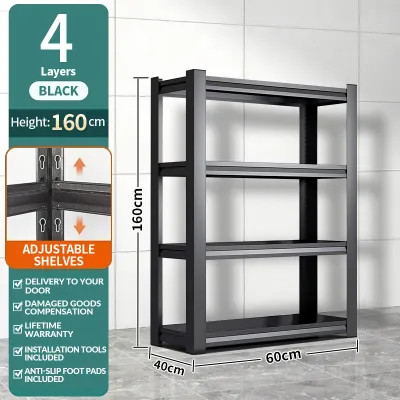
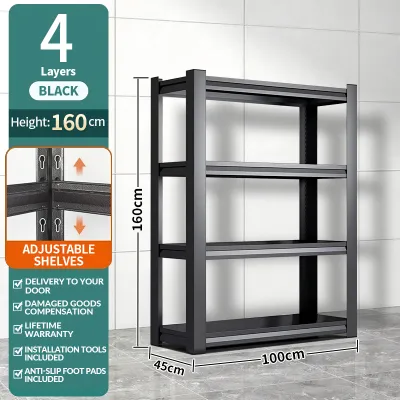
Prices are valid at publication and may change. Please refer to the product page for the latest price.
To visualize the final setup, sketch a basic layout on paper or use a digital planning tool. Mark the overall dimensions, the spacing between individual shelves, and the access pathways around the unit. Ensure that cabinet doors and room entryways can still open fully once the rack is in place. This sketch will serve as your blueprint, helping you count the exact number of uprights, beams, shelves, and connectors required.
Selecting Compatible Modular Components
The success of a DIY modular rack depends heavily on the compatibility of its individual parts. When shopping for components, verify that the connector types match the specific upright profiles and locking mechanisms specified by the manufacturer. Upright posts come in various designs, such as slotted or round profiles, and each requires matching brackets. Mixing incompatible parts can lead to loose joints or sudden failure under load, so it is best to source all structural elements from the same product line.

Always check the product labels or manufacturer manuals for the maximum weight capacity and load distribution limits per shelf. These ratings are typically based on uniformly distributed loads, meaning the weight must be spread evenly across the shelf surface rather than concentrated in one spot. If your storage needs involve exceptionally heavy items, look for reinforced support beams or thicker shelf panels that can handle the stress without sagging.
Consider the material finishes and care instructions to ensure the rack is suitable for its intended environment. For high-humidity areas like kitchens, bathrooms, or utility balconies in Singapore, look for corrosion-resistant finishes such as powder-coated steel or heavy-duty plastics. For living rooms or home offices, wood veneers or laminate finishes may be preferred, but they require protection from direct moisture. Reviewing these material properties beforehand prevents premature wear and ensures longevity.
Tools and Workspace Preparation
A smooth assembly process starts with gathering the correct tools and preparing a safe, organized workspace. Review the manufacturer’s instructions to identify the specific hand tools required for the build. Common tools include rubber mallets for tapping joints into place, screwdrivers, or Allen keys. Using a rubber mallet instead of a standard metal hammer is highly recommended, as it protects the powder coating or metal finish of the components from scratching or denting during assembly.
Clear a flat, level surface in the room where the rack will permanently stand. Assembling a modular rack on an uneven floor can introduce frame distortion, making it difficult to align connectors or slide shelves into place. If you are working on tiled or hardwood floors, lay down a protective barrier such as cardboard or a drop cloth to prevent scratches to both your flooring and the rack components.
Before you begin building, unpack all individual components, sort them by type, and inspect them thoroughly. Check for any missing parts, manufacturing burrs, or transit damage such as bent brackets. Sorting the uprights, beams, shelf panels, and hardware into separate piles makes them easy to reach and prevents confusion during the step-by-step assembly.
Step-by-Step Assembly of the Main Frame
The structural integrity of your modular rack relies on a solid, square foundation. Begin by attaching the base plates or adjustable feet to the bottom of the vertical uprights. If your system includes adjustable leveling feet, screw them in halfway to allow room for fine-tuning later. These base components protect your flooring and provide a stable starting point for the vertical structure.
Next, connect the lowest horizontal support beams to the uprights to establish the base of the frame. It is crucial to work from the bottom up, as this keeps the center of gravity low and prevents the uprights from tipping over during construction. Insert the connectors into the upright slots and tap them gently with a rubber mallet until they are fully seated. Ensure that the left and right beams are positioned at the exact same height to keep the structure balanced.
Before tightening any fasteners or locking connectors completely, check the frame for squareness and level alignment. You can use a spirit level to verify that the uprights are perfectly vertical and the horizontal beams are level. If the frame is slightly misaligned, gently adjust the components until they are square. Tightening the connectors on a skewed frame can warp the metal and make it impossible to install the shelves properly.
If you encounter resistance during assembly, stop immediately and consult the manufacturer’s instructions. Never force parts together or use excessive impact, as this can bend the connectors or damage the locking mechanisms. If a bracket does not slide into an upright slot naturally, check for debris or minor transit damage that might be obstructing the pathway, and realign the pieces carefully.
Installing Shelves and Adjusting the Layout
Once the main frame is secure and level, you can begin installing the shelf panels. Depending on the design of your modular system, shelves may slide into place, rest on top of support beams, or lock onto dedicated shelf clips. Secure each panel according to the manufacturer’s designated locking method, ensuring that all four corners are fully supported and locked in place to prevent the shelf from tipping or sliding when loaded.
As you configure the layout, adjust the shelf heights to accommodate your specific storage items while maintaining structural balance. Avoid placing all the shelves near the top of the unit, as this creates a top-heavy configuration that increases the risk of tipping. If you have tall or bulky items, position them on the lower shelves and adjust the upper shelves to hold smaller, lighter objects. This layout improves accessibility and enhances overall stability.
Proper weight distribution is essential for safe operation. Always place your heaviest items on the bottom shelves to keep the center of gravity as low as possible. When loading each shelf, distribute the weight evenly from back to front and side to side. Avoid stacking heavy items in the center of a shelf, as this can cause the panel to bow over time, compromising its structural integrity.
Stability Verification and Maintenance
With the assembly complete and the shelves in place, perform a thorough stability check before loading the rack with your belongings. Gently shake the frame from side to side and front to back to test for wobble. If you detect any movement, adjust the leveling feet or retighten all fasteners and locking connectors. A stable rack should feel solid and remain completely stationary when light pressure is applied.
Evaluate the need for wall-anchoring kits, which are highly recommended for tall units, narrow racks, or systems placed in high-traffic areas. In Singapore homes, where space-saving vertical storage is common, anchoring a tall rack to a solid wall provides crucial protection against accidental tipping. Check your wall type—such as concrete or drywall—and use the appropriate wall plugs and screws to secure the anchoring brackets firmly to the wall structure.
To ensure long-term safety, establish a routine maintenance schedule for your modular rack. Periodically inspect the joints, connectors, and shelf supports for signs of wear, loosening, or material fatigue. Changes in temperature and humidity, as well as the vibration of daily use, can cause fasteners to loosen over time. Retightening these connections once or twice a year will keep your modular rack system safe, stable, and functional.
Frequently Asked Questions (FAQ)
Can I mix shelving components from different modular systems?
It is generally not recommended to mix shelving components from different modular systems or manufacturers. Different brands often use proprietary connector shapes, slot dimensions, and spacing intervals on their uprights, which prevents parts from fitting together securely. Even if two systems look similar, minor differences in steel thickness or tolerances can lead to loose joints. If you must use components from different sources, physically test-fit a single joint and carefully check its load-bearing stability before committing to a full build.
When is wall anchoring strictly necessary for a modular rack?
Wall anchoring is strictly necessary if the rack’s height-to-depth ratio exceeds the manufacturer’s recommended safety threshold, typically when the height is more than three to four times the depth. You must also anchor the rack if it holds top-heavy loads, is placed in high-traffic areas, or is located in homes with children or pets. Always check your wall material—such as solid concrete or drywall—and use the correct heavy-duty anchors and screws to secure the unit, preventing tipping hazards and ensuring a safe environment.

Community discussion
Share your experience or ask a question. Comments are reviewed before publication.