
Building a custom storage solution with a modular metal frame allows you to maximize vertical space, organize clutter, and tailor your shelving to fit specific room dimensions. Whether you are setting up a pantry, organizing a utility room, or creating an industrial-style display in your living room, assembling these units yourself is a highly practical project. By understanding how to measure your space, select compatible components, and assemble the frame systematically, you can create a sturdy, reliable storage system that adapts to your changing needs over time.
Planning Your Modular Shelving Layout and Dimensions
Before purchasing any metal frame components, a thorough assessment of your physical space is essential to avoid installation bottlenecks. Start by measuring the width, depth, and height of the designated area using a reliable tape measure. It is crucial to account for fixed architectural features such as baseboards, skirting boards, electrical trunking, light switches, and wall sockets, as these can prevent the metal uprights from sitting flush against the wall. Additionally, ensure there is sufficient clearance at the top and sides to maneuver the components during assembly, especially if you are working within a tight recessed alcove or a utility room.
Next, estimate the load requirements of the items you plan to store. Heavy kitchen appliances, filled storage crates, or books require a significantly more robust setup than lightweight decorative items or linens. When selecting your modular system, check the manufacturer’s specified weight capacity per shelf level and ensure the cumulative weight does not exceed the structural limits of the vertical uprights. Distributing weight evenly across the shelves is a fundamental practice for maintaining stability.
Products mentioned in this guide
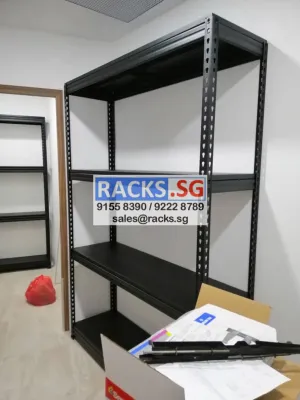
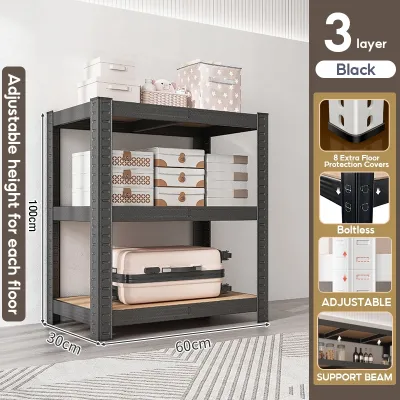
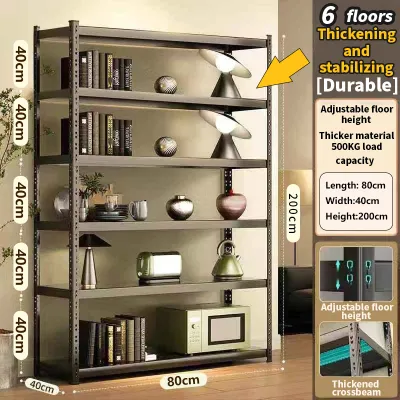
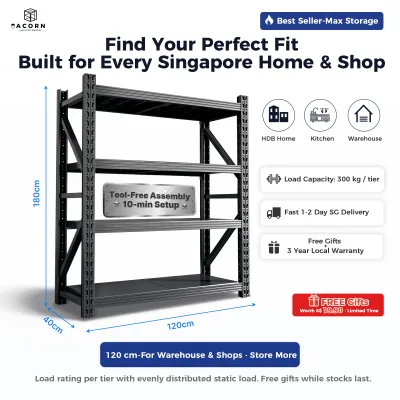
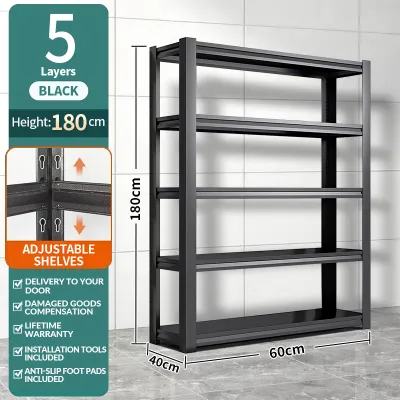
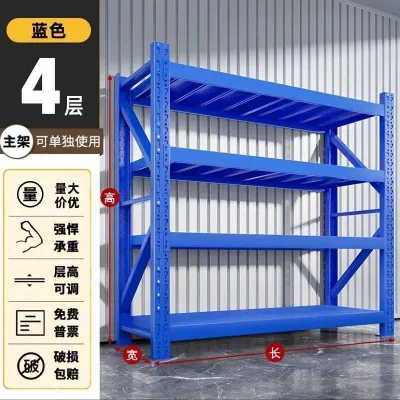
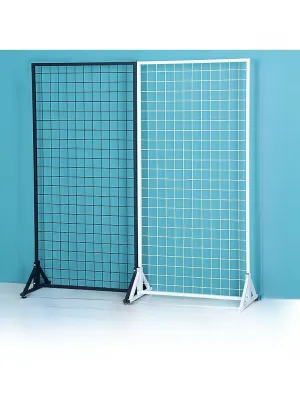
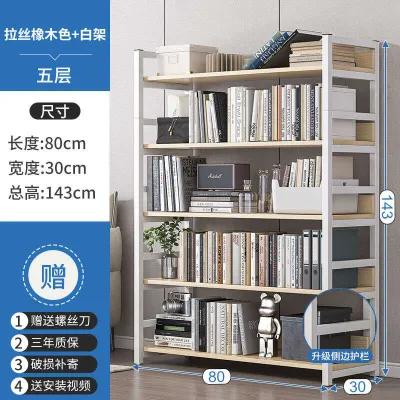
Prices are valid at publication and may change. Please refer to the product page for the latest price.
Finally, select the appropriate metal frame profiles and shelf board materials that suit your environment. Common frame options include boltless rivet systems, which offer rapid assembly, and slotted angle iron systems, which allow for highly customized configurations. For the shelving surfaces, choose materials that match your storage needs and environmental conditions. While plywood and medium-density fibreboard (MDF) are popular for dry indoor areas, they can absorb moisture in humid environments; therefore, check for moisture-resistant treatments or consider metal wire decks or solid steel shelf panels for areas prone to dampness.
Tools and Materials Required for Assembly
Having the correct components and tools on hand before you begin ensures a smooth, uninterrupted assembly process. A standard modular metal shelving kit typically includes vertical uprights, horizontal crossbeams, shorter side beams, shelf support brackets, and protective foot pads. Depending on the design, you will also need the corresponding shelf boards, which must be sized precisely to fit the inner dimensions of the frame.

The fastening hardware varies widely depending on the modular system you choose. Boltless systems rely on pre-punched slots and rivets or locking tabs that slide into place, often requiring safety clips to prevent accidental dislodgement. Bolted systems, on the other hand, require a specific count of hex bolts, nuts, washers, and corner plates to reinforce the joints. Always inventory these small parts against the manufacturer’s packing list before starting.
For tools, a rubber mallet is indispensable, particularly for boltless frames, as it allows you to seat the beams firmly into the upright slots without denting or chipping the metal finish. You will also need a spirit level to verify that each shelf is horizontal and that the uprights are plumb. A tape measure, a pair of sturdy work gloves to protect your hands from sharp metal edges, and a socket wrench or adjustable spanner for bolted systems complete the basic toolkit. If you plan to anchor the unit to a wall, ensure you have a hammer drill and appropriate masonry or drywall wall plugs.
Step-by-Step Assembly of the Metal Frame Base
The foundation of your modular shelving unit dictates its overall stability and alignment, making the assembly of the base frame the most critical phase. Begin by attaching the protective plastic or rubber foot pads to the bottom of each vertical upright. This step must not be skipped, as these pads prevent the heavy metal edges from scratching or cracking your floor tiles, vinyl, or wood laminate during assembly and subsequent use.
Once the feet are secure, lay out the components for the bottom tier on a flat, clean surface. Position two vertical uprights parallel to each other and connect them using the short side beams at the very bottom, followed by the longer front and back horizontal crossbeams. It is best to position this lowest shelf level as close to the floor as possible to maintain a low center of gravity, while still leaving enough clearance to clean underneath if desired.
Before securing the joints tightly, you must verify that the base frame is square. To do this, use your tape measure to take diagonal measurements from the top-left corner to the bottom-right corner, and then from the top-right corner to the bottom-left corner of the rectangular base. If these two diagonal distances are identical, your frame is square. If they differ, gently nudge the corners until the measurements match.
With the base squared, engage the locking mechanisms or hand-tighten the bolts. If you are using a boltless system, use the rubber mallet to tap the horizontal beams downward into the keyhole slots of the uprights. Do not apply maximum force or fully tighten bolts at this stage; keeping the joints slightly adjustable allows you to correct any minor alignment issues as you build the upper tiers.
Installing Shelf Boards and Expanding the Modular Tiers
With a stable and square base established, you can now begin locking the geometry in place and expanding the unit vertically. Place the first shelf board onto the bottom frame assembly. Fitting this board early in the process acts as a physical brace, preventing the base from twisting or shifting out of square while you work on the upper sections. Ensure the board sits flush within the recessed lips of the horizontal beams.
Next, extend the vertical uprights if your modular system uses multi-piece posts. Connect the upright couplers securely, ensuring they are fully seated. Once the uprights are extended to the desired height, begin installing the horizontal and side beams for the next shelf tier. Refer to your initial planning layout to space the shelves according to the height of the items you intend to store, keeping in mind that leaving too much vertical space between lower shelves can reduce the overall structural rigidity of the frame.
At each new tier, it is vital to check both level and plumb. Place your spirit level on top of the horizontal beams to ensure they are flat from left to right and front to back. Then, hold the level vertically against the upright posts to confirm they are not leaning. Cumulative alignment errors can build up quickly; a frame that is slightly out of alignment at the base can lean significantly by the time it reaches the top tier, compromising its load capacity and safety.
Continue this systematic process of adding beams, checking alignment, and placing shelf boards for each subsequent tier. Once all levels are in place, perform a visual inspection to ensure every shelf board is properly supported on all four sides and that no edges are warping or lifting out of the frame.
Securing, Stabilizing, and Final Safety Checks
Before loading your newly assembled metal shelving unit with heavy items, you must evaluate its stability and perform essential safety checks. The primary risk with tall or narrow shelving units is tipping. As a general rule, if the height of your shelving unit is more than three times its depth, or if you plan to place heavier items on the upper shelves, wall anchoring is highly recommended to prevent accidental tip-overs.
To anchor the unit, align it in its final position against the wall. Mark the anchor points through the pre-drilled holes in the rear uprights or use dedicated wall-mounting brackets. Drill into the wall using the appropriate drill bit for your wall type—such as masonry anchors for concrete walls or toggle bolts for drywall—and secure the brackets firmly. Ensure the anchors are rated to handle the potential pulling force of a loaded shelf.
Once the unit is anchored, go back through the entire structure to finalize all connections. Use your rubber mallet to give each boltless joint a firm, final tap to ensure the rivets are completely bottomed out in their slots. If you are using a bolted system, use a wrench to tighten every nut and bolt securely, checking for any gaps between the metal components or misaligned brackets.
Finally, conduct a preliminary load test. Begin by placing items on the bottom shelf first, gradually working your way upward. This loading pattern keeps the center of gravity low and maximizes stability. Observe the frame and shelf boards as you add weight; check for any visible bowing of the shelves, shifting of the joints, or leaning of the uprights. If you notice any structural deflection, remove the weight immediately and re-verify the joint connections and levelness.
Adapting and Maintaining Your Metal Frame Shelving
One of the greatest advantages of a modular metal shelving system is its ability to evolve alongside your storage requirements. If your storage needs change, you can easily adjust the height of individual shelves or expand the system by adding compatible extension bays. When reconfiguring the layout, always unload the shelves completely before attempting to move beams or uprights, and use a rubber mallet to gently tap components loose from underneath to avoid damaging the finish.
Over time, physical shifts, temperature changes, and the constant loading and unloading of items can cause fasteners to settle or loosen. It is good practice to conduct a routine inspection of your shelving unit every six months. Check the joints for any play, ensure locking clips are still securely in place, and retighten any bolts that may have backed out slightly due to minor vibrations in the home.
Additionally, maintaining the physical condition of the metal frame is crucial for its longevity, especially in humid environments. High humidity can find its way through scratches in the paint or powder coating, leading to localized rust. Periodically wipe down the metal frame with a clean, dry microfiber cloth to remove dust and moisture. Avoid using abrasive scrubbers or harsh chemical cleaners that can strip away protective coatings, and promptly touch up any deep scratches with a matching rust-inhibiting paint to keep the steel protected.
Frequently Asked Questions (FAQ)
Do I need to anchor a metal frame shelving unit to the wall?
Wall anchoring is highly recommended if the shelving unit is tall, narrow, or top-heavy. Specifically, if the height-to-depth ratio exceeds 3:1, or if the manufacturer’s instructions mandate anchoring, you should secure the frame to a solid wall structure. Anchoring is also a critical safety measure in households with active pets or children, as well as in high-traffic areas where accidental bumps could destabilize the unit. Always verify that the wall anchors you use are compatible with your specific wall material, whether it is concrete, brick, or drywall.
Can I use metal frame shelving outdoors or in wet areas?
Whether you can use a metal frame shelving unit in wet or outdoor environments depends entirely on the material’s finish and the manufacturer’s specifications. Standard powder-coated steel frames are generally designed for indoor use and may rust quickly if exposed to direct rain, pooling water, or persistent outdoor condensation. For wet areas like balconies, gardens, or damp bathrooms, look for frames specifically rated for outdoor use, such as those made from hot-dip galvanized steel, stainless steel, or heavy-duty plastic. Regularly inspect outdoor frames for signs of corrosion, and apply a rust-preventative treatment if you notice the protective coating beginning to wear down.

Community discussion
Share your experience or ask a question. Comments are reviewed before publication.