
Building a custom toy rack using modular shelving components is one of the most practical ways to manage a growing collection of toys while maximizing limited floor space. Unlike fixed, pre-assembled furniture, modular systems allow you to customize the height, depth, and configuration of each shelf to match your specific storage needs. By selecting individual uprights, shelves, and connectors, you can design a system that fits perfectly into tight corners, under windows, or alongside existing bedroom furniture. This guide walks you through the entire process, from initial spatial planning and tool gathering to step-by-step assembly, wall anchoring, and strategic toy organization.
Plan Your Modular Toy Storage Layout
Before purchasing any modular components, you must accurately measure your designated room space. Use a metal measuring tape to record the width, depth, and height of the available wall area. Remember to account for architectural obstacles such as baseboards, electrical outlets, light switches, window frames, and door swing clearances. If you live in a high-rise apartment or HDB flat, also verify that the packaged components can easily fit through your doorways, hallways, and passenger lifts during delivery.
Next, take inventory of the toys you need to store. Group them by size, weight, and type, separating lightweight plush toys and action figures from heavy board games, wooden train sets, and plastic storage bins. This categorization determines the distance you will need between individual shelves and the load capacity required for each tier. Heavy items will require sturdier shelf materials or reinforced support bars, while smaller items might benefit from shallow shelves paired with modular storage bins.
Products mentioned in this guide
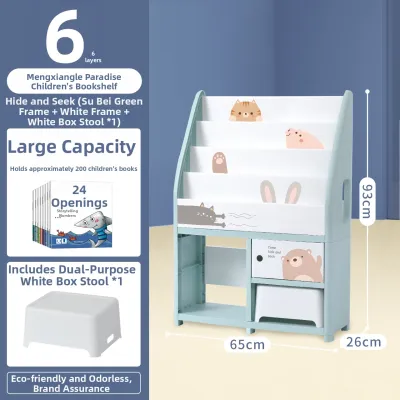
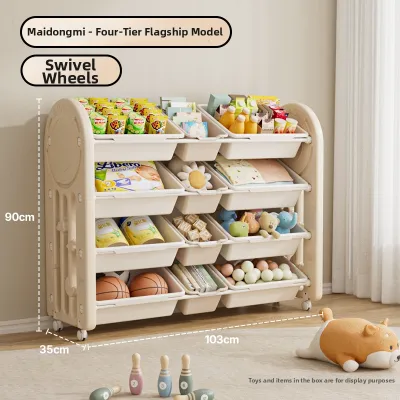
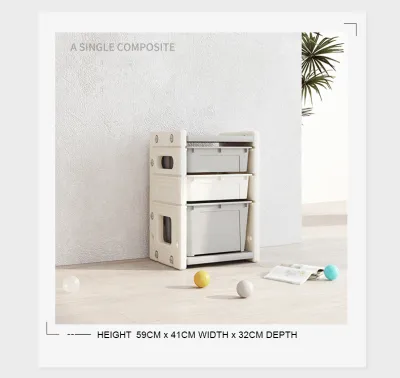
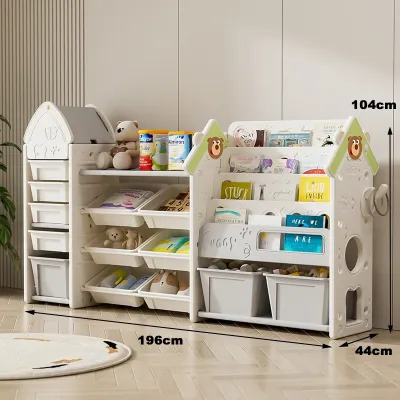
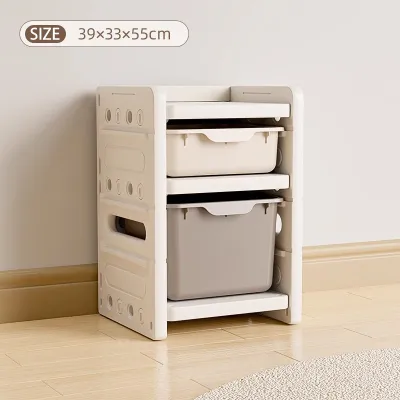
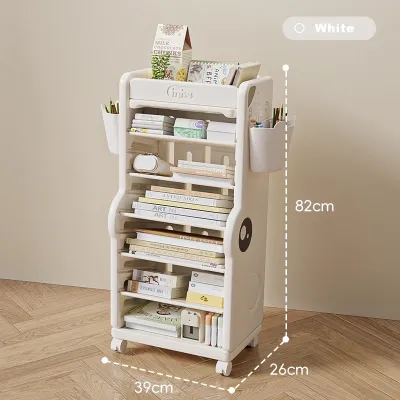
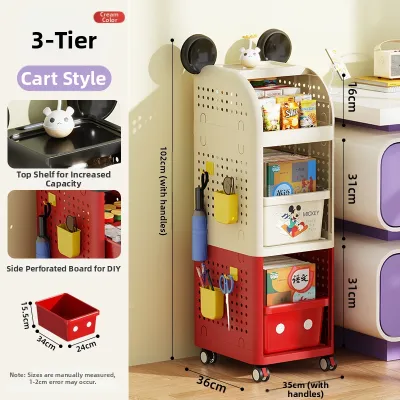
Prices are valid at publication and may change. Please refer to the product page for the latest price.
With your measurements and toy inventory in hand, select compatible modular components from a single manufacturer to ensure seamless fitment. Choose upright frames or vertical standards that match your height requirements, and select shelves with depths that accommodate your largest storage bins without protruding into walking paths. Ensure that the connectors, brackets, and clips you choose are explicitly rated for the specific shelving system you select, as mixing parts from different brands can compromise structural integrity.
Gather Tools and Materials for Assembly
Assembling a modular toy rack requires a few basic hand tools to ensure a secure and level installation. Prepare a rubber mallet for tapping interlocking joints into place without damaging the finish, a spirit level to verify that uprights and shelves are perfectly straight, and a reliable measuring tape. Depending on the connection system, you may also need a standard Phillips screwdriver, an Allen key, and a drill with masonry or drywall bits if you are anchoring the unit to a wall.

Before beginning assembly, clear a spacious work area and unbox all components. Lay out the uprights, shelves, brackets, and hardware packs, and cross-reference them with the manufacturer’s packing list to ensure no parts are missing. Verifying these items beforehand prevents frustrating interruptions mid-assembly and allows you to inspect the metal or wood components for any shipping damage or manufacturing defects.
Safety should be a priority during assembly, especially for furniture intended for a child’s environment. Keep safety glasses on hand when drilling, and ensure you have a dedicated wall-anchoring kit. While some modular systems include basic wall straps, you may need to purchase specialized heavy-duty anchors separately, depending on whether your walls are made of solid concrete, brick, or hollow drywall.
Assemble the Modular Toy Rack Step-by-Step
Begin by preparing a clean, flat workspace, preferably on a carpeted floor or a large piece of cardboard to protect both your flooring and the shelving components from scratches. Organize your hardware into small trays or bowls so that screws, pins, and brackets do not roll away. Read through the manufacturer’s instruction manual completely before assembling the first piece, paying close attention to the orientation of the uprights, as many systems have specific top-and-bottom or front-and-back alignments.
Assemble the base frame or bottom-most shelf first, as this establishes the footprint and stability of the entire unit. If your system uses vertical uprights with leveling feet, screw the feet in completely, then place the frame in its intended location. Use your spirit level to check the base from front to back and side to side, adjusting the leveling feet as necessary to compensate for uneven floors. Once the base is level, attach the vertical uprights or side frames, ensuring they slide fully into their designated slots or brackets.
With the vertical framework secure, begin installing the horizontal shelves from the bottom up. Position the shelf brackets or support clips at your pre-planned heights, ensuring that the clips on all four corners are aligned at the exact same level. Lower the shelf onto the brackets and press down firmly; if the system uses interlocking joints, use your rubber mallet to gently tap the corners until the shelf is fully seated. Engage any safety clips, locking pins, or retention screws provided by the manufacturer to lock the shelf securely to the uprights.
As you work your way up the rack, temporarily place your largest toy bins or storage boxes on the lower shelves to verify that you have left enough vertical clearance. It is much easier to adjust shelf heights now, before the entire unit is fully assembled and loaded with toys. Ensure there is at least a two-to-three-centimeter clearance above the top of each bin to allow children to slide them out easily without scraping their hands or catching on the shelf above.
After installing each tier, pause to check the structural stability of the assembly. Gently shake the frame to ensure there is no excessive wobble or loose connections. If you notice any swaying, double-check that all connectors are fully engaged and that the unit remains plumb. Do not proceed to the next level or load any weight onto the shelves if the structure feels unstable or if any joints are not completely seated.
Secure the Toy Rack with Safety Checks and Wall Anchoring
Once the physical assembly is complete, perform a comprehensive inspection of every joint, screw, and locking mechanism. Run your hands along the shelves to ensure there are no sharp edges, exposed screw heads, or splinters that could injure a child. Tighten any loose fasteners with your screwdriver or wrench, but avoid over-tightening plastic connectors, which can crack under excessive pressure.
Because toy racks are frequently climbed on or pulled by young children, wall anchoring is a critical safety step that must not be skipped. Any modular shelving unit that is tall, narrow, or top-heavy poses a serious tip-over hazard. Evaluate the height-to-depth ratio of your rack; as a general rule, any unit taller than one meter should be securely anchored to the wall, regardless of how stable it feels on the floor.
Select the correct wall anchors based on your home’s wall construction. For solid concrete or brick walls common in many modern apartments, use expansion anchors or masonry plugs paired with sturdy metal L-brackets. For drywall or plasterboard walls, utilize heavy-duty toggle bolts or threaded drywall anchors that expand behind the wall surface. Mount the brackets to the solid framing of the toy rack and secure them firmly into the wall anchors, ensuring there is no slack in the connection.
Over time, the weight of toys and the vibration from daily use can cause fasteners to loosen slightly. Establish a routine inspection schedule—such as every six months—to check the tightness of all wall anchors, shelf brackets, and frame connectors. Inspect the unit for any signs of sagging, warping, or shifting, and make immediate adjustments or repairs to maintain a safe environment for your family.
Organize Toys for Accessibility and Stability
Proper toy organization is not just about aesthetics; it is also essential for maintaining the physical stability of your custom rack. Always place your heaviest items, such as wooden building blocks, heavy board games, and large plastic storage tubs, on the lowest shelves. This distribution of weight lowers the overall center of gravity of the shelving unit, making it significantly more stable and less prone to tipping forward.
Use the middle and lower-middle shelves for frequently used toys, placing them in open, lightweight bins that are easy for children to reach and slide out independently. Reserve the highest shelves for decorative items, display models, or toys that require adult supervision, keeping them safely out of reach of younger children. This arrangement encourages independent play while preventing children from attempting to climb the shelves to reach desired items.
Maximize the utility of your modular rack by incorporating specialized accessories designed for your shelving system. Add side hooks for hanging play bags or dress-up costumes, slide-out drawer inserts for organizing small action figures or art supplies, and clear label holders on the front of bins. Labeling bins with both pictures and words helps children identify where items belong, making cleanup faster and teaching basic organizational skills.
Frequently Asked Questions (FAQ)
How much weight can a modular toy rack hold?
To determine the safe load capacity of your custom toy rack, always consult the manufacturer’s specifications for both the individual shelves and the overall frame. Weight limits vary significantly based on materials, with solid wood and steel components generally supporting more weight than wire or particleboard options. Always distribute the weight evenly across each shelf rather than concentrating heavy items in the center, and never exceed the maximum rated capacity, as overloading can cause shelves to sag or joints to fail.
Can I reconfigure the shelves as my child grows?
Yes, one of the primary benefits of a modular shelving system is its long-term adaptability. As your child’s toy collection transitions from large toddler playsets to smaller collectibles, books, or study materials, you can easily reposition the shelves to accommodate different storage containers. To make adjustments safely, completely unload all items from the rack, detach the wall anchors, and carefully reposition the shelf brackets according to the manufacturer’s guidelines. Always re-verify the levelness of the shelves and securely re-anchor the unit to the wall before reloading it with items.

Community discussion
Share your experience or ask a question. Comments are reviewed before publication.