
Building a custom toy organizer rack using modular shelving components allows you to design a storage system tailored precisely to your home’s layout and your child’s changing play habits. By selecting individual frames, connectors, and inserts, you can maximize vertical space, keep play areas tidy, and easily adapt the configuration as your family grows. Constructing this setup involves assessing your room’s dimensions, choosing compatible parts that meet safety standards, preparing your workspace, and systematically assembling the unit from the ground up. With a methodical approach, you can create a highly functional, stable, and secure storage solution that encourages independence and keeps clutter at bay.
Plan Your Space and Toy Storage Needs
Before purchasing any modular components, you must thoroughly evaluate the physical space where the toy organizer rack will stand. Begin by measuring the available floor width, depth, and wall height using a reliable measuring tape. It is essential to account for architectural features such as baseboards, electrical outlets, light switches, and window frames that might restrict placement. Ensure the planned location does not obstruct door swings, air conditioning airflow, or high-traffic walkways, maintaining a clear path for safe movement through the room. If you live in an apartment or multi-story home, verify that the packaged components can easily fit through your doorways, hallways, and lift access points during delivery.
Next, take inventory of your child’s current toy collection and categorize the items by size, weight, and frequency of use. Grouping heavy wooden blocks, train tracks, and books separately from lightweight plush toys and board games helps you determine the structural demands of your shelving unit. This categorization is crucial for planning a balanced layout where heavier items are designated for lower levels to prevent the unit from becoming top-heavy.
Products mentioned in this guide
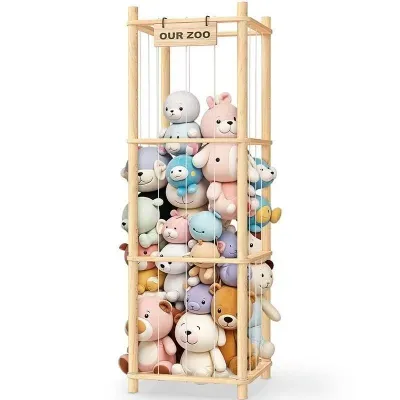
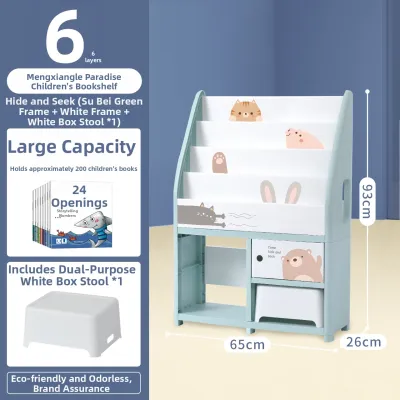
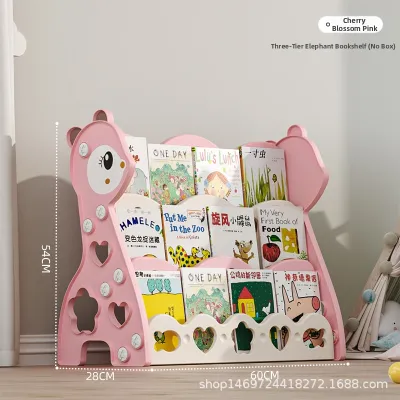
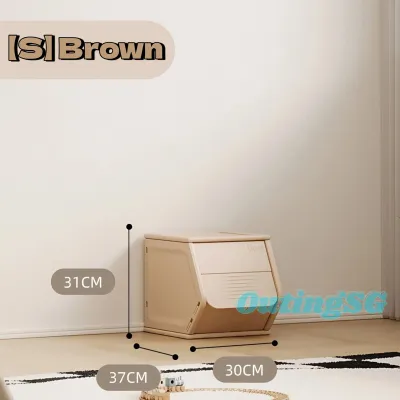
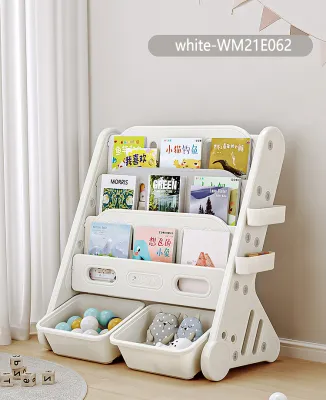
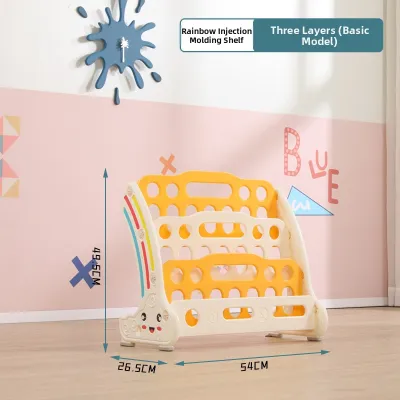
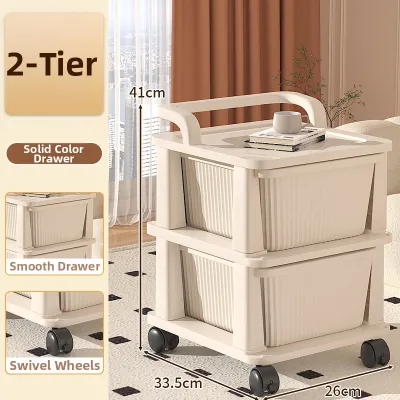
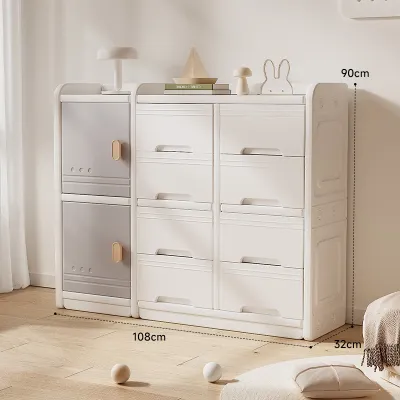
Prices are valid at publication and may change. Please refer to the product page for the latest price.
Finally, decide on the ideal combination of open shelves, closed bins, and pull-out drawers. Open shelves are excellent for displaying frequently used toys and books, making them highly accessible for younger children. Closed bins and drawers, on the other hand, help conceal smaller, multi-piece toy sets like building bricks, while providing protection from dust. Consider your child’s age and reach; lower sections should feature lightweight, easily accessible bins, while higher shelves can hold items that require parental supervision.
Select Compatible Modular Shelving Components
Selecting the right modular pieces requires a careful balance of compatibility, structural integrity, and child safety. Always verify the manufacturer’s load-bearing specifications for each individual shelf, drawer, and the overall frame. Because toy collections can grow surprisingly heavy, relying on verified weight limits ensures the structure will not bow or fail under pressure. Avoid making assumptions about material strength; instead, check the product labels and technical specifications provided by the manufacturer to confirm the unit can handle your planned storage load.

Safety is paramount when choosing furniture for a child’s environment. Look for modular components designed with child-friendly features, such as rounded corners, smooth surface treatments, and non-toxic finishes. Inspect the locking mechanisms of drawers and bins to ensure they have built-in stops that prevent them from being pulled completely out of the frame onto a child. If the system uses glass or acrylic panels, ensure they are shatter-resistant or opt for safer alternatives like fabric, solid wood, or high-density plastics.
To guarantee structural stability, ensure all connectors, brackets, uprights, and shelves belong to the same compatible modular system. Mixing parts from different brands or product lines can lead to improper alignment, weak joints, and compromised stability, even if the pieces appear to fit together. If you plan to combine components from different lines, verify compatibility directly with the manufacturer’s official documentation before finalizing your purchase.
Gather Tools and Prepare the Assembly Area
A successful assembly process relies on having the correct tools ready and preparing a clean, spacious workspace. Gather essential assembly tools, which typically include a rubber mallet for securing interlocking joints without damaging the finish, a screwdriver set for securing brackets, a spirit level to ensure perfect alignment, and a measuring tape. Having these tools on hand prevents interruptions and ensures each component is installed precisely according to the instructions.
Before unboxing the components, clear a generous area of floor space near the final installation site. Lay down a soft protective barrier, such as a large canvas drop cloth, a clean blanket, or a foam play mat, to protect both your flooring and the new shelving pieces from scratches during assembly. This is particularly important for protecting delicate hardwood, laminate, or tiled floors from accidental impacts.
Once the workspace is prepared, carefully unbox all components and organize them by type. Cross-reference every panel, connector, screw, and bracket against the manufacturer’s packing list to verify that all parts are present and undamaged. Identifying any missing or defective pieces before you begin building saves significant time and prevents you from leaving a partially assembled, unstable structure unattended.
Assemble the Modular Toy Organizer Rack
Begin the assembly by constructing the base and the primary vertical supports. The foundation of your modular toy organizer rack dictates the stability of the entire structure, so take your time to ensure it is perfectly level. Place the bottom frame or base feet on your protective mat and use a spirit level to check both the horizontal and vertical planes. If your floor is slightly uneven, utilize the adjustable leveling feet if provided by the manufacturer to achieve a perfectly plumb and square base. Secure the initial vertical uprights to the base, ensuring all joints are fully seated and locked into position.
Once the main frame is stable, begin installing the storage layers, working from the bottom upward. Carefully slide or snap shelves, drawer runners, and bin tracks into their designated slots according to your pre-planned layout. If using a modular system that relies on locking pins, clips, or cam locks, double-check that every single connector is fully engaged and tightened. A single loose clip can compromise the load distribution of the entire rack, leading to sagging or structural failure over time.
After completing the physical assembly, perform a thorough stability check by gently shaking the unit from different angles. If the manufacturer’s instructions require wall anchoring, or if the assembled unit exceeds a safe freestanding height, you must install anti-tip wall anchors. Identify the wall type—such as drywall, concrete, or brick—and select the appropriate wall plugs and screws. Secure the anchoring brackets firmly to both the shelving unit and the wall studs or solid wall structure, minimizing any potential forward movement. This step is non-negotiable for preventing tip-over accidents, especially in active play areas.
Organize and Maintain Your Custom Toy Storage
With the modular rack securely assembled and anchored, you can begin organizing the toys systematically to maintain safety and order. Always place the heaviest items, such as wooden blocks, heavy toy vehicles, and large storage tubs, on the lowest shelves. This practice keeps the center of gravity low, significantly enhancing the overall stability of the organizer. Lighter items, board games, and soft toys can then be distributed across the middle and upper tiers.
To encourage your child to maintain the organization system independently, implement clear visual cues. Label each bin or drawer with simple text or picture tags that illustrate what belongs inside. This helps children identify where their toys are and makes the cleanup process straightforward and engaging. Keep the layout intuitive, placing daily favorites within the child’s direct line of sight and easy reach.
Over time, regular use can cause connectors and fasteners to loosen slightly. Establish a routine maintenance schedule to inspect the toy organizer rack periodically. Check all joints, brackets, and wall anchors to ensure they remain tight and secure. Gently wiggle the frame to detect any new wobbling, and inspect the modular joints for signs of wear, stress fractures, or misalignment. Promptly tightening loose screws or replacing worn parts ensures the storage system remains safe and functional for years to come.
Frequently Asked Questions (FAQ)
Can I add more shelves to my modular toy organizer later?
Yes, many modular systems allow for future expansion, but you must verify several safety conditions before doing so. First, consult the manufacturer’s original guidelines to check the maximum height and overall weight limits permitted for your specific model. Adding too many vertical tiers can compromise the unit’s structural integrity and balance. Additionally, ensure that your existing base structure and anti-tip wall anchors are rated to support the increased load, and install additional wall brackets if the height of the unit increases.
How do I clean and maintain the modular shelving components?
To clean your modular shelving, always refer to the specific product care label for approved cleaning agents and methods. Generally, you should use a soft, damp cloth with a mild, non-abrasive soap solution to wipe down surfaces, avoiding harsh chemicals that could degrade the finish. It is crucial to prevent excess moisture from pooling around joints, metal connectors, or unsealed edges, as water can cause wood composite materials to swell or metal parts to rust. Dry all surfaces thoroughly with a clean towel immediately after wiping.

Community discussion
Share your experience or ask a question. Comments are reviewed before publication.