
Building a custom study table shelf setup using modular components is an excellent way to maximize vertical space, clear desk clutter, and create an ergonomic workspace tailored to your specific daily tasks. Unlike fixed, one-size-fits-all shelving, a modular system allows you to adjust shelf heights, swap out storage accessories, and expand your setup as your storage needs evolve. By combining wall-mounted tracks, pegboards, or freestanding desk risers, you can design a highly functional zone that keeps your essential tools within arm’s reach while maintaining a clean, modern aesthetic. Achieving a safe, stable, and visually balanced configuration requires careful planning, precise installation, and a clear understanding of your room’s structural limits.
Planning Your Modular Study Table Shelf Layout
Before purchasing any shelving components, you must carefully assess your physical workspace to determine the ideal layout. Begin by measuring the width and depth of your study table, as well as the vertical clearance of the wall space directly above it. It is crucial to account for your sitting and standing height to ensure that the lowest shelf is positioned high enough to prevent you from bumping your head when leaning forward, yet low enough that you can easily reach frequently used items without straining. A common approach is to leave at least 50 to 60 centimeters of clear vertical space between the desk surface and the bottom of the first shelf, though this should be adjusted based on your monitor height and personal reach.
Next, categorize the items you plan to store to determine the physical dimensions and spacing of your modular components. Heavy textbooks, reference manuals, and printers require deeper shelves with robust support, whereas lightweight stationery, decorative plants, and small tech accessories can sit on shallower shelves or pegboard attachments. Grouping these items beforehand helps you map out where to place heavy-duty brackets versus light-utility hooks, ensuring that your layout remains highly functional without looking overcrowded. This step also prevents the common mistake of buying shelves that are too deep for your desk, which can block natural light and make your workspace feel cramped.
Products mentioned in this guide
![[free installation service]heavy duty Study bookshelf Table with shelves/Computer Desk/Office Table](https://img.lazcdn.com/g/p/ee72fcc4e9af389a62d3aad06124aa12.jpg_400x400q80.jpg_.webp)
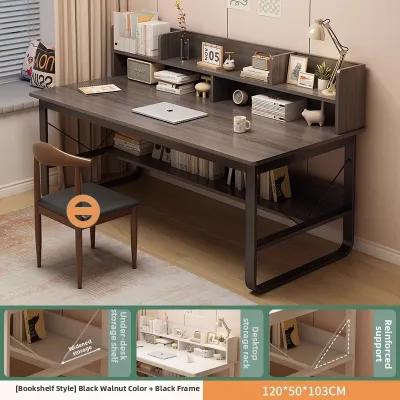
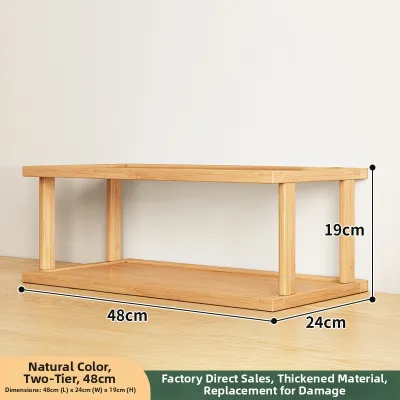
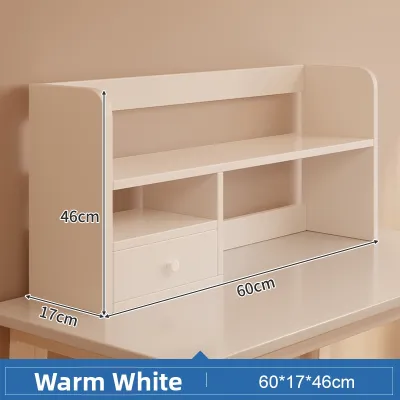
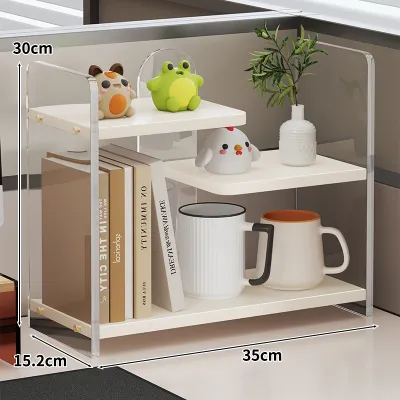
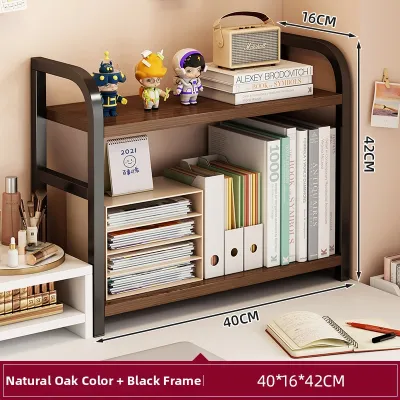
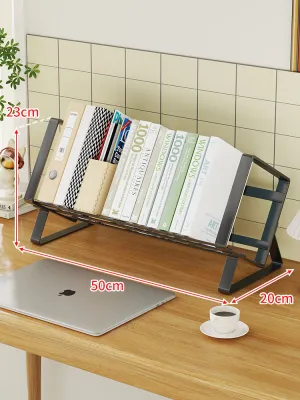
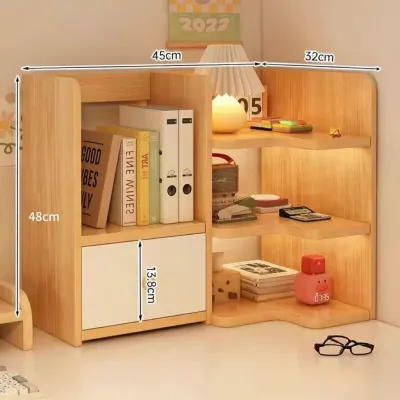
Prices are valid at publication and may change. Please refer to the product page for the latest price.
Finally, investigate the construction of the wall where you plan to mount the shelves. In Singapore, interior walls are frequently made of solid concrete, structural columns, or lightweight drywall partitions, and each material requires a completely different mounting strategy. Use a reliable stud finder to locate wooden or metal studs behind drywall, or to detect hidden electrical conduits and water pipes running through the wall. Drilling into a utility line can cause severe damage and safety hazards, so mapping out these no-drill zones is an essential safety step before finalizing your shelf placement.
Selecting Modular Components and Hardware
Once your layout is planned, you can select the specific modular system that best fits your aesthetic and functional requirements. Track-based systems, which feature vertical metal standards mounted to the wall, offer the highest level of flexibility because you can easily adjust bracket heights at any time. Pegboard systems are ideal for organizing smaller, lightweight tools, cables, and stationery, allowing you to rearrange hooks, bins, and shelves on a modular grid. Interlocking cube systems or freestanding desk-top organizers provide a non-invasive alternative if you prefer not to mount components directly to the wall, though they occupy valuable desk surface area.

When choosing components, always consult the manufacturer’s official weight capacity labels and structural specifications rather than making assumptions based on the material. A shelf made of solid wood or thick steel may look incredibly sturdy, but its actual load-bearing capacity is ultimately limited by the design of its brackets, the spacing of its supports, and the quality of the mounting hardware. Look for clear load ratings on packaging or manufacturer websites, and ensure that the combined weight of your books, equipment, and the shelves themselves does not exceed these certified limits.
Matching your mounting hardware to your specific wall type is the single most critical factor in preventing shelf collapse. For solid concrete or brick walls, you will need heavy-duty masonry wall plugs and matching screws that expand securely inside the drilled hole. For drywall partitions, standard plastic wall plugs are generally insufficient for supporting heavy shelves; instead, you must use specialized toggle bolts or hollow-wall anchors that grip the back of the drywall board, or mount the brackets directly into the wall studs. Always verify that the screw diameter and length match the bracket holes perfectly to prevent any wobbling or structural play.
Step-by-Step Assembly and Installation
The installation process begins with precise marking and leveling to ensure your modular system is perfectly straight and structurally sound. Hold the primary vertical tracks or main mounting brackets against the wall at your desired height, and use a spirit level to verify that they are perfectly plumb. Mark the drill points clearly on the wall with a pencil, then double-check your measurements against the manufacturer’s spacing instructions. If you are installing a multi-track system, ensure the distance between the vertical standards is consistent from top to bottom so that the horizontal shelves will fit securely into the slots.
With your drill points marked, select the correct drill bit size specified by your wall anchor manufacturer. Drill straight into the marked points, keeping the drill steady and perpendicular to the wall surface to avoid creating oversized or angled holes. Insert the appropriate wall anchors into the holes, ensuring they sit flush with the wall surface. Next, align your primary vertical tracks or brackets over the anchors and drive the screws in securely, tightening them firmly but avoiding over-tightening, which can strip the anchors or damage drywall. Before moving to the next step, pull firmly on the mounted tracks to verify that they are completely stable and show no signs of movement.
Once the primary support structure is securely anchored, you can begin assembling the modular elements. Slot the shelf brackets, pegboards, or cabinets into the vertical tracks according to your planned layout, ensuring each component clicks or locks into place as designed by the manufacturer. Place the horizontal shelves onto the brackets and secure them using the provided safety clips or small underside screws. After the physical assembly is complete, perform a thorough stability check by applying gentle downward pressure on each shelf tier to ensure there is no flexing, wobbling, or uneven alignment.
It is vital to recognize when to halt the installation and seek professional assistance. If you begin drilling and find that the wall material crumbles easily, if the wall anchors slip out of their holes, or if the vertical tracks fail to align properly despite careful leveling, stop immediately. Forcing a faulty installation can lead to sudden shelf collapse, damaging your study table, computer equipment, and risking personal injury. Consulting a qualified handyman or structural professional ensures that your shelving is mounted safely, especially when dealing with challenging wall materials or exceptionally heavy storage requirements.
Organizing and Maintaining Your Custom Setup
An organized modular shelf setup not only improves your daily productivity but also preserves the structural integrity of the entire system. When arranging your items, always distribute the weight evenly across each shelf rather than concentrating heavy items in one spot. Place your heaviest possessions, such as reference books, binders, and storage boxes, on the lowest shelves or directly above the main vertical supports. This keeps the center of gravity low and minimizes the leverage force exerted on the wall anchors, while reserving the higher, lighter tiers for decorative items, stationery cups, and small tech accessories.
One of the greatest benefits of a modular system is the ability to reconfigure the layout as your storage needs change over time. However, you must always remove all items from a shelf before attempting to adjust its height, swap out brackets, or add new accessories. Attempting to adjust loaded shelves can cause components to slip, scratch the wall, or bend the metal tracks. When adding new modular elements, verify that they are fully compatible with your existing system and do not exceed the original weight limits specified for the main support tracks.
To ensure long-term safety, establish a routine maintenance schedule to inspect your custom setup. Every few months, perform a quick visual check of the brackets, tracks, and wall connections. Look closely for any signs of bracket deformation, loose screws, or gaps forming between the wall and the vertical standards. In humid climates, such as in Singapore, keep an eye out for any moisture buildup or rust on metal components, as well as any softening of drywall around the anchors. Tighten any loose fittings immediately, and if you notice any structural sagging or wall anchor pull-out, unload the shelves immediately to re-evaluate your mounting hardware.
Frequently Asked Questions (FAQ)
Can I install a modular study table shelf without drilling into the wall?
Yes, you can create a highly functional modular setup without drilling by utilizing clamp-on desk shelves, tension-pole systems, or freestanding desktop organizers. Clamp-on options attach directly to the rear edge of your study table, but you must first check that your desk has a flat, sturdy lip with sufficient thickness and material strength to support the clamp’s pressure. Avoid clamping heavy systems onto hollow-core MDF or glass desks, as these materials can crack or warp under concentrated loads. While non-drilled alternatives offer excellent flexibility and are ideal for rental properties, they generally have lower weight capacities and less vertical storage space compared to wall-mounted systems.
How do I prevent modular shelves from sagging under heavy books?
To prevent modular shelves from sagging, always check the maximum span limits and bracket spacing recommended in the manufacturer’s specifications. For heavy items like textbooks, keep the horizontal span between support brackets relatively short, typically no more than 60 to 80 centimeters, depending on the shelf material. If you notice visible deflection or bowing in the center of a shelf, you should immediately reduce the load, redistribute the items toward the outer edges near the brackets, or install an additional intermediate support bracket. Regularly monitoring your shelves for any signs of bending allows you to make adjustments before permanent damage or structural failure occurs.

Community discussion
Share your experience or ask a question. Comments are reviewed before publication.