
Building a custom glass display cabinet using modular shelving components allows you to design a highly tailored showcase that fits your exact space constraints and aesthetic preferences. By combining structural metal frames with custom-cut tempered glass, you can create a sleek, modern display unit that matches your interior decor while accommodating items of varying heights and weights. This approach is particularly beneficial for maximizing vertical space in compact living areas, where standard retail furniture might not fit the layout or support the specific weight of your collection.
To successfully execute this project, you must carefully navigate the planning, material selection, and assembly phases. Working with glass requires strict adherence to safety protocols, precise measurements, and the correct integration of protective hardware to prevent structural failure. This guide provides a comprehensive walkthrough of the entire process, from initial spatial planning to the final safety checks, ensuring your custom cabinet is both visually striking and structurally sound.
Planning Your Custom Glass Display Cabinet
Before purchasing any materials, you must thoroughly evaluate the physical space where the cabinet will stand. Measure the designated floor or wall area, paying close attention to the footprint of the unit and the clearance required for doors to swing open without obstructing walkways. In high-rise apartments or homes with tight entryways, verify that the individual modular components and glass panels can be easily transported through doorways, hallways, and lifts. Planning for these physical constraints early prevents logistical complications during delivery and assembly.
Products mentioned in this guide
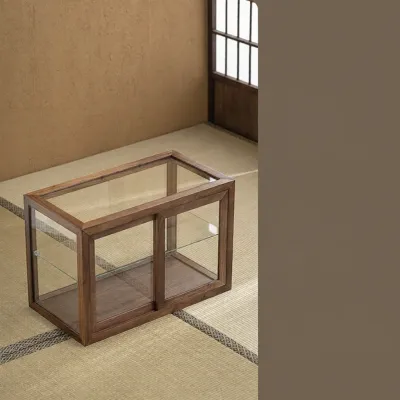
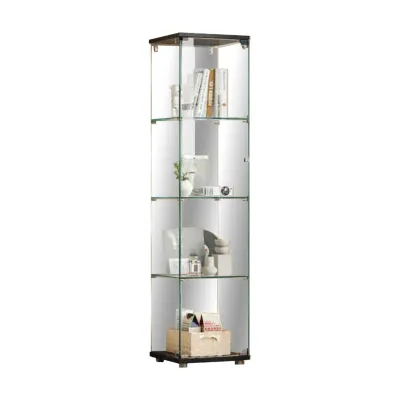
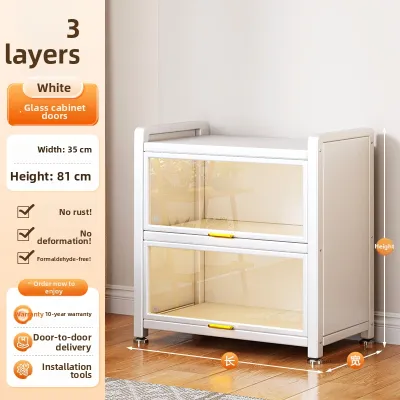
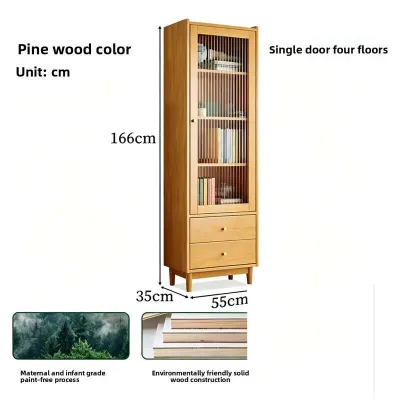
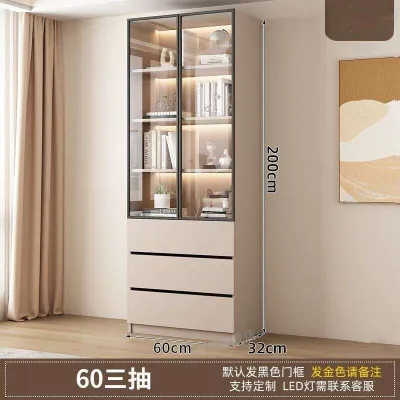
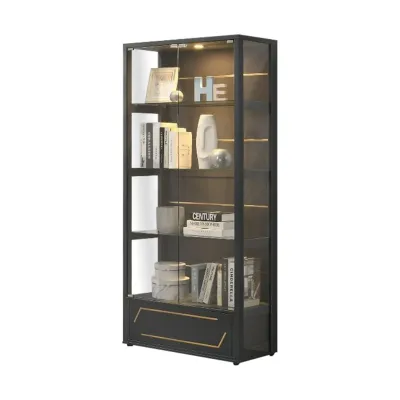
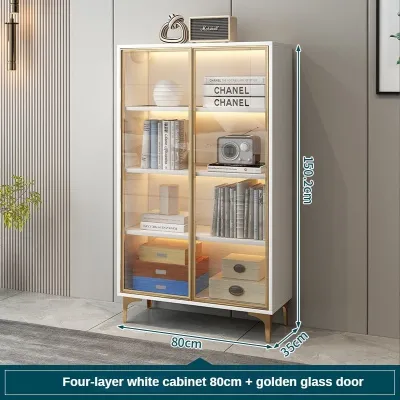
Prices are valid at publication and may change. Please refer to the product page for the latest price.
Calculating the load-bearing capacity is a critical step that dictates your structural requirements. Determine the total weight of the items you plan to display, whether they are lightweight collectibles, heavy ceramic pieces, or dense books. This estimated weight distribution will help you select the appropriate thickness for your glass shelves and determine the spacing of the vertical supports. You must verify the manufacturer’s load rating for your chosen modular frame components to ensure they can safely support the cumulative weight of the glass panels and your display items.
Selecting the right modular shelving system forms the foundation of your build. Systems utilizing T-slot aluminum extrusions, slotted steel uprights, or specialized pipe connectors are ideal because they offer high structural rigidity and can be easily customized. Look for modular systems that feature integrated channels or accept specialized brackets designed to hold glass panels. Aluminum profiles are highly favored for their lightweight strength and resistance to corrosion, making them highly suitable for various indoor environments.
Choosing the correct glass type is paramount for safety and durability. You must use tempered glass for all structural panels and shelves, as standard annealed glass poses a severe safety hazard if broken. Tempered glass is engineered to withstand higher impacts and, in the event of failure, crumbles into small, relatively blunt granules rather than sharp, jagged shards. When ordering glass from a local supplier, specify polished flat edges or beveled edges to ensure safe handling and a clean, professional finish. Always consult your glass merchant to verify the required glass thickness based on your specific shelf span and expected weight load.
Tools and Materials Checklist
Having the correct tools and materials organized before you begin assembly ensures a smooth workflow and minimizes the risk of accidental damage to the glass panels. Ensure you have a clean, spacious work area with a soft surface, such as a large drop cloth or cardboard, to lay out the components.

Modular Frame Components
- Vertical uprights and horizontal crossbars (cut to your planned dimensions)
- Corner connectors, joint brackets, and structural fasteners
- Adjustable leveling feet to compensate for uneven flooring
- Shelf support brackets compatible with your modular system
Glass Components
- Tempered glass shelves (cut to size with polished edges)
- Tempered glass side and back panels (if designing a fully enclosed cabinet)
- Tempered glass doors and compatible hinge hardware (optional)
Hardware and Protective Accessories
- Self-adhesive clear silicone bumpers
- Rubber gaskets or neoprene strips to line metal channels
- Specialized glass clamps or plastic-tipped set screws
- Wall anchoring brackets and appropriate wall anchors
Essential Tools
- Power drill and a comprehensive driver bit set
- Measuring tape and a reliable spirit level
- Dual-cup glass suction lifters (essential for handling large glass panels safely)
- Heavy-duty, cut-resistant work gloves and safety goggles
- Rubber mallet for gently seating modular frame connectors
Step-by-Step Assembly Guide
Building the Base and Vertical Frame
Begin by assembling the bottom base frame on a flat, protected surface to prevent scratching the metal finish. Attach the corner connectors to the lower horizontal crossbars, ensuring all joints are tightly fitted but not fully torqued. Thread the adjustable leveling feet into the underside of the base frame corners, as these will allow you to compensate for any slight slopes or imperfections in your flooring once the cabinet is in its final position.
Once the base is assembled, position it in its designated location and install the vertical uprights into the base connectors. Use a high-quality spirit level to check the alignment of the uprights along both the front-to-back and side-to-side axes. Adjust the leveling feet gradually until the base is perfectly level and the uprights are completely plumb. A frame that is out of alignment will place uneven torsional stress on the glass panels, which can lead to structural instability or spontaneous glass breakage.
Secure the vertical uprights to the base by tightening the modular connectors. When working with aluminum profiles or lightweight steel, tighten the fasteners firmly but avoid over-torquing, which can strip the threads or warp the metal profiles. If the frame warps during assembly, the glass panels will not fit correctly into their designated slots or brackets, compromising the structural integrity of the entire cabinet.
Installing the Glass Panels and Shelves
Before handling any glass components, put on your cut-resistant work gloves and safety goggles. For larger side or back panels, attach the glass suction cups securely to the center of the glass sheet to provide a reliable grip. Never attempt to lift or maneuver large glass panels by their edges alone, as this increases the risk of slippage and localized impact damage.
Prepare all metal contact points by applying rubber gaskets, neoprene strips, or clear silicone bumpers to the frame channels and shelf brackets. Direct glass-to-metal contact must be completely avoided, as the hardness of the metal can create localized stress concentrations on the glass, leading to immediate or delayed shattering. Ensure the protective padding is securely seated and does not shift when the glass is placed.
If your modular system uses slotted profiles, carefully slide the side and back glass panels into the padded channels from the top, guiding them gently until they rest fully in the bottom channel. For systems using brackets, position the glass clamps onto the frame, place the glass panel against the padded brackets, and secure them using plastic-tipped set screws. Once the vertical panels are secure, place the shelf support brackets at your desired heights, apply silicone bumpers to each bracket, and lower the tempered glass shelves evenly onto the supports, verifying that each shelf rests flat on all contact points.
Securing the Top and Finalizing the Structure
With the vertical panels and shelves temporarily positioned, install the top horizontal crossbars to enclose the cabinet frame. Carefully align the top connectors with the vertical uprights, ensuring that the top glass edges slide smoothly into any corresponding upper channels without being pinched or forced.
Before performing the final tightening of the frame, use a measuring tape to check the diagonal dimensions of the cabinet. Measure from the top-left corner to the bottom-right corner, and then from the top-right corner to the bottom-left corner. If these two diagonal measurements are identical, the cabinet is perfectly square. If they differ, gently adjust the frame until they match, which ensures that load forces will be distributed evenly across the structure.
Once the cabinet is confirmed to be square, systematic tightening of all fasteners can proceed. Work your way from the bottom base up to the top frame, tightening each connector evenly. Inspect each glass panel during this process to ensure that no part of the metal frame is compressing or pinching the glass. The glass must sit snugly within its padded mountings but remain free from direct structural compression by the metal frame.
Safety Checks and Stability Verification
Once assembly is complete, you must verify the physical stability of the cabinet before placing any valuable items inside. Perform a gentle wobble test by applying light pressure to the upper frame of the cabinet from different directions. If you detect any rocking, tipping, or lateral swaying, immediately recheck the leveling feet and adjust them until the cabinet sits completely flat on the floor with no movement.
Inspect every glass shelf and panel connection to confirm that the protective rubber gaskets or silicone bumpers have not slipped out of place during the assembly process. Ensure that there is adequate clearance between the glass edges and the metal frame components. If you spot any area where the glass is in direct contact with the metal, loosen the surrounding connectors, reposition the protective padding, and retighten the frame.
Because tall, narrow, or top-heavy cabinets present a significant tip-over hazard, anchoring the unit to a wall is highly recommended. Evaluate your specific wall construction to select the appropriate anchoring hardware. For solid concrete or masonry walls, use heavy-duty wall plugs and masonry screws; for drywall partitions, utilize high-capacity toggle bolts or anchor brackets secured directly into the wall studs. Install the anti-tip brackets at the very top of the cabinet frame and secure them firmly to the wall to prevent accidental tipping.
Conduct a gradual load test to verify the load-bearing performance of your custom build. Begin by placing lightweight items on the bottom shelf, then gradually introduce heavier items over a period of 24 to 48 hours. Carefully observe the glass shelves for any signs of visible deflection or bowing, and inspect the frame joints to ensure they remain tight and stable under load. If you notice any deflection in the glass or shifting in the frame, reduce the weight immediately and consult your glass supplier or component manufacturer.
Maintenance and Care for Glass and Modular Frames
To preserve the structural integrity and visual clarity of your custom display cabinet, establish a regular maintenance routine. When cleaning the glass shelves and panels, use a high-quality, non-abrasive glass cleaner applied directly to a clean microfiber cloth rather than sprayed onto the cabinet. This prevents excess liquid from running down the glass and pooling inside the metal channels, joint connectors, or mounting brackets, which could lead to oxidation or degrade the protective gaskets over time.
Periodically inspect the structural integrity of the modular frame joints. Over time, subtle building vibrations, ambient temperature fluctuations, and humidity variations can cause modular fasteners to settle or loosen slightly. Every six to twelve months, use the appropriate hand tools to check the tightness of all structural screws, corner brackets, and leveling feet, tightening them gently if any play is detected.
Examine the condition of the rubber gaskets, silicone bumpers, and plastic-tipped screws during your routine cleanings. In warm or humid environments, these soft materials can eventually become brittle, flatten, or crack, reducing their cushioning effectiveness. If you observe any degradation or displacement of these protective elements, replace them promptly with fresh silicone or rubber pads to maintain continuous, reliable protection against glass-to-metal contact.
Frequently Asked Questions (FAQ)
Can I use standard glass instead of tempered glass for shelving?
No, standard annealed glass must never be used for shelving or structural panels in a display cabinet. Standard glass has low tensile strength and breaks into large, extremely sharp, razor-like shards that pose a severe risk of deep laceration and serious injury. Tempered glass is specifically treated with thermal or chemical processes to increase its strength, allowing it to support heavier loads safely. If tempered glass does break, it fractures into small, relatively harmless granular pieces, significantly reducing the risk of injury in the event of an accident.
How do I prevent glass shelves from sliding on metal brackets?
To prevent glass shelves from sliding or shifting on their support brackets, you should apply high-friction, self-adhesive silicone bumpers directly to the bracket surface before resting the glass on top. Alternatively, you can use specialized mechanical glass clamps equipped with integrated rubber pads and plastic-tipped set screws that clamp onto the edge of the glass, securing it firmly to the frame. These methods provide both the necessary friction to prevent lateral movement and the essential cushioning required to protect the glass from localized stress points.

Community discussion
Share your experience or ask a question. Comments are reviewed before publication.