
Assembling and customizing a Chinese modular display shelf involves a systematic approach that begins with precise space planning, moves through a careful bottom-up construction sequence, and finishes with securing the unit for long-term stability. These versatile shelving systems offer excellent flexibility, allowing you to adjust shelf heights, reconfigure layouts, and add accessories to match your specific storage needs. By following a logical assembly process and taking proper safety precautions, you can create a durable and personalized display solution that maximizes your living space.
Prepare Your Space and Inventory Components
Before unboxing your new shelving unit, prepare the designated area in your home. Measure the available floor and wall space where the shelf will stand, ensuring sufficient clearance for nearby doors, walkways, and other furniture to open without obstruction. In compact urban homes, vertical clearance is also a critical factor; make sure the top of the shelf will not interfere with ceiling fans, air conditioning units, or light fixtures.
Additionally, verify that the flat-pack boxes can easily clear your building’s lift doors, main entrance, and narrow hallways. Once the boxes are safely inside, clear a spacious, clean area on the floor near the final installation site. Laying down a clean blanket or cardboard from the packaging will protect both your flooring and the shelf panels from scratches during assembly.
Products mentioned in this guide
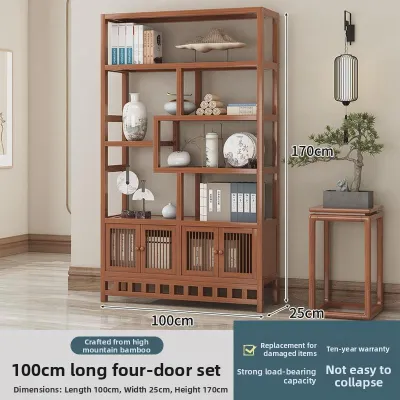
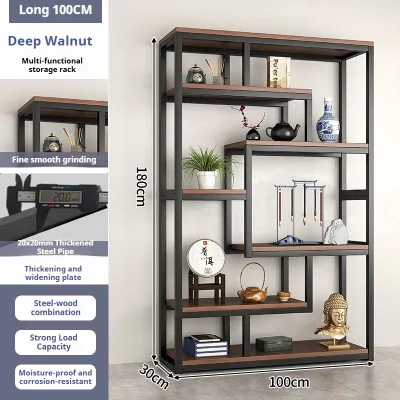
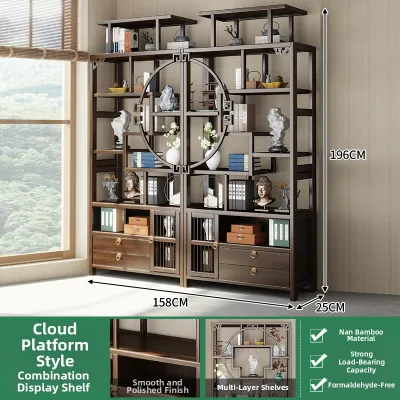
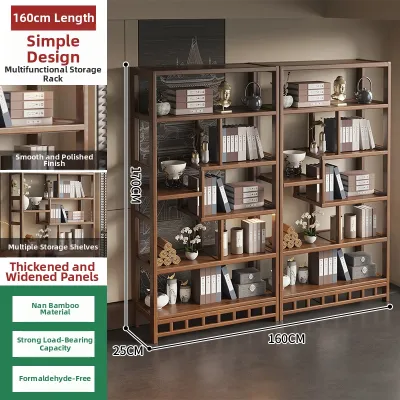
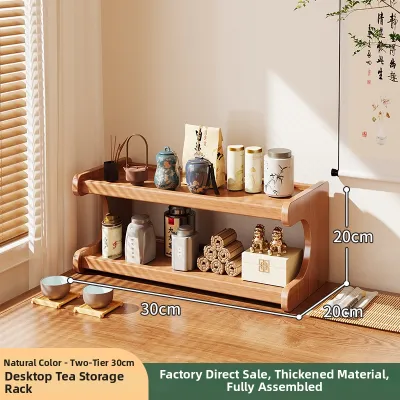
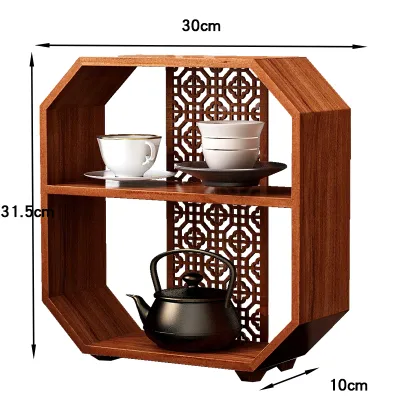
Prices are valid at publication and may change. Please refer to the product page for the latest price.
Next, carefully unbox all components and perform a thorough inventory. Lay out all the panels, vertical supports, connectors, screws, and brackets, grouping similar items together. Cross-reference every piece with the parts list provided in the manufacturer’s instruction manual. If you notice any damaged or missing parts, contact the seller immediately before proceeding.
While many modular kits include basic assembly tools like a small hex key or a simple wrench, having a few household tools on hand will make the process much smoother. Gather a measuring tape, a spirit level, and a rubber mallet. A rubber mallet is particularly useful for modular systems that use interlocking joints or tap-in connectors, as it allows you to secure the pieces firmly without denting or chipping the surface finish. A spirit level is indispensable for ensuring the structure remains perfectly upright and balanced.
Follow a Logical Assembly Sequence
A successful build relies on a logical, bottom-up assembly sequence. Attempting to rush the process or assemble sections out of order can lead to structural misalignment and instability. Begin by constructing the base frame of the shelving unit. Lay out the bottom-most panels and connect them using the specified hardware. Before tightening any connections fully, place your spirit level across the base to ensure it sits perfectly flat on your floor.

If your shelving unit includes adjustable leveling feet, use them at this stage to compensate for any slight unevenness in your flooring. Once the base is level, tighten the base connectors to a finger-tight level. Keeping joints slightly loose during initial stages allows for minor adjustments and prevents rigidity, making upper tiers easier to align.
With the base secure and level, begin attaching the vertical supports for the first tier. Slide or screw the vertical posts into place, ensuring they are oriented correctly according to the manual. Once the vertical supports are positioned, install the horizontal shelf panels for the first level. If your modular system uses interlocking connectors, use your rubber mallet to gently tap the joints into place, ensuring they are fully seated. Repeat this process tier by tier, working your way upward.
At each major stage of the build, pause to check the stability and alignment of the structure. Use your spirit level vertically against the supports to ensure the shelf is not leaning to one side. Check that all horizontal shelves remain level. This step-by-step verification prevents compounding errors; a tiny misalignment at the base can translate into a significant tilt by the time you reach the top tier. Once you are satisfied with the alignment of a completed section, systematically tighten the joints before moving on to the next level.
Adapt the Layout to Your Storage Needs
One of the greatest advantages of a modular Chinese display shelf is its adaptability. Modular systems allow you to customize the configuration to match your specific storage and display requirements. Before finalizing the assembly of the upper tiers, take some time to plan how you want to utilize the space. Consider the items you plan to display, such as tall art pieces, books, decorative vases, or storage baskets.
Most modular shelves feature adjustable shelf heights, allowing you to position the horizontal panels at varying intervals. If you have tall items, you can leave a larger vertical gap between certain shelves while keeping other sections tighter for smaller items like books or smart home devices.
Depending on the design of your modular system, you may also be able to reconfigure the overall layout of the unit. For example, instead of building a single tall vertical column, you might choose to split the components into two lower, side-by-side units. Alternatively, you could assemble the shelf in an L-shape to fit snugly into a corner, or create a staggered, step-like design that adds visual interest to your room. Assess your room’s geometry and choose a layout that enhances the flow of the space.
Furthermore, many modular systems support optional accessories that can be integrated directly into the frame. These may include drawer inserts, cabinet doors, fabric storage bins, or hanging rods. If you plan to use these accessories, ensure they are compatible with your specific shelf model and dimensions. Install them according to their individual instructions, making sure they do not interfere with the structural integrity of the main frame.
Secure the Shelf and Prevent Tipping
Ensuring the safety and stability of your assembled display shelf is paramount, especially once it is loaded with books, decor, and other items. After completing the assembly and placing the shelf in its permanent location, perform a thorough wobble test. Gently shake the unit from different angles to check for any movement or instability. If you detect any play in the joints, go back and tighten all connectors and screws firmly.
Even a well-assembled shelf can pose a tipping hazard if it is tall, narrow, or loaded unevenly. As a general safety rule, any shelving unit that is significantly taller than it is deep should be anchored to the wall. Evaluate the height and depth of your shelf, as well as the weight of the items you plan to store, to determine if wall anchoring is necessary.
To secure the shelf properly, you must identify the type of wall material in your home. Different walls require different anchoring hardware. For example, drywall requires hollow-wall anchors or toggle bolts, while solid concrete or brick walls—which are very common in Singapore homes—require masonry wall plugs and screws. Using the wrong type of anchor can result in the shelf pulling away from the wall under load.
If the included hardware is not suitable for your wall type, purchase the correct anchors from a local hardware store. If you are unsure about your wall material, do not have the necessary tools (such as a hammer drill for concrete), or feel uncomfortable performing the installation, consult a qualified professional handyman to ensure the shelf is anchored safely and securely.
Maintain Stability and Surface Condition
To keep your modular display shelf looking its best and functioning safely for years to come, establish a routine maintenance schedule. Regular cleaning is essential to preserve the surface finish. Use a soft, dry microfiber cloth to dust the shelves weekly. For deeper cleaning, use a slightly damp cloth with a mild, non-abrasive soap solution. Avoid using harsh chemical cleaners, bleach, or abrasive scrubbing pads, as these can scratch, discolor, or degrade the protective factory finish, whether it is wood veneer, laminate, or powder-coated metal.
In addition to cleaning, periodically inspect the structural integrity of the shelf. Because modular joints can settle or loosen over time due to daily use and environmental factors, periodic checks are necessary. Every few months, take a few minutes to check the tightness of all screws, brackets, and connectors, tightening any that have worked loose.
Finally, monitor the shelves for any signs of material stress. Look closely at the horizontal panels to see if they are bowing or sagging under the weight of your display items. If you notice any deformation, it is a clear sign that the shelf is overloaded. Immediately redistribute the weight by moving heavier items, such as large books or heavy ceramic pots, to the bottom shelves, and keeping lighter decorative items on the upper levels. This simple adjustment prevents permanent damage to the panels and ensures the long-term stability of your shelving unit.
Frequently Asked Questions (FAQ)
Can I paint or stain the shelves to match my existing furniture?
Whether you can paint or stain your modular display shelf depends entirely on its existing factory finish. If the shelf is made of raw, unfinished wood, you can easily sand the surface and apply a wood stain or paint of your choice. However, many modular shelves are finished with laminate, melamine, or synthetic veneers. These non-porous surfaces do not absorb stain and require specialized preparation, such as light sanding and the application of a high-adhesion primer, before they can be painted successfully. Before making any modifications, consult the manufacturer’s manual and warranty terms, as altering the finish may void your warranty.
What should I do if the pre-drilled holes do not align?
If you encounter pre-drilled holes that do not seem to align during assembly, do not force the screws, as this can strip the threads or damage the panels. First, try loosening the adjacent joints in that section of the frame. This introduces a small amount of flex, which often allows the misaligned holes to slip into place. Second, double-check the assembly manual to ensure you have not swapped similar-looking panels or installed a piece upside down or backward. If the components are correctly oriented and the holes are still fundamentally misaligned due to a manufacturing defect, stop assembly and contact the seller or manufacturer to request replacement parts.

Community discussion
Share your experience or ask a question. Comments are reviewed before publication.