
Setting up a modular table top shelf is one of the most effective ways to reclaim valuable desk real estate, especially in compact study rooms or home offices. By taking a systematic approach—measuring your workspace, assembling the frame from the ground up, and adjusting the tiers to match your specific items—you can create an organized, ergonomic workstation. Customizing these units allows you to tailor your storage to your exact daily routine without sacrificing valuable surface area.
Planning Your Table Top Shelf Layout
In environments where home offices and study corners are often compact, maximizing vertical space is a highly practical strategy. Before purchasing or unboxing a table top shelving unit, precise planning is essential to ensure the assembly fits your desk seamlessly. Begin by measuring the physical footprint of your desk surface. Standard compact desks often measure 120 cm by 60 cm, meaning every square centimeter of surface area is premium real estate. Record the exact width and depth of the area where the shelves will sit, keeping in mind any existing items like monitor arms, cable management trays, or desk pads that cannot be moved.
Take note of vertical clearance. Measure the distance from the desk surface to any overhead obstructions, such as wall-mounted air conditioning units, floating shelves, window frames, or overhead cabinetry. If you use a monitor arm, check its range of motion to ensure the shelving frame does not block your screen or collide with your display when adjusted to your preferred ergonomic viewing level.
Products mentioned in this guide
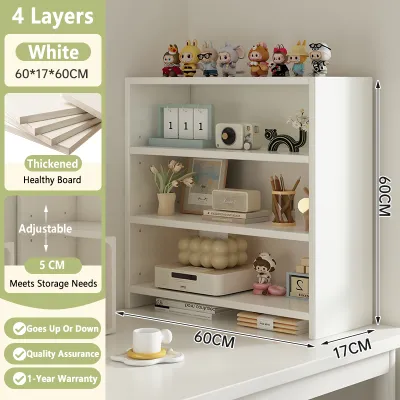
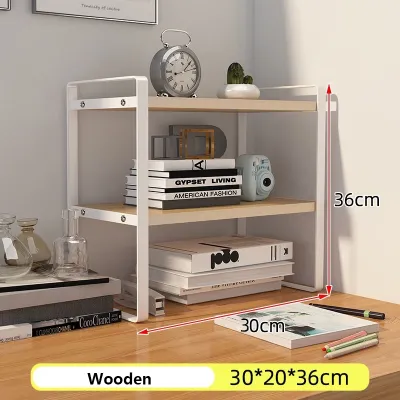

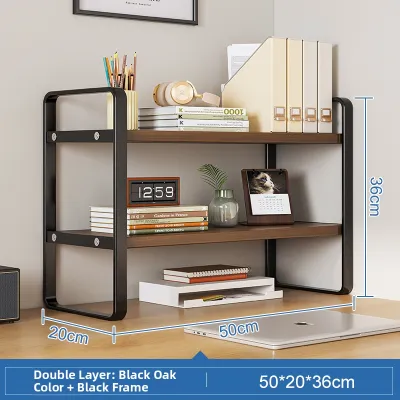
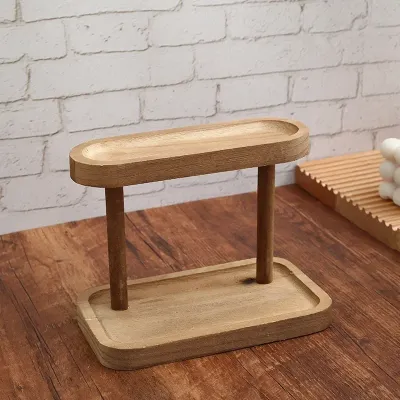
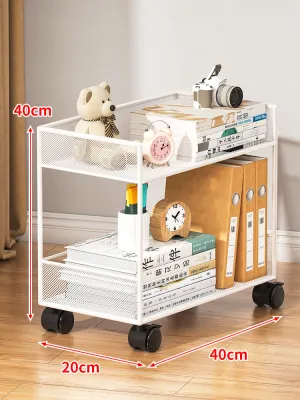
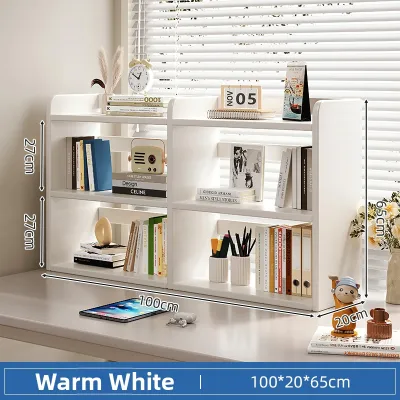
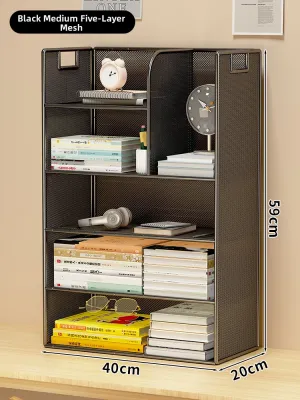
Prices are valid at publication and may change. Please refer to the product page for the latest price.
Verify the weight capacity of your desk. A modular table top shelf adds a dead load (the weight of the shelf itself) and a live load (the items placed on it) to your desk. Solid wood or heavy-duty steel-framed desks generally handle these setups easily, but lightweight desks with paper-core or thin composite tops require careful consideration. Check your desk manufacturer’s guidelines to confirm it can safely support the combined weight of the shelving unit and the items you intend to store.
Define the primary purpose of your shelving unit to guide your layout. An office setup prioritizing documents and tech accessories requires deep, accessible tiers, while a kitchen countertop unit for spices or a vanity shelf for cosmetics will benefit from narrower, low-profile configurations. Knowing what you will store allows you to plan the spacing of each tier before you start fastening components together.
Tools and Materials Needed for Assembly
While many flat-pack modular kits include rudimentary tools like a small stamped wrench, having a dedicated set of high-quality hand tools makes the assembly process smoother and safer. Preparing your workspace beforehand prevents damage to both the shelving components and your desk during the installation process.

Avoid using power drills or electric screwdrivers for this task. The high torque of a power tool can easily strip the pre-drilled holes in wooden, composite, or MDF shelf boards, or warp lightweight metal frames. Instead, rely on a manual Phillips-head screwdriver and the specific hex keys or Allen wrenches provided in your product packaging.
A rubber mallet is highly recommended for wire-rack or modular pegboard shelving systems that rely on friction-fit joints or tapered plastic sleeves. A mallet allows you to seat the components firmly without scratching or denting the metal or wood finish. For precision, keep a measuring tape and a small spirit level nearby to verify that your shelves are completely flat, which prevents round items from rolling off and ensures even weight distribution.
Lay down a protective barrier on your work surface. A large piece of clean cardboard (such as the shipping box the shelves arrived in) or a thick blanket will protect both the furniture finish and your floor tiles from scratches during assembly. Before beginning, unpack all components and cross-reference them with the parts list in the manufacturer’s instruction manual. Count every screw, dowel, bracket, and shelf board. If any hardware is missing or damaged, contact the manufacturer for replacements before attempting assembly, as substituting incorrect fasteners can compromise the structural integrity of the shelving unit.
Step-by-Step Assembly Guide
Step 1: Preparing the Base and Frame
Every stable structural build starts with a solid, square foundation. Clear a spacious, flat area on your floor to give yourself room to work without restriction. Unpack the structural pieces and group similar hardware components together in small trays or containers to avoid losing them during the build.
Assemble the base plates, feet, or bottom horizontal frame first. If your modular system uses adjustable leveling feet, screw them into the bottom of the base plates or vertical uprights now, leaving them partially extended so you can make fine adjustments later. Lay the base pieces out exactly as illustrated in your instruction manual.
Keep the fasteners loose. Thread all screws or bolts by hand to ensure they align correctly and prevent cross-threading. Use your screwdriver or hex key to tighten the fasteners until they are snug, but do not tighten them completely. Leaving a small amount of play in the joints at this stage allows the frame to self-adjust and align properly as you add the vertical supports and shelves.
Step 2: Attaching the Vertical Supports
With a stable base established, you can now erect the vertical supports or side panels that form the backbone of the shelving unit. Insert the upright poles or structural side panels into the base connectors, ensuring they are oriented in the correct direction. Many modular systems have specific front-and-back orientations for cable routing holes or shelf adjustment tracks.
As you slide or screw the vertical supports into place, use your spirit level to check that they are perfectly upright, or plumb. A frame that leans even slightly to one side puts uneven stress on the joints, which can lead to instability or eventual joint failure under load. Check the alignment from both the front and side profiles.
Secure the interlocking joints, tension collars, or frame screws according to your system’s design. If your unit uses plastic slip-sleeves or tapered collars, ensure they are clicked firmly into the matching grooves on the poles before sliding the support brackets down over them. Follow the manufacturer’s guidelines regarding torque; avoid over-tightening screws into wooden or composite panels, as this can strip the pre-drilled holes and weaken the connection.
Step 3: Installing the Shelves and Customizing Heights
With the vertical frame standing straight and true, you can begin placing the shelf boards and customizing their heights to match your storage needs. Refer back to the measurements you took during the planning phase to determine the ideal height for each tier.
Slide or rest the shelf boards onto the support brackets or horizontal frames. For systems with adjustable tracks, align the brackets on the left and right sides to the exact same height increment. Use your spirit level across the surface of each installed board to verify it is perfectly horizontal before proceeding to the next level.
Once you have positioned all the shelves in your desired configuration, perform a final check of the entire structure’s alignment. When you are satisfied that the unit is square and level, systematically tighten all the frame screws, locking pins, or shelf clamps. Work from the bottom up, ensuring every fastener is secure but not over-torqued, to lock the customized layout into place.
Customizing and Securing Your Shelves
Once your modular table top shelf is assembled, customizing it for safety, stability, and utility ensures it integrates seamlessly into your daily routine. Because these units sit directly on your desk, protecting the desk surface from scratches and preventing sliding is a priority.
Apply self-adhesive non-slip rubber pads or silicone bumpers to the underside of the base feet or bottom frame. These pads provide essential grip, preventing the shelving unit from shifting when you pull out a drawer or place a heavy book on a shelf. They also act as a protective barrier, preventing wood veneer or lacquer finishes on your desk from being marred by metal or hard plastic components.
Once the unit is placed in its final position on your desk, check for any wobble by gently shaking the frame. If your desk surface is slightly uneven, adjust the individual leveling feet on the bottom of the shelf until the unit sits completely stable without rocking. If your desk does not allow for leveling, a small shim placed under the shelf feet can help stabilize the unit.
If your modular system supports add-ons, you can further customize your workspace. Consider integrating drawer inserts for small stationery, hanging hooks on the side panels for headphones, or pegboard backings for customizable tool storage. Always verify the manufacturer’s specifications for these accessories, ensuring that any added weight remains well within the system’s safe load limits.
Maintenance and Weight Management
Ensuring your modular table top shelves remain safe and functional over years of use requires consistent maintenance and smart weight management. Improperly loaded shelves can become top-heavy, posing a tipping hazard even if the assembly was performed correctly.
Always distribute weight evenly across each shelf board and prioritize placing your heaviest items—such as books, printers, or heavy organizers—on the bottommost tiers. This practice keeps the center of gravity low, significantly reducing the risk of the unit tipping forward if it is accidentally bumped. Avoid overloading the top shelves with heavy objects; keep those areas reserved for lightweight decor, plants, or small office supplies.
Singapore’s humid tropical climate can also affect furniture materials. High humidity can cause wood or composite boards to warp or swell if they are not properly sealed, and it can accelerate rust on untreated metal components. To maintain structural integrity, regularly inspect your shelving unit every few months. Use your hand tools to check the tightness of the main structural screws and brackets, gently tightening any that have worked loose over time due to typing vibrations or environmental changes.
To clean your shelves, wipe them down regularly with a soft, slightly damp microfiber cloth to remove dust. Avoid using harsh chemical cleaners, abrasive pads, or excessive moisture, which can degrade wood finishes, peel laminate edges, or cause metal frames to rust. Always refer to the manufacturer’s care label for specific instructions tailored to your shelf’s materials.
Frequently Asked Questions (FAQ)
Can I use tabletop shelves on a glass desk?
Yes, but you must exercise extreme caution. Check both the glass desk manufacturer’s weight rating and the glass thickness before installation. Always use wide, heavily padded base feet to distribute the weight evenly across a larger surface area, avoiding concentrated point loads that could cause the glass to crack or shatter.
How do I prevent tall items from falling off the top shelf?
To secure tall items on the top tier, install modular accessories such as lip guards, retaining rails, or bookends designed for your specific shelf system. Additionally, placing non-slip shelf liners under these items can prevent sliding, though the safest approach is always to store tall, heavy, or fragile items on the lower shelves.

Community discussion
Share your experience or ask a question. Comments are reviewed before publication.